Add Buttons
Table of contents
![]()
Details
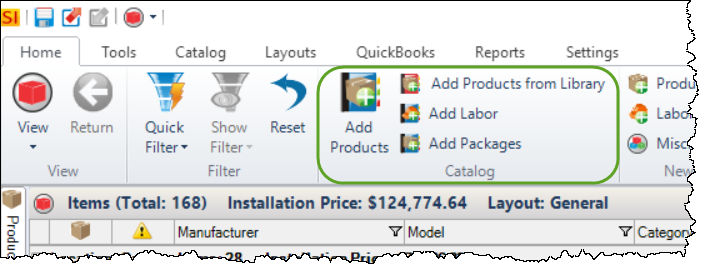
One method for adding Items to a Project within the Project Editor is to click either the [Add Products], [Add Labor], or [Add Packages] buttons in the ribbon of the Home tab:
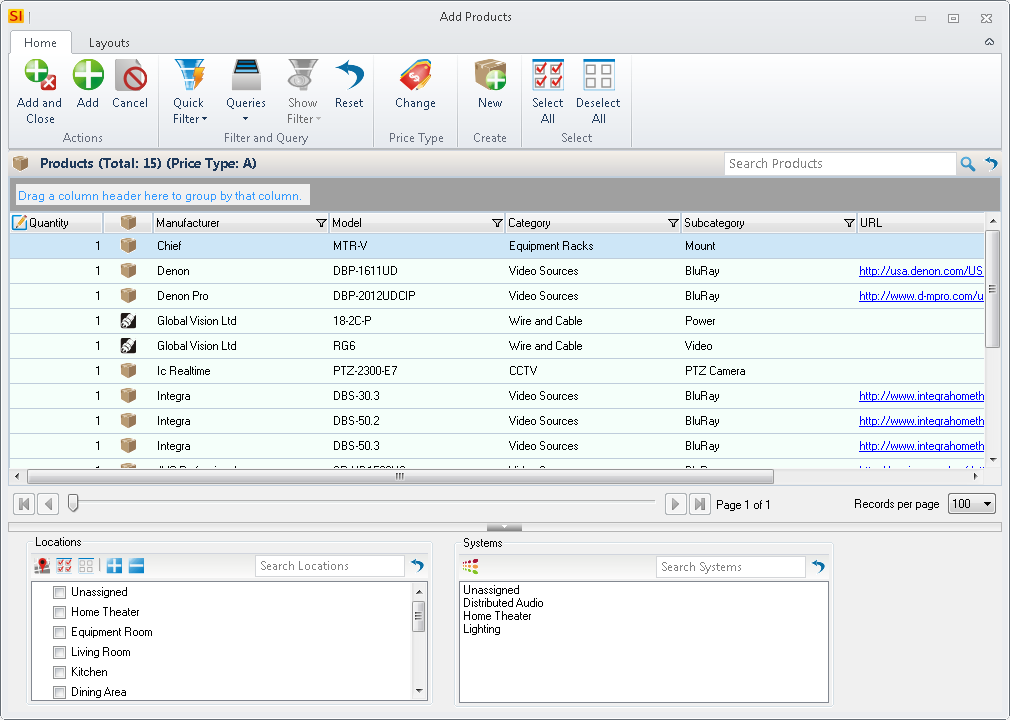
The Add Products interface shown below:
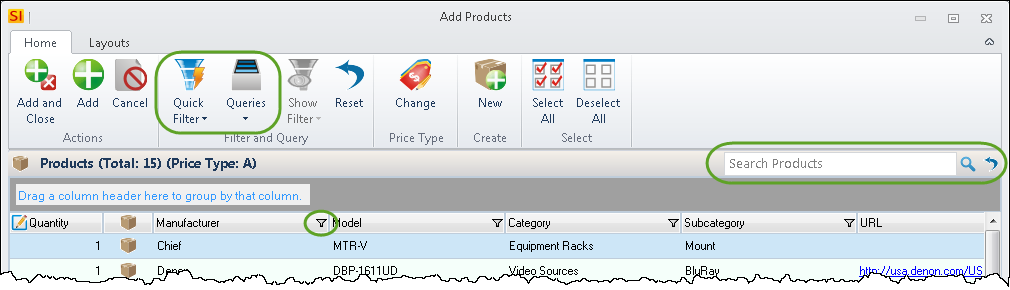
Find what you are looking for via the Search field, Quick Filter, or column filters:
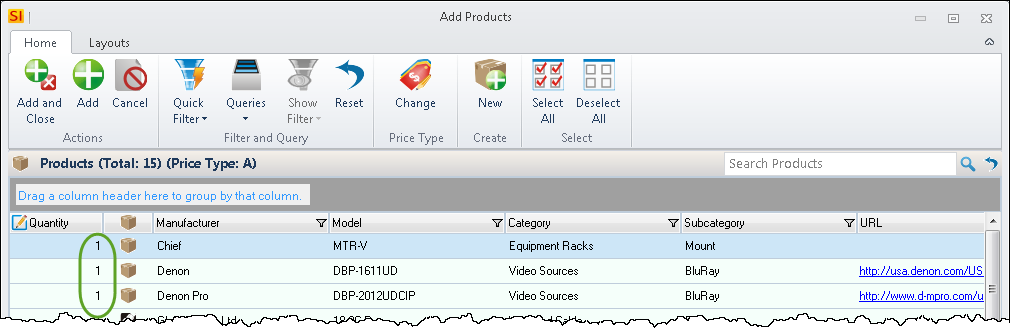
Use the quantity fields next to the Items to change the quantity if desired:
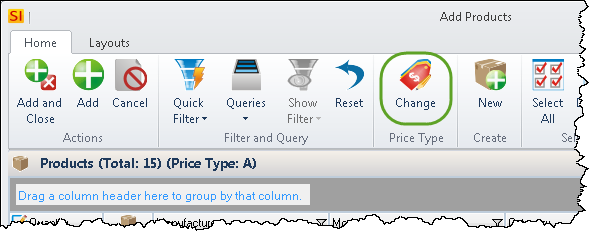
You can change the Price Type if you wish:
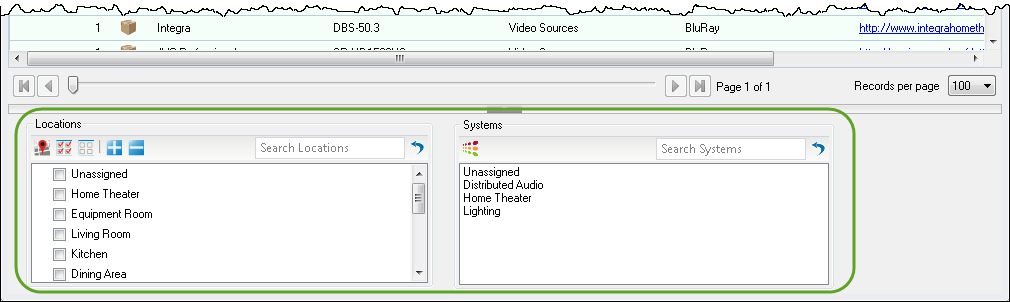
Select Location(s) and System for the Products.
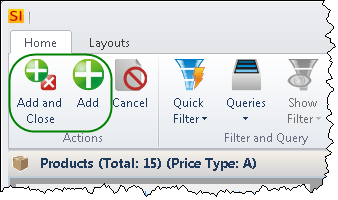
Click [Add] or [Add and Close] to add the Item(s) to the Project.
Adding Labor Items and Packages are very similar to the example above.
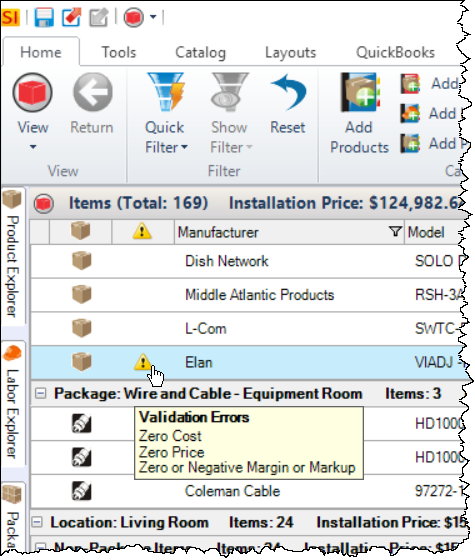
The [Add Products from Library] button is for downloading a new Product from the Library. This opens up the Add From Library interface where you can choose what Products you wish to add. Once you close the Add Products from Library interface, the Products will then be added to the Project, as well as to your Catalog. The Products will be assigned to whatever Location(s) and Zone that you have set in your Drop Zone.
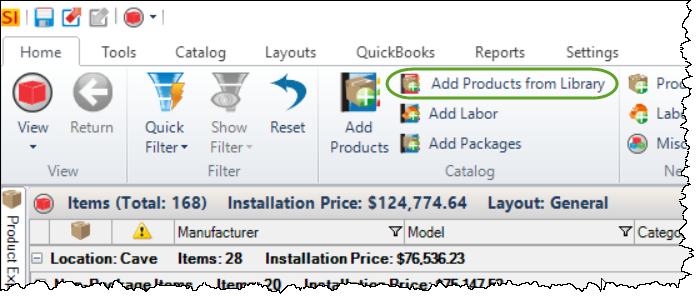
Keep in mind that Products added to the Project this way will have Validation Errors due to missing pricing.
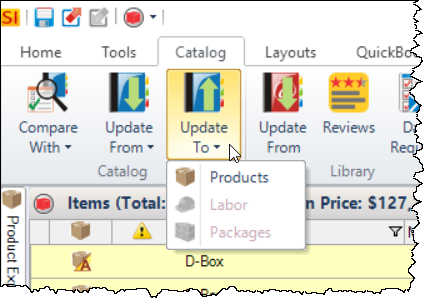
Once you edit the Product's price fields, you may want to then use the Update to Catalog feature.
- © Copyright 2024 D-Tools