Drop Zone
Table of contents
![]()
Details
Another method for adding Items to a project is via the Drop Zone. The Drop Zone is a section of the Project Editor that displays on the right side of the interface:

To add Items to the Project, expand either the Product Explorer, Labor Explorer, or Package Explorer by clicking on the tabs on the left side of the Project Editor interface:
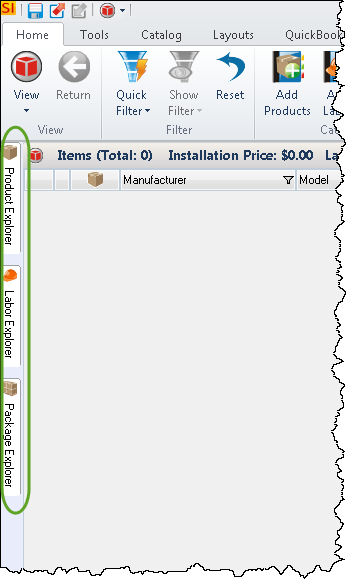
Note: If this Project has a Mobile Quote linked to it, you will also see the Mobile Quote Explorer available:
Once the Explorer is expanded, you can click the thumbtack button to keep the window from auto hiding if desired:
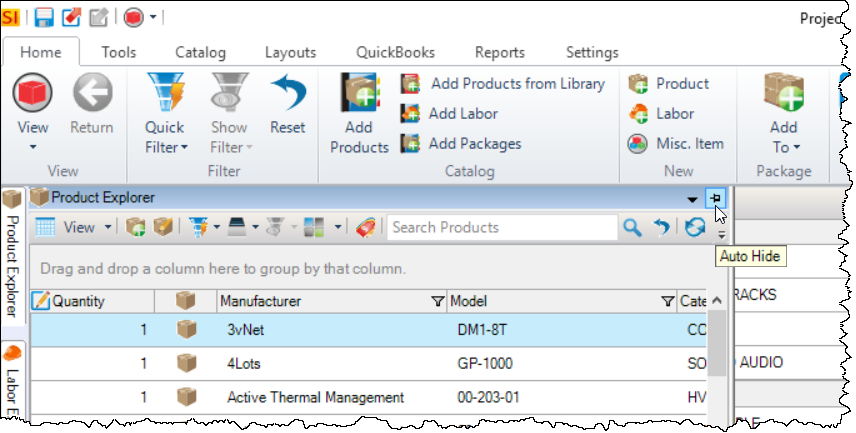
Find what you are looking for via the Search field, Quick Filter, Queries, or column filters:
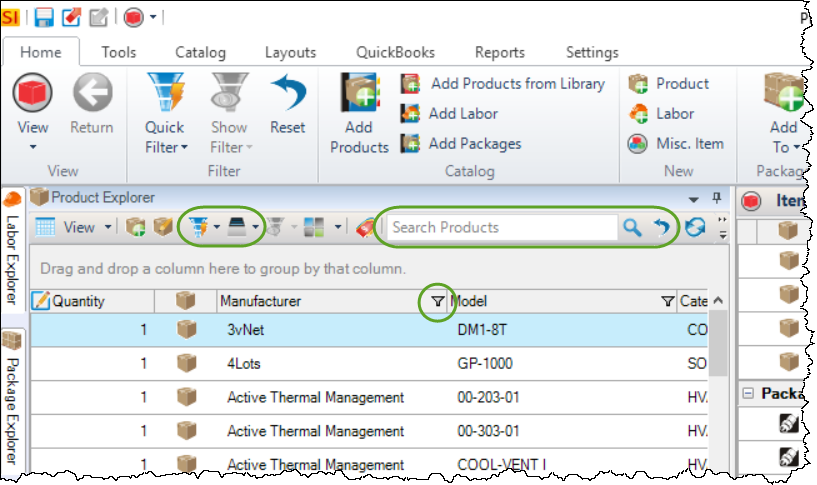
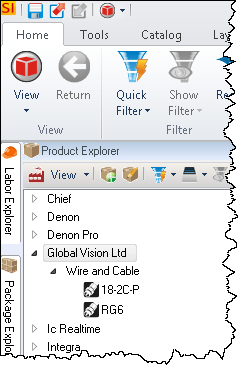
You can change your view from the default Grid view to a Tree view of your choice if desired:

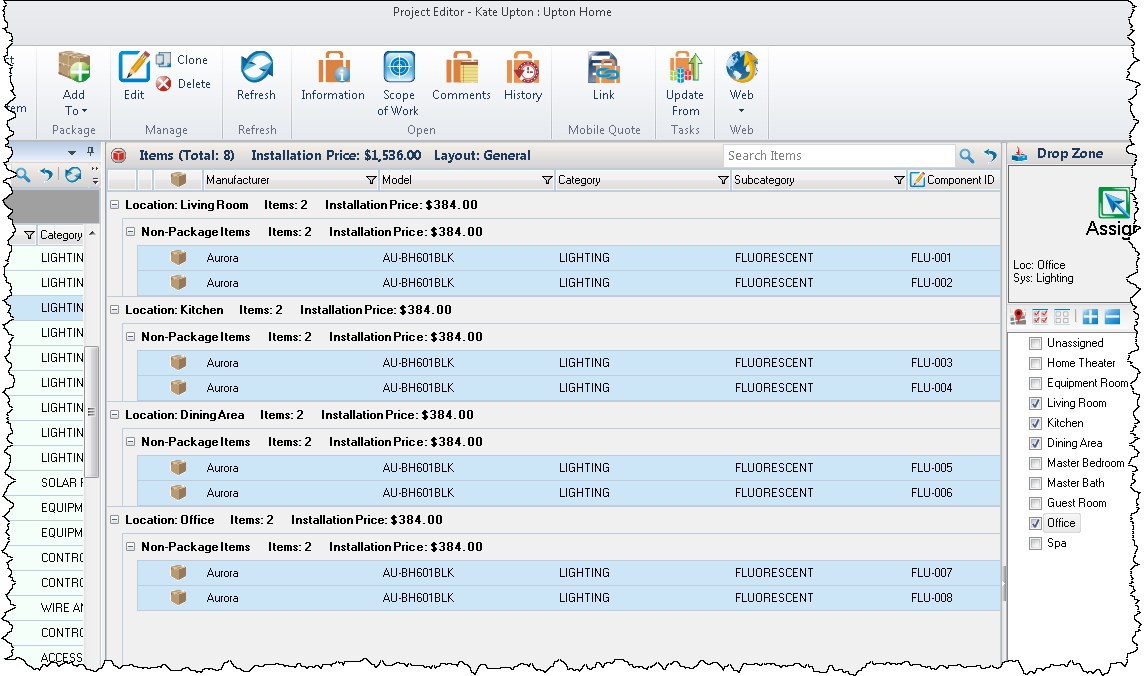
In the Drop Zone, make your selections for Location(s) and/or System and then click and drag the Item over to the Add section in the Drop Zone and let go of the mouse button. You can also drag and drop to anywhere in the Project Grid and the Location and System selections in the Drop Zone will be respected.

In the example above, two products were added to four different Locations (Living Room, Kitchen, Dining Area, and Office) as part of the Lighting System. Once added the items then display in the grid of the Project Explorer:
Additional Uses
In addition to adding items from your Catalog to the Project, you can also add items by cloning existing items within the Project.
You can also drag and drop items from one Project Explorer to another Project Explorer, i.e. drag from one Project to another.
- © Copyright 2024 D-Tools