Additional Files
Table of contents

Details
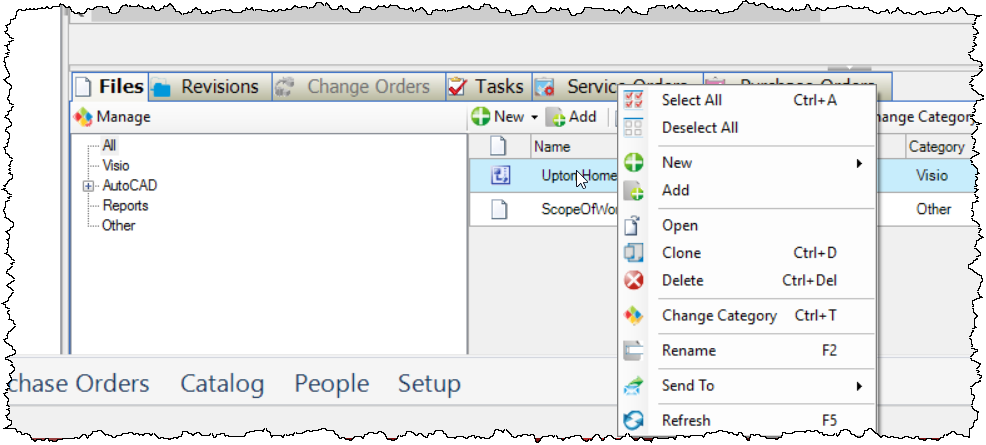
In the Project Explorer, additional Project files are listed in the bottom of the interface:

There are various functions available here for managing your "additional project files", accessible via the buttons or by right clicking on a file:
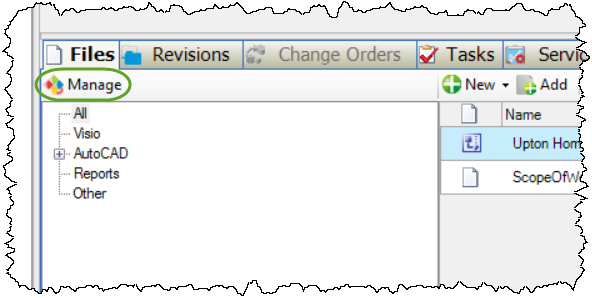
Categories
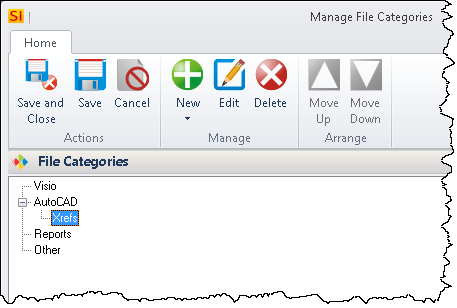
Along the left side, there is a default list of categories for organizing your project files. You can modify this list as you fit via the [Manage] button:
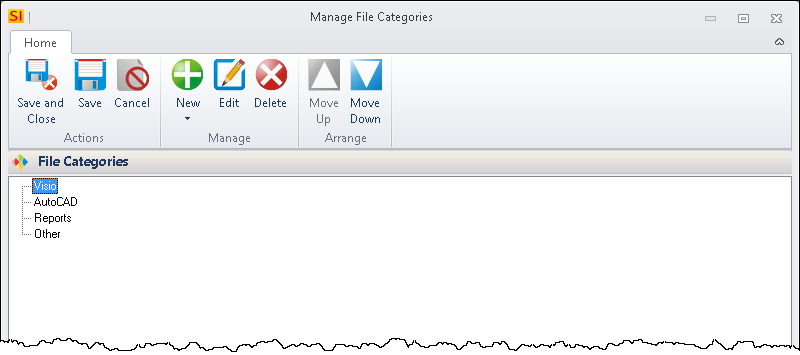
This will open a form where you can add/edit/delete categories:
You can also create up to one subcategory for each category for further organization of files.
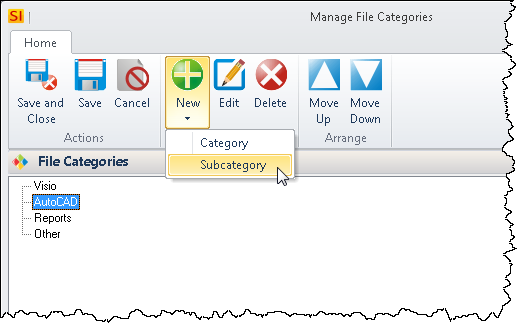
In the example below, I added a subcategory named "Xrefs" to the AutoCAD category:
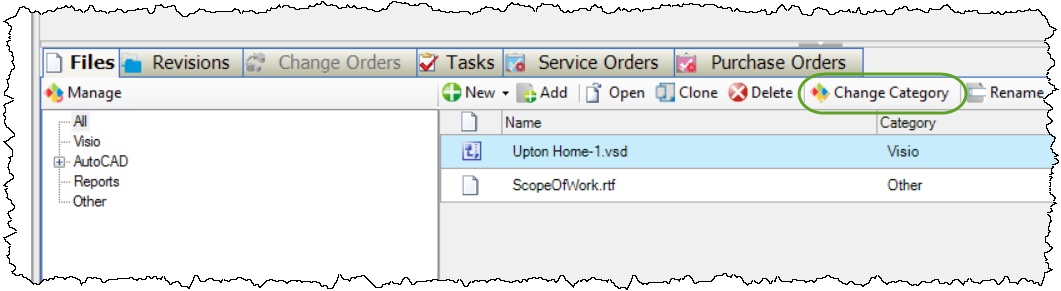
Once a file has been added, you can change the category at any time via the [Change Category] button:
New
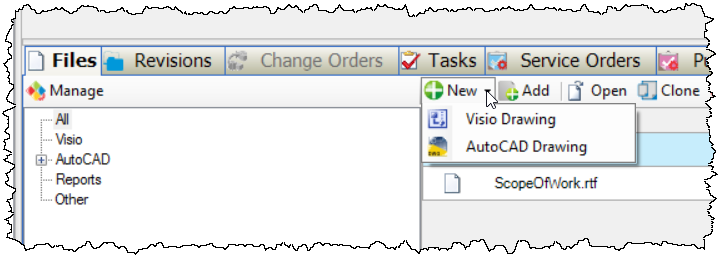
The [New] button allows you to create "linked" Visio and/or AutoCAD files. For more information, click here for Visio and here for AutoCAD.
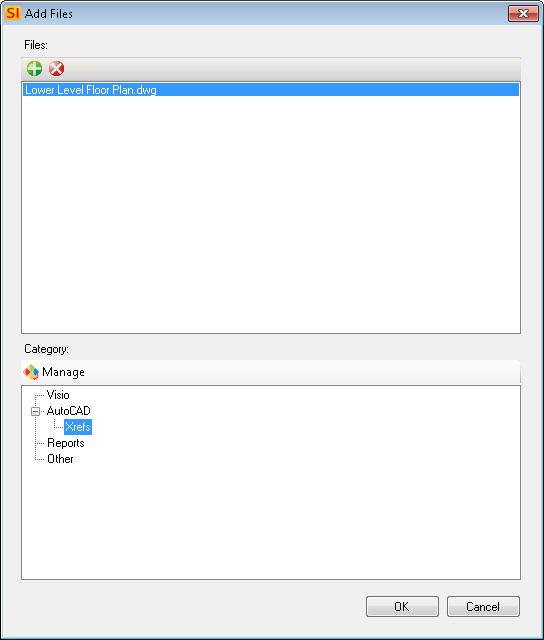
Add

The [Add] button is how you can add any file you desire to the list of project files. These could be PDF files of floor plans, Excel spreadsheets, etc. After browsing to your file(s), you will have the option of organizing them into categories via the following form:
Once done, you will be notified that the files will be copied to the project's folder:
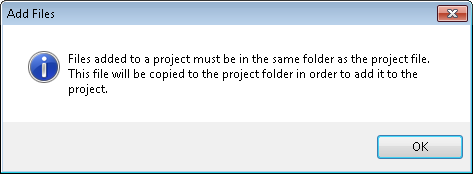
Note: You should NEVER manually move files in/out of project folders. Always use our functions within SI2016.
Open

This will open the selected file in whatever software the files natively open with, e.g. Visio in Visio, PDFs in Adobe Reader, etc.
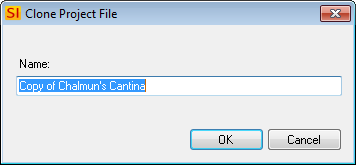
Clone
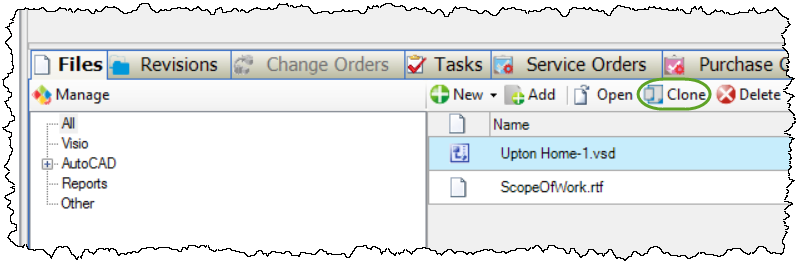
The clone button allows you to copy any of the files associated with a project.
Rename

Use this function to rename any files.
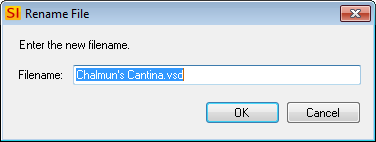
Note: You should NEVER manually modify project files in Windows Explorer. Always use our functions within SI2016.
Send To

This function allows you to zip any project files, zip and send via Outlook, or send a file to Mobile Install.
Add Accepted Documents

This function works in conjunction with the Customer Portal. Click here for details.
- © Copyright 2024 D-Tools