Equipment
Table of contents

Details
Products of Category Type "Equipment" are differentiated from other Products like Wire and Speaker.
General Tab
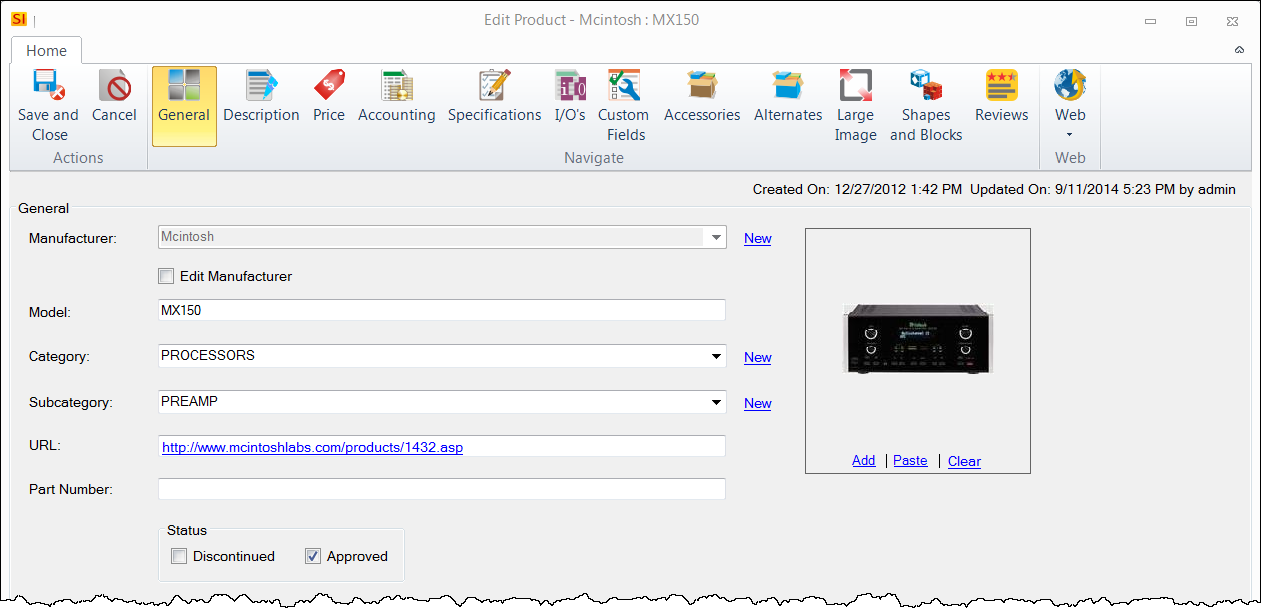
Manufacturer
The dropdown menu lists all the Manufacturers in your Catalog. Click the "New" link to create a new Manufacturer. This is a required field.
Model
This displays the Model number of the Product. This is a required field.
Category
The dropdown menu lists all the Categories in your Catalog. Click the "New" link to create a new Category. This is a required field.
Subcategory
The dropdown menu lists all the Subcategories in your Catalog. Click the "New" link to create a new Subcategory.
URL
Here you can set the link to a webpage for the product.
Part Number
Here you can enter in something other than the Model number to identify a Product.
Status
Here you can mark a product as Discontinued or Approved. Discontinued can be used to keep a Product in your Catalog, but not have it display on forms by default. Approved data automatically synchronizes to your SI 2015 Server for use by all User, unchecking this setting keeps your data changes local to your machine.
Image
Here you can add an image to a Product. You can use the Add, Paste, Clear functions or you can drag and drop images directly into the field.
Also there are Created On and Updated On fields that display in the upper right corner of the interface:
Description Tab
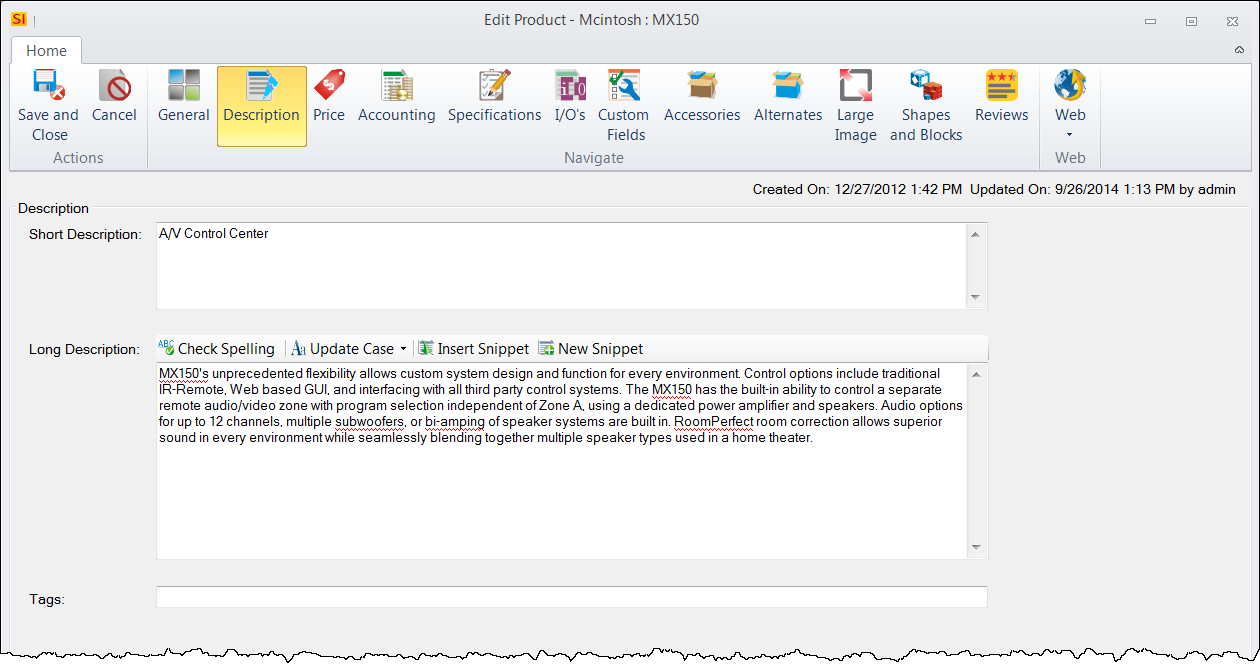
Short Description
Here you can enter a brief description for a Product for use on "internal" vs. client reports. Maximum of 255 characters.
Long Description
Here you can enter a longer description for a Product. When this field is populated, all client reports will use this description. If this field is blank, client reports will use the Short Description field.
You can change the setting on whether or not to use the Long Description field via Report Settings.
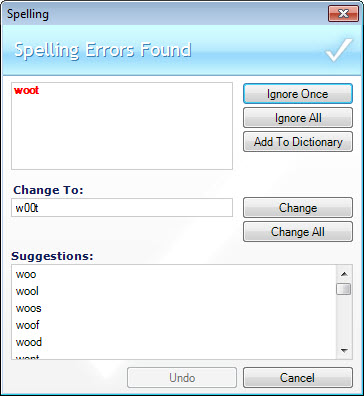
You can Check Spelling:

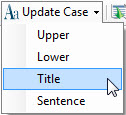
You can change the case of whatever you have selected in the Long Description field. Your options are: Upper, Lower, Title, and Sentence.
You can also insert an existing Snippet or add a new Snippet. See Snippets.
Tags
Here you can add tags to help identify Products while searching.
Price Tab
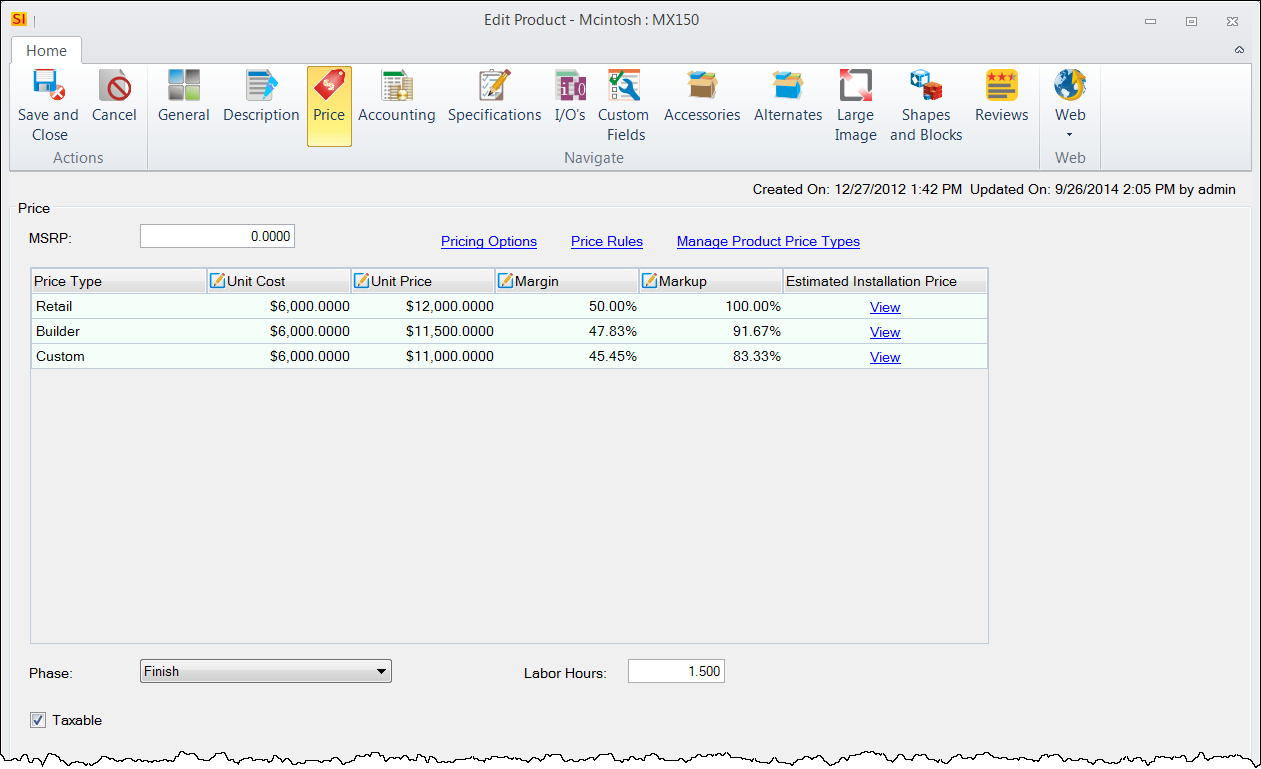
MSRP
Here you can enter the "manufacturers suggested retail price". This does not add any value to the Product. Use this as a reference point for how you set your Unit Cost and/or Unit Price. The MSRP field is commonly used in Price Rules.
Price Type
There are 12 Price Types available. In this example there are three displaying and they are named: Retail, Builder, and Custom. You name these fields under Manage Price Types. You can uncheck any you don't want to use. Many users just set one Unit Cost and Unit Price per Product.
There are four fields available for each Price Type:
Unit Cost
Enter how much the Product costs you
Unit Price
Enter how much you sell the Product for
Margin
Margin =(1 - (Unit Cost / Unit Price)) x 100. This field calculates automatically for you based off of the Unit Cost and Unit Price. See "Pricing Options" below.
Markup
Markup = (Selling Price - Product Cost) / Product Cost * 100%. This field calculates automatically for you based off of the Unit Cost and Unit Price. See "Pricing Options" below
Phase
Here you can assign a Phase to a Product, generally something like: Rough-In, Trim, or Finish. Phases can determine what labor rate should be applied to the Product multiplied by the Labor Hours (see below). See Labor Considerations for more information regarding charging for labor this way. See Phases for labor rate settings.
Labor Hours
Here can add the number of hours you estimate (or know) that it will take to install a Product. When used in conjunction with the Phase field, labor may be calculated depending on how you have chosen to charge for labor in SI 2015. See Labor Considerations for more information.
Taxable
This determines whether a Product is taxable. This field will be replaced with two drop fields depending on your Tax Settings.
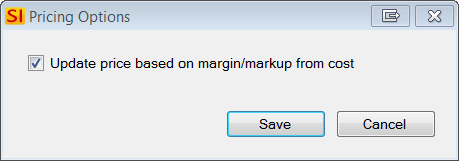
Pricing Options
This option is checked by default. This will automatically change your Unit Price based on the existing Margin and Markup when you change the Unit Cost for a Product.
Price Rules
Clicking this link will allow you to use Price Rules to set the pricing fields for the Product. See Price Rules.
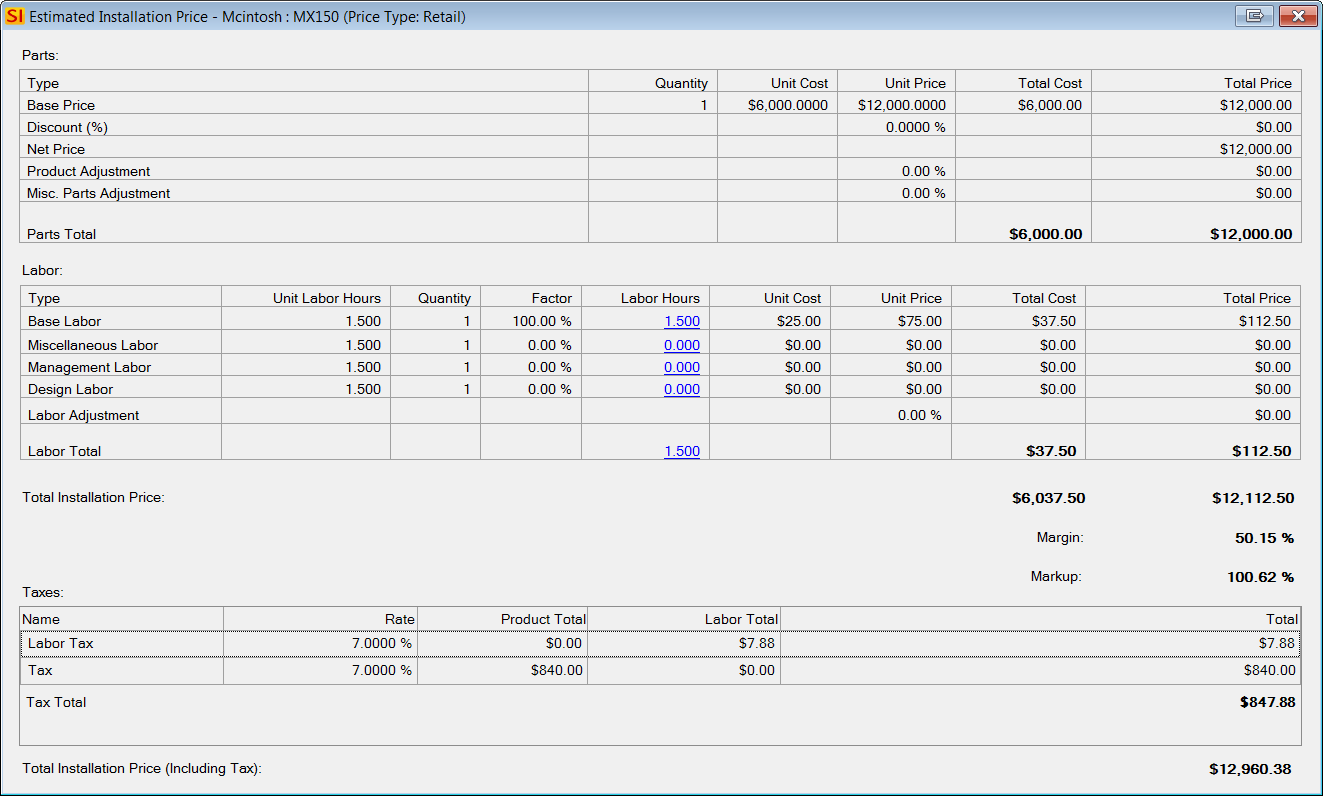
Estimated Installation Price
Clicking the "View" link in this column will show you the estimated installation price for the Product which will include labor, taxes, and Price Adjustments if applicable.
Accounting Tab
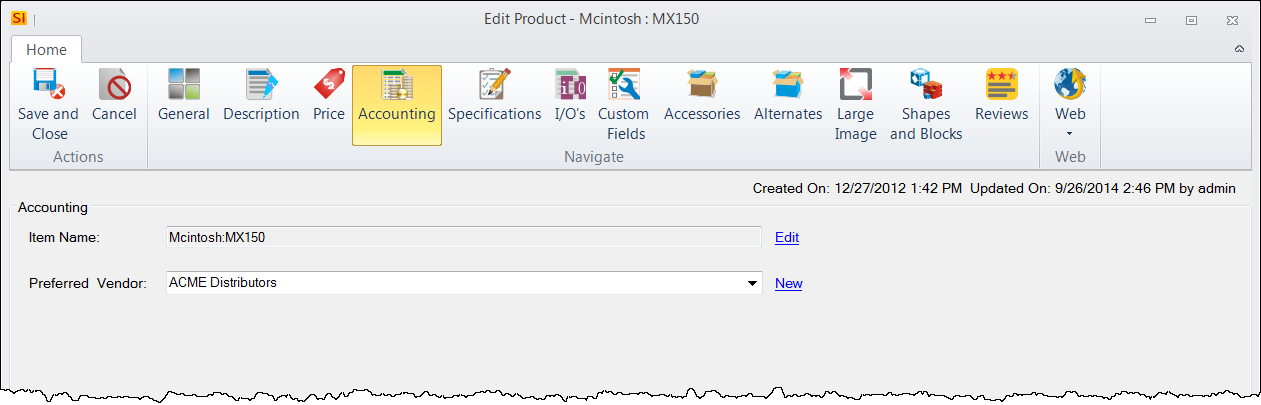
Item
This field will display the QuickBooks Item Number when using our QuickBooks Integration. You can also manually enter an "accounting ID" from your own accounting software.
Vendor
This field will display the QuickBooks Vendor when using our QuickBooks Integration. You can also manually enter a vendor from your own accounting software.
Specifications Tab
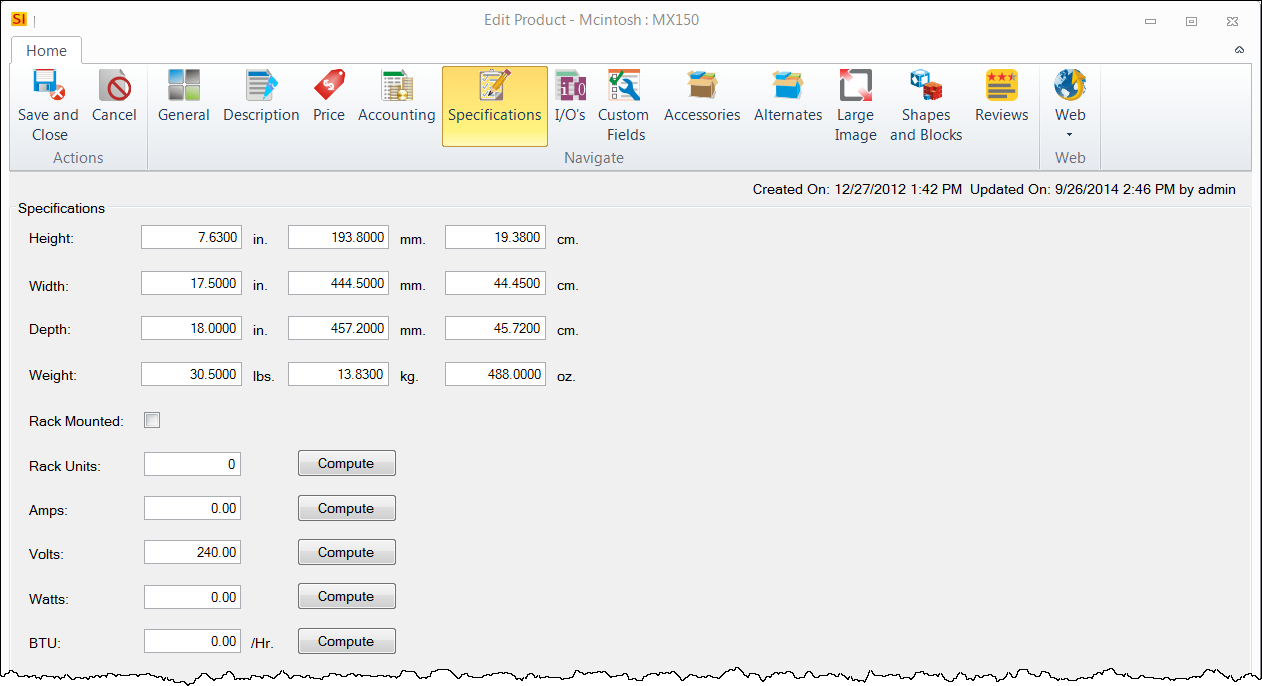
Height
Here you enter the Height of the Product. Enter in any field to calculate inches, millimeters and centimeters.
Width
Here you enter the Width of the Product. Enter in any field to calculate inches, millimeters and centimeters.
Depth
Here you enter the Depth of the Product. Enter in any field to calculate inches, millimeters and centimeters.
Weight
Here you enter the Weight of the Product. Enter in any field to calculate pounds, kilograms and ounces.
Rack Mounted
Checking this box change the look of the Elevation shape/block for the Product.
Rack Units
This must be filled in for racks in your Catalog in order to use the SI 2015 Elevation Rack shape in the Visio interface. You can certainly fill this in for any other Products where you want to track the height in rack units in addition to actual height, or use the [Compute] button to calculate it for you based on Height.
Amps
Here you enter the Amperage of the Product.
Volts
Here you enter the Voltage of the Product.
Watts
Here you enter the Wattage of the Product.
BTU
Here you enter the BTU / hour of the Product.
I/O's Tab
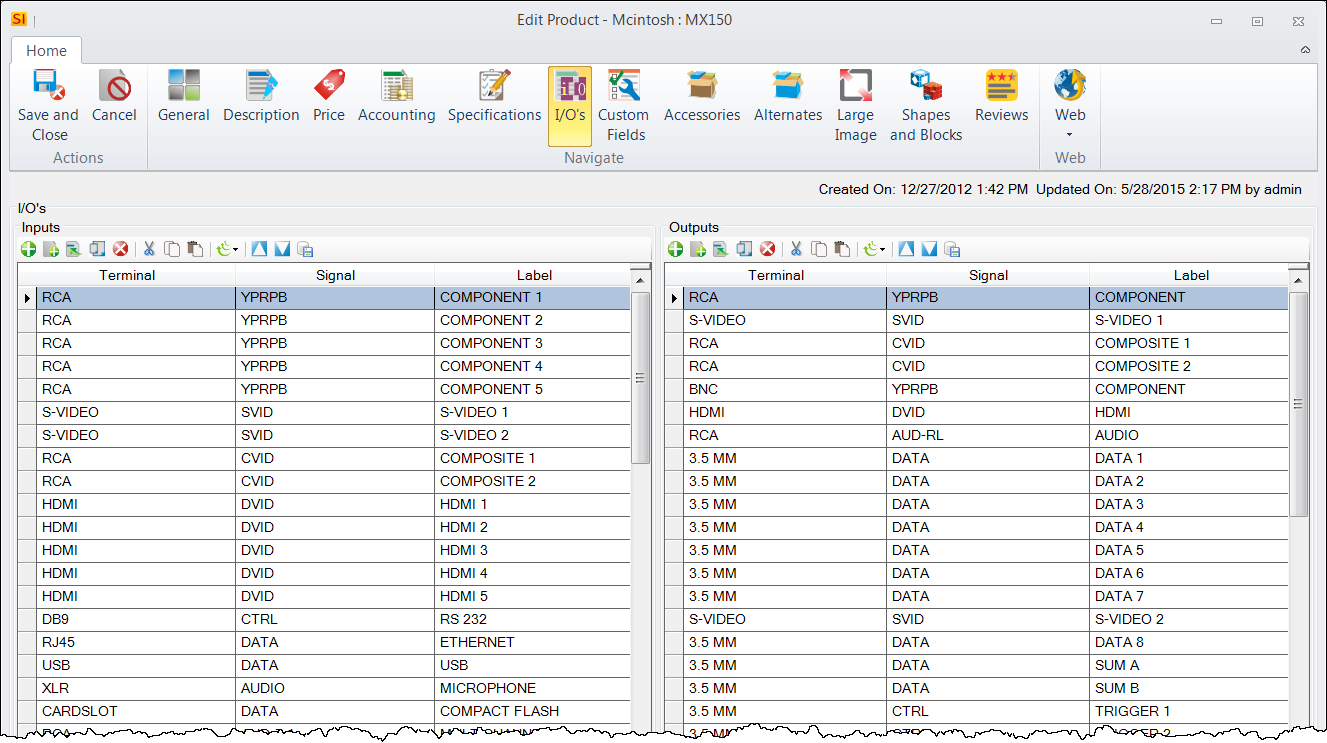
This displays the Inputs and Outputs (I/O's) assigned to a Product. There are buttons for adding/deleting/etc. For details on all of the functions, click here to see the I/O Studio page. I/O's are used to populate the Schematic shape/block in our Visio and AutoCAD interfaces.
Custom Fields Tab
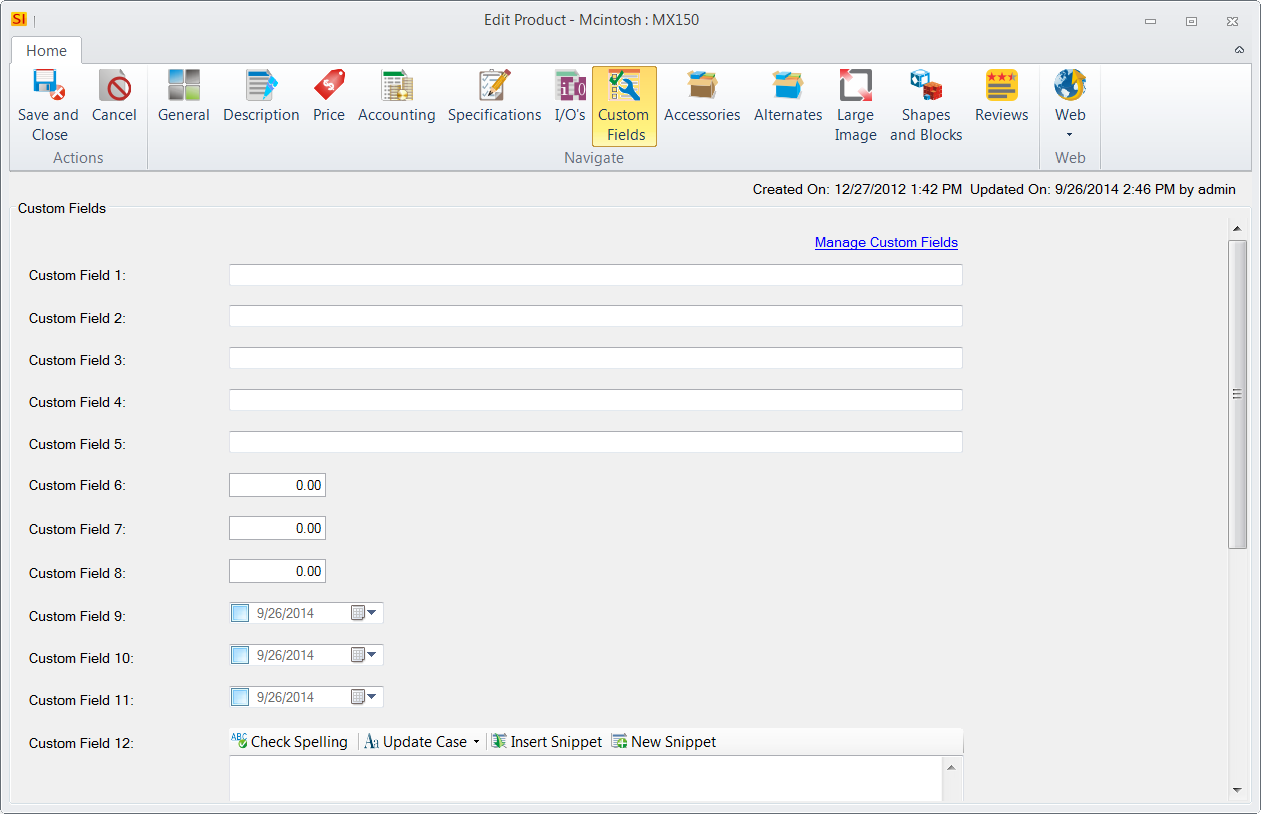
Here you can set Custom Fields for a Product. There are five Short Text fields, three number fields, three date fields, and three long text fields. Clicking the Mange Custom Fields link will allow you to name these fields.
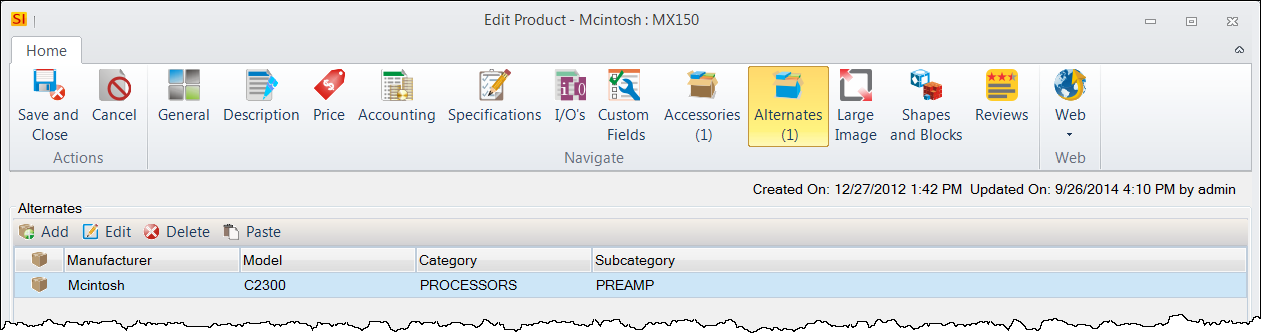
Accessories Tab

Here you can add Products and/or Labor Items to a Product. Click here to learn about Accessories.
Large Image Tab
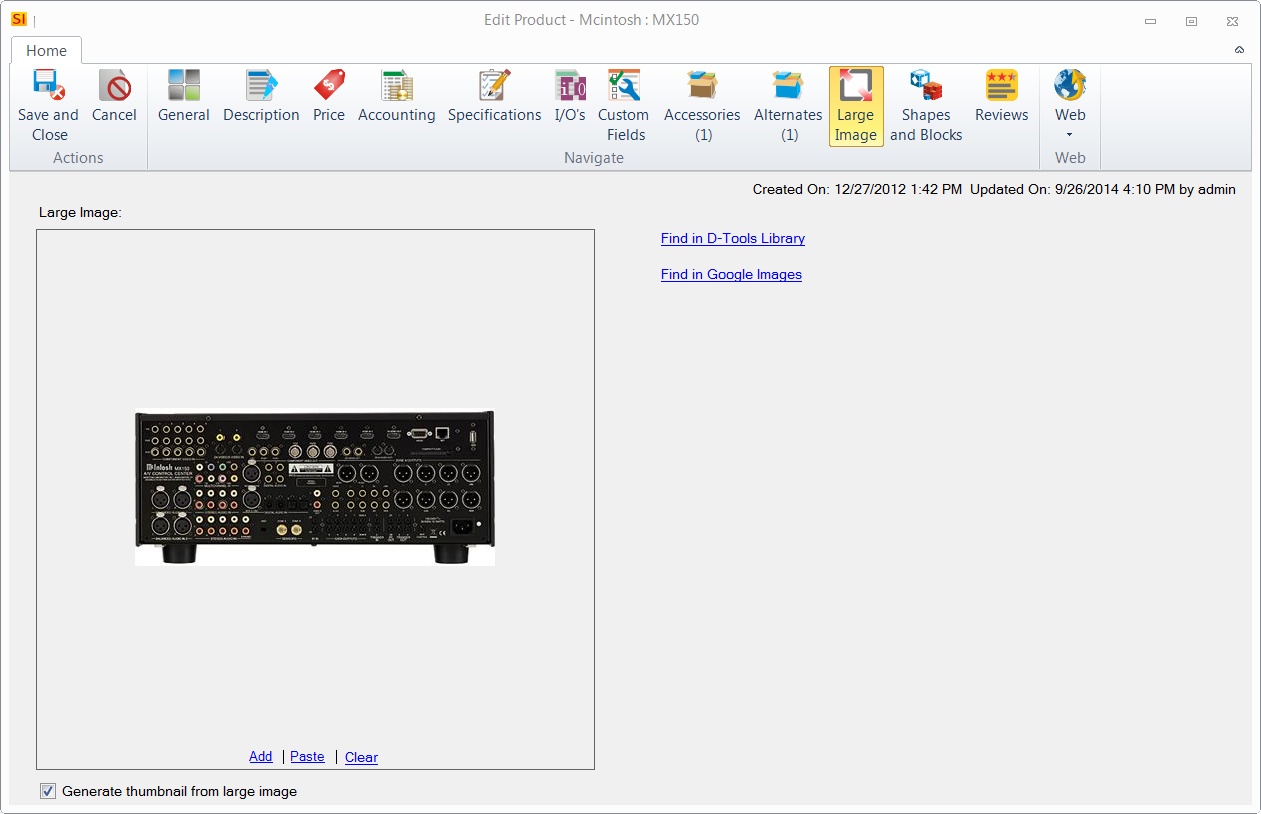
Here you can add a larger image than the thumbnail image that displays on the General Tab. This image is what will be used in Visio when creating a Line View Page. You can use the "Find in D-Tools Library" or "Find in Google Images" links to help you find an image. Use the Add, Paste, and Clear links to manage your image.
Generate thumbnail from large image - This will generate a smaller image on the General Tab that will be used in some Proposal Reports. If you want to maintain separate images, uncheck this box. Default is checked.
Shapes and Blocks Tab
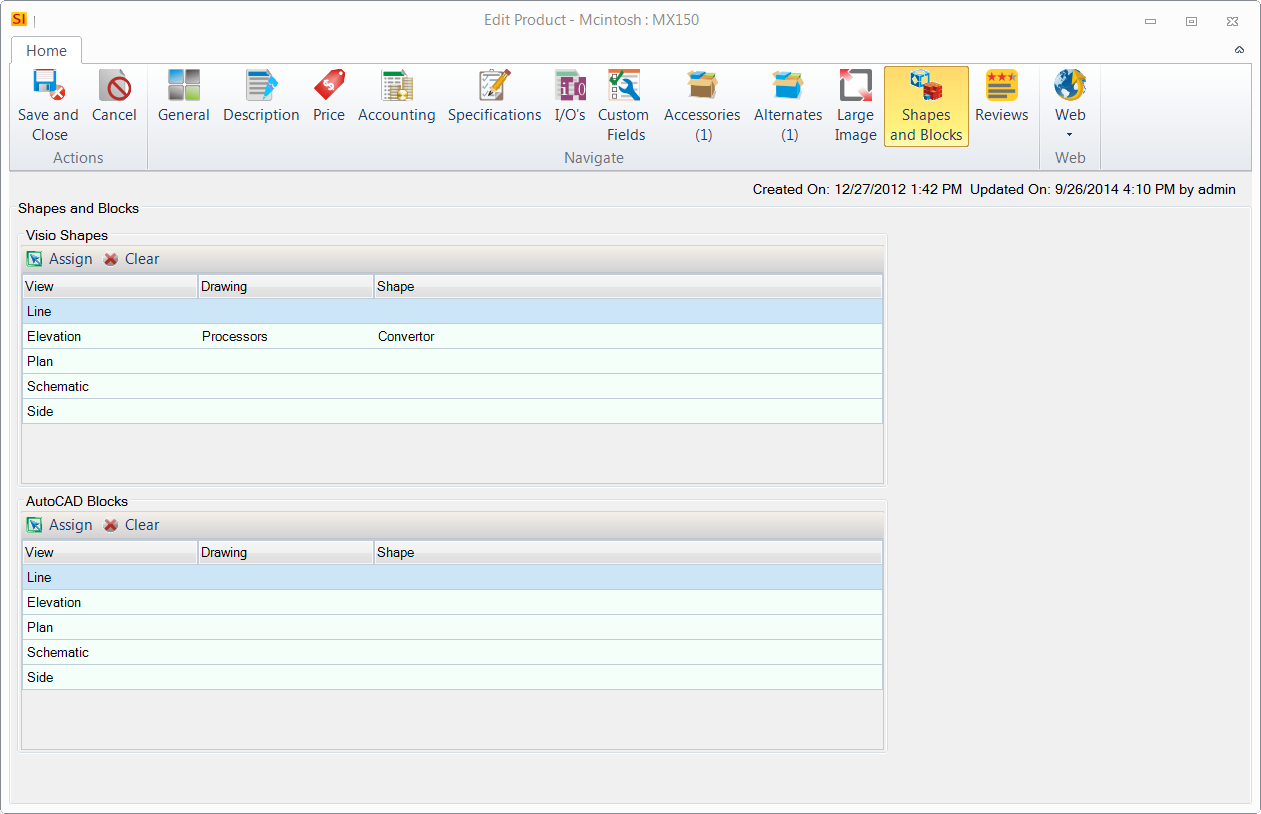
Here you can set overrides for the default Visio Shapes and AutoCAD Blocks that drop on pages in our Visio and AutoCAD interfaces. You can override the defaults for all Page Types: Line, Elevation, Plan, Schematic, and the side view that displays on Elevation pages. You can use other SI 2015 Visio Shapes/AutoCAD Blocks or your own custom shapes/blocks. You can use the [Assign] and [Clear] buttons to manage your selections.
Another way to manage your shape assignments is directly in the Visio Interface: Assign Shapes to Categories, Assign Categories to Shapes, Assign Product and Category.
Reviews Tab
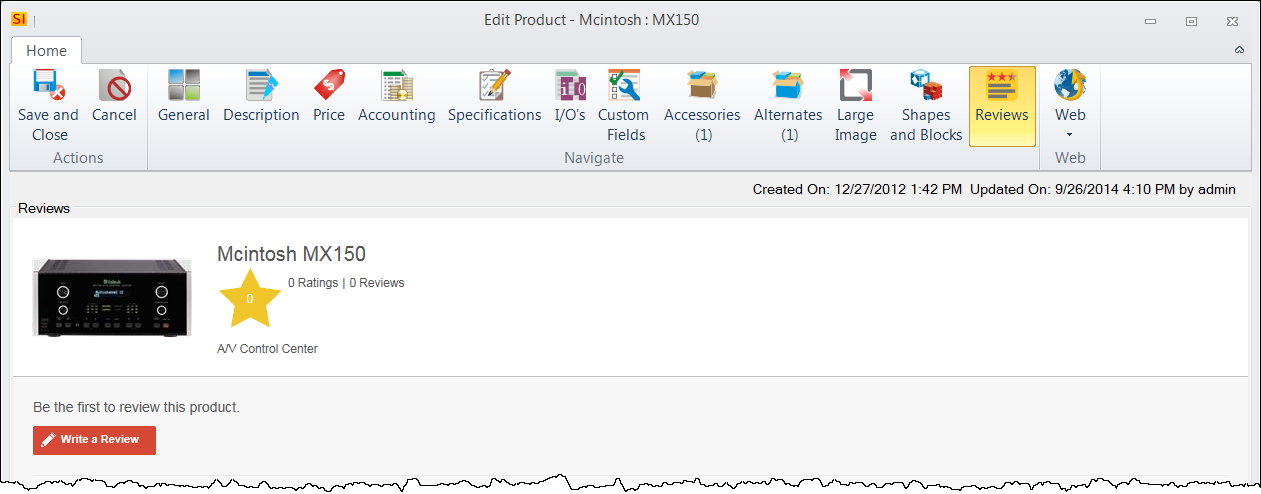
The Reviews tab allows you view and write a review about a Product.
Web Tab
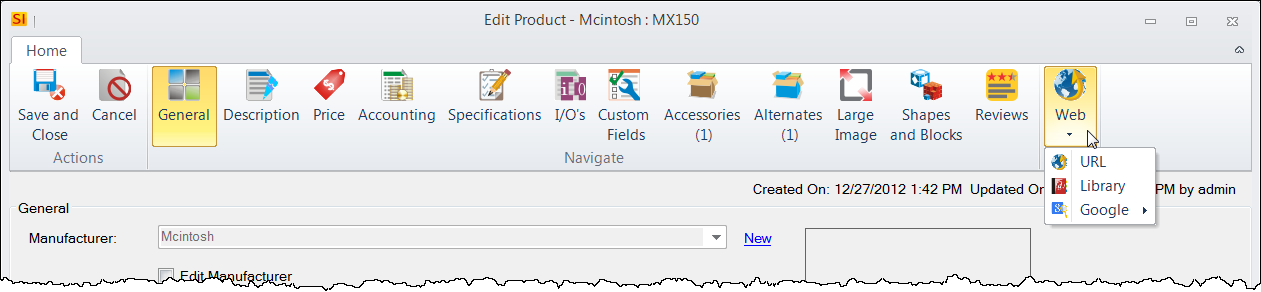
The Web tab allows you to search online for more information about a product.
URL
This opens a browser to whatever link you have in the URL field on the General tab.
Library
This opens a browser to this product within the D-Tools Library viewer.
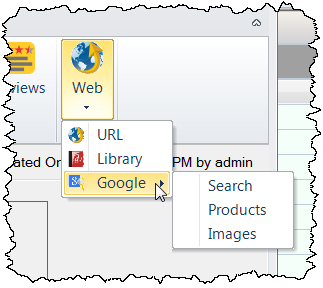
The search is based on the Manufacturer and Model fields. You can choose between Search, Products, or Images.
Additional Fields Within Projects
When a Product has been added to a Project, there are additional fields added.
General Tab
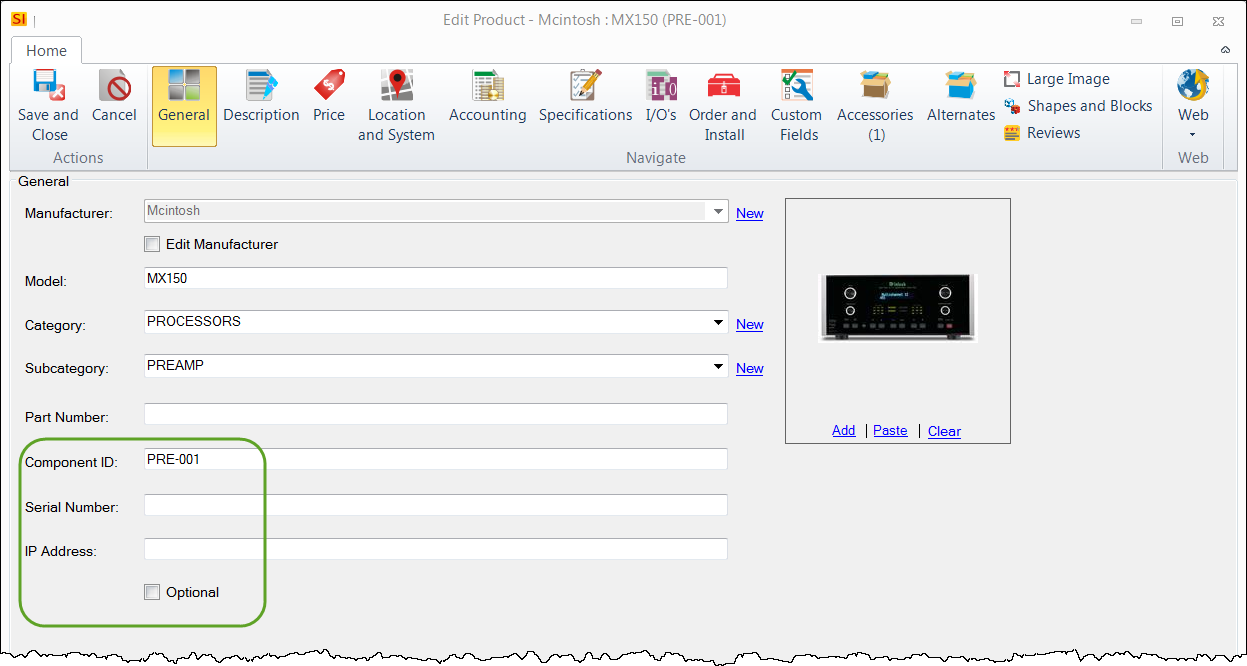
Component ID
This will display the auto-generated Component ID for the Product. This is a unique number given to every Product and Labor Item added to a Project. Click here to see how to set your Component ID. You can override this number by typing in the field.
Serial Number
Here you can enter the Serial Number for a Product. This can be useful for reference and on Service Orders.
IP Address
Here you can enter the IP Address for a Product.
Optional
This will mark the Product as Optional. Click here for details.
Price Tab
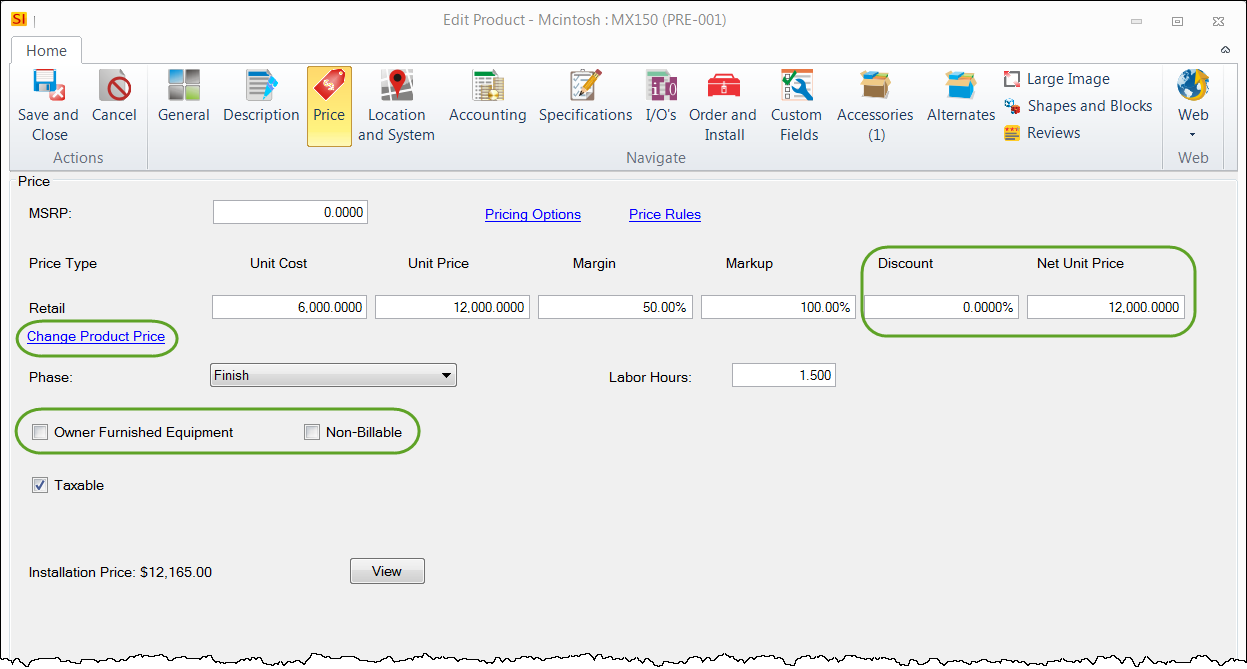
Discount
Here you can enter a discount percentage for the Product. By default, this discount field changes the price that is displayed on Proposal reports and not discount amount is displayed. There is a Report Setting that allows you to display the discounted amount in the Project Summary section of the Proposal.
Net Unit Price
This field will show the unit price after the discount is applied.
Owner Furnished Equipment
Checking this option will zero out the Unit Cost and Unit Price for a Product. If charging for labor using Phase and Labor Hours, the labor will still be charged for the Product. See Labor Considerations.
Non-Billable
Checking this option will not zero out the Unit Cost and Unit Price for the Product on this form, but it is zeroing out the Price of the Product within the Project file, but not the Cost. It also zeroes out any labor being charged for the Product, but not the Cost of the Labor. This option is useful for Products that you want to use on Drawing Pages that "come with" another product and should not be charged for within a Project.
Change Product Price
This will allow you change to any one of your 12 available Price Types.
Location and System Tab
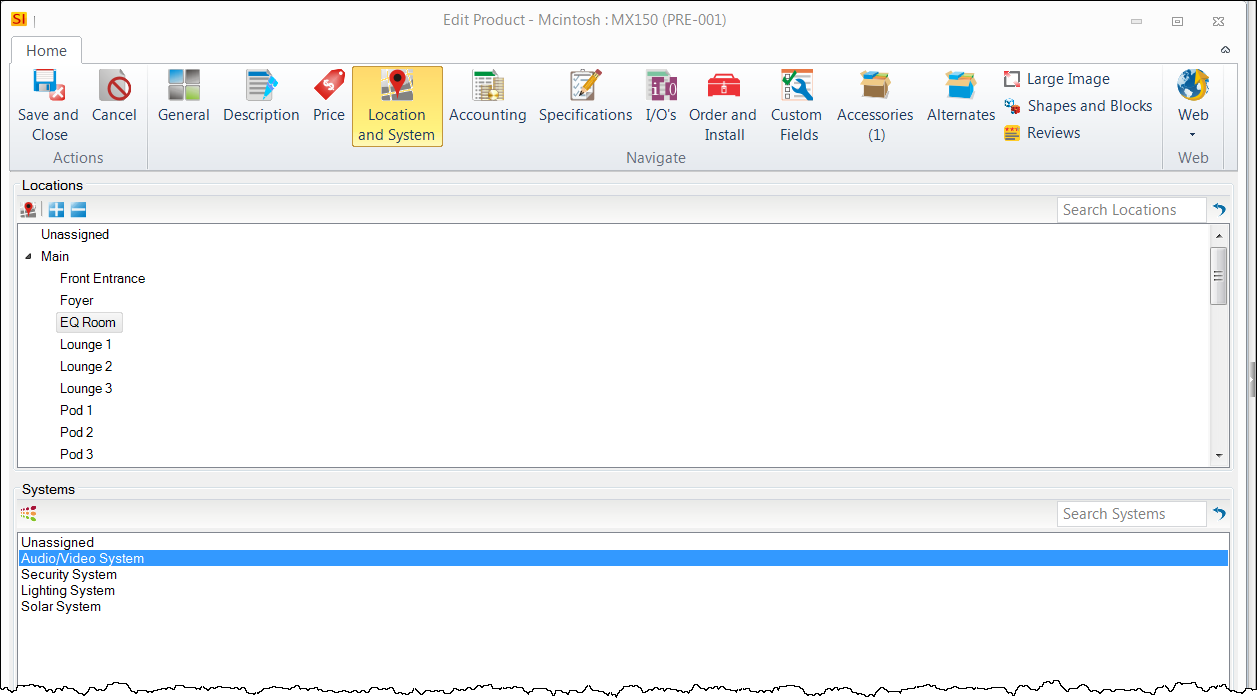
This displays the Location and/or System that the Product is assigned to within the Project. You can edit your Locations and Systems here via the buttons. See Location and System Settings.
Accounting Tab
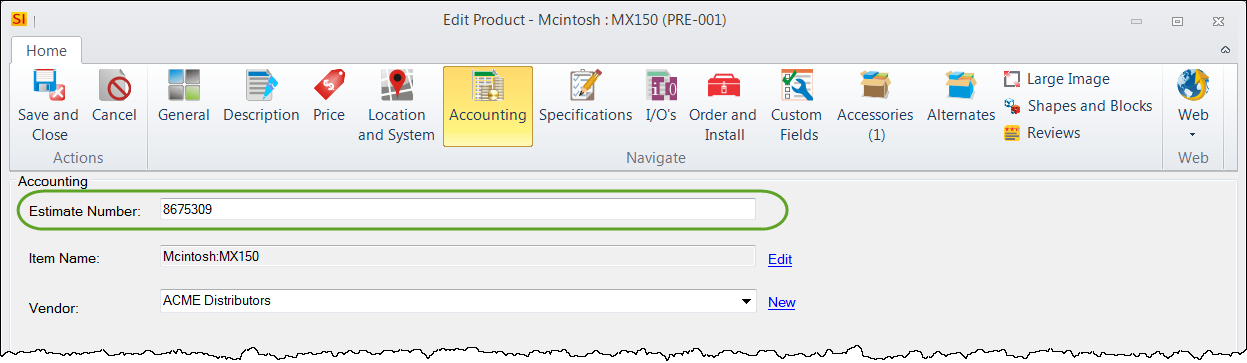
Estimate Number
This field will display the QuickBooks Estimate number when using our QuickBooks Integration. This field is editable.
Order and Install Tab
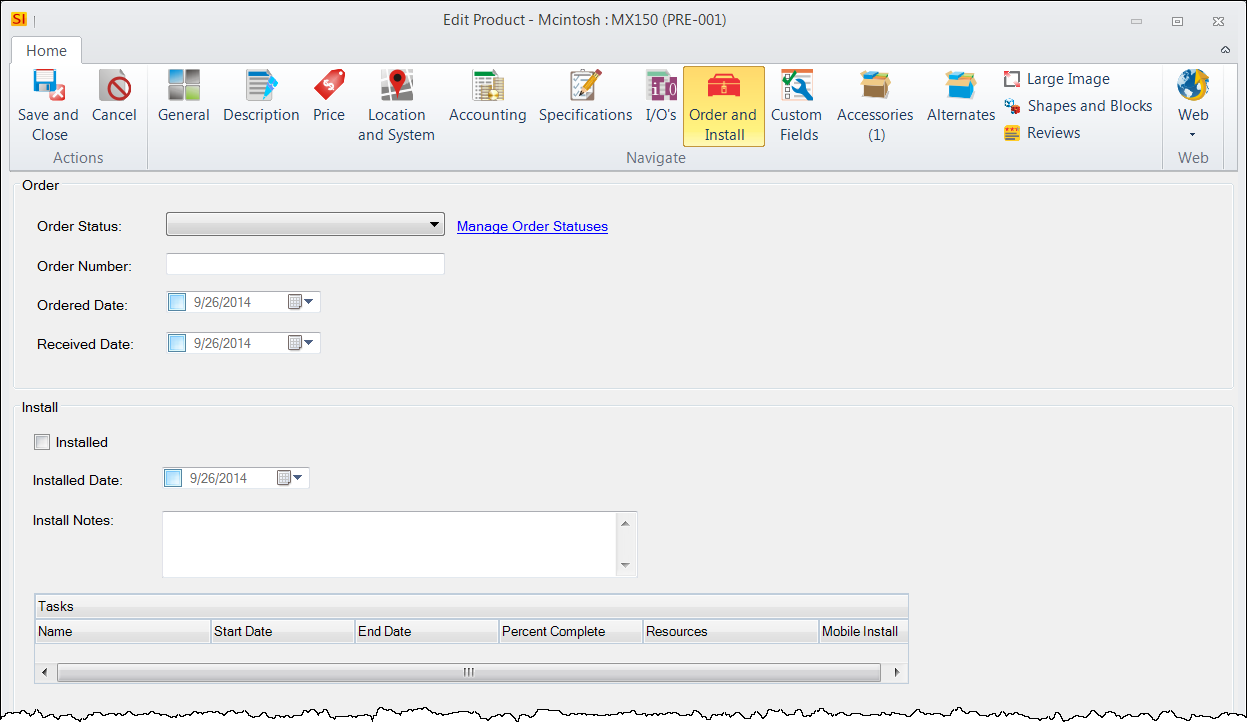
Order Status
Here you can set the order status of the Product choosing from: Not Ordered, Ordered, and In Stock/Received or any custom Order Status that you have created.
Order Number
This field can be used to enter the Purchase Order number for the Product. There is no Purchase Order functionality in SI 2015 so this number would come from some external source, possibly QuickBooks.
Ordered Date
Here you can set the order date of the Product.
Received Date
Here you can set the received date of the Product.
Installed
Checking this box will mark the Product as "Installed" on in the Project and on any Task this Product is a part of.
Installed Date
Here you can set the install date of the Product.
Installed Notes
Here you can enter any installation notes for the Product.
Tasks
This will list the Task to which the Product has been assigned.
- © Copyright 2024 D-Tools