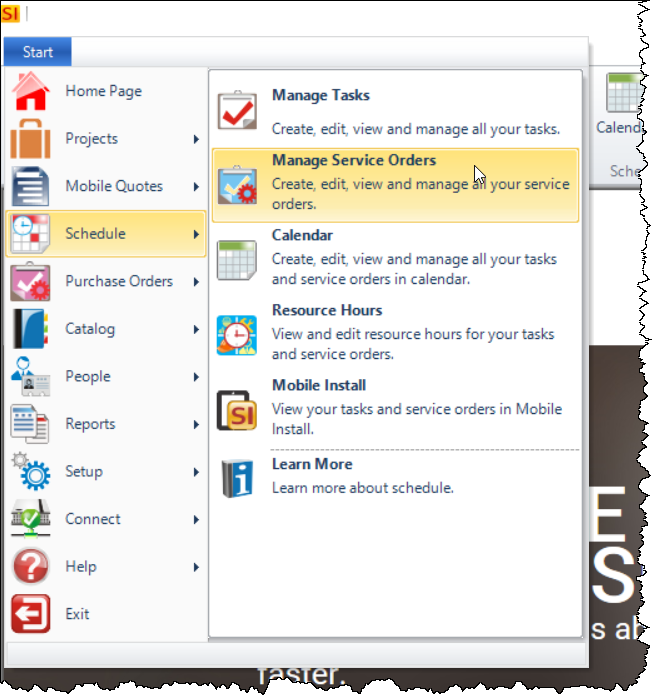
Managing Service Orders (MI)
![]()
Details
When you log in to Mobile Install, the first page that displays is your Dashboard that displays your Tasks and Service Orders that have been published from SI 2016.
They are categorized by Not Started, In Progress, Completed, and Overdue.
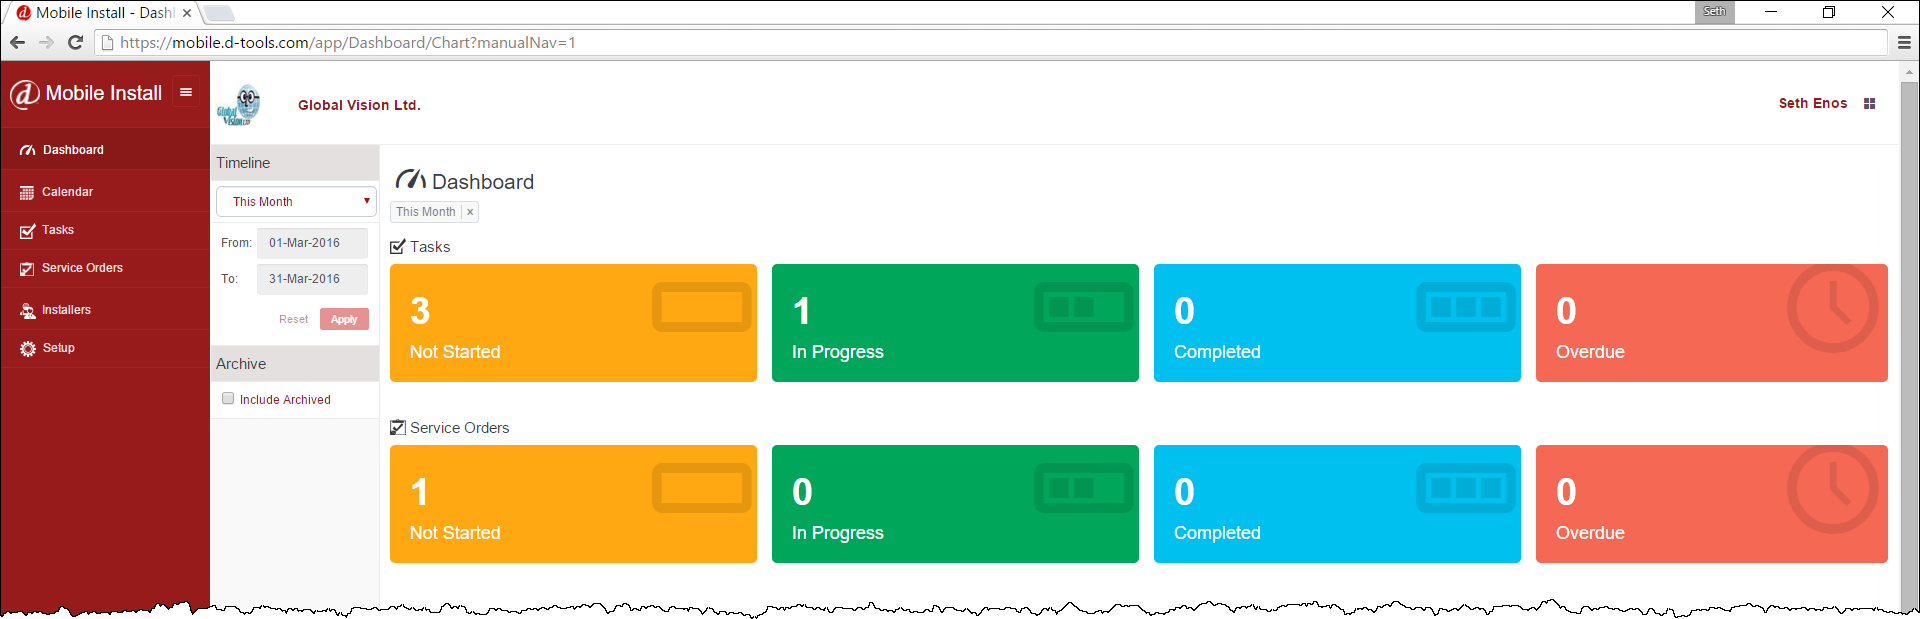
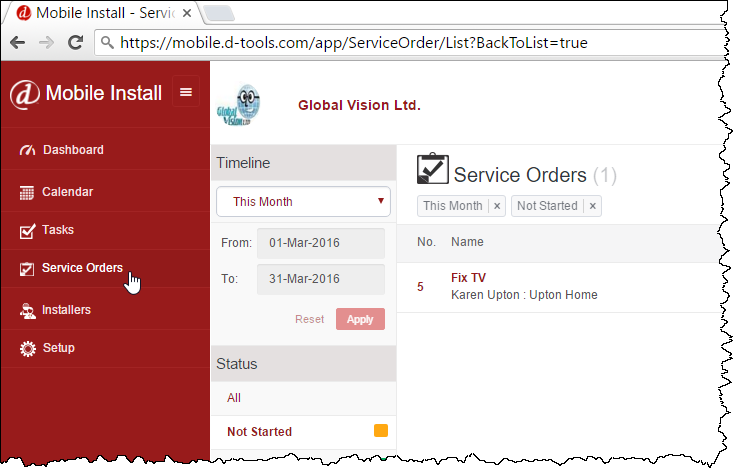
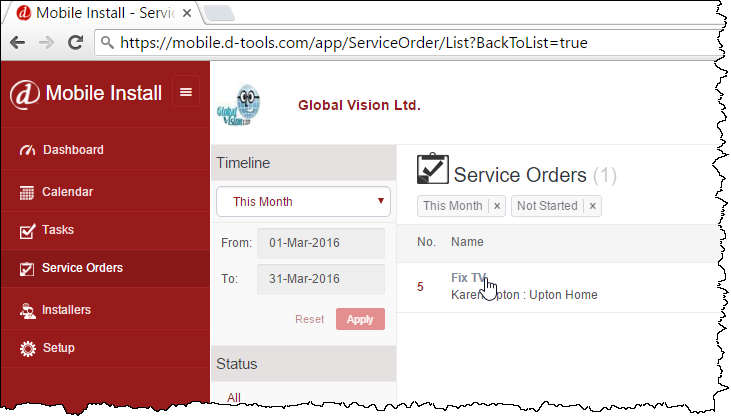
Click on any of the buttons to see those categorized Service Orders, or click the Service Orders button on the left side of the page:
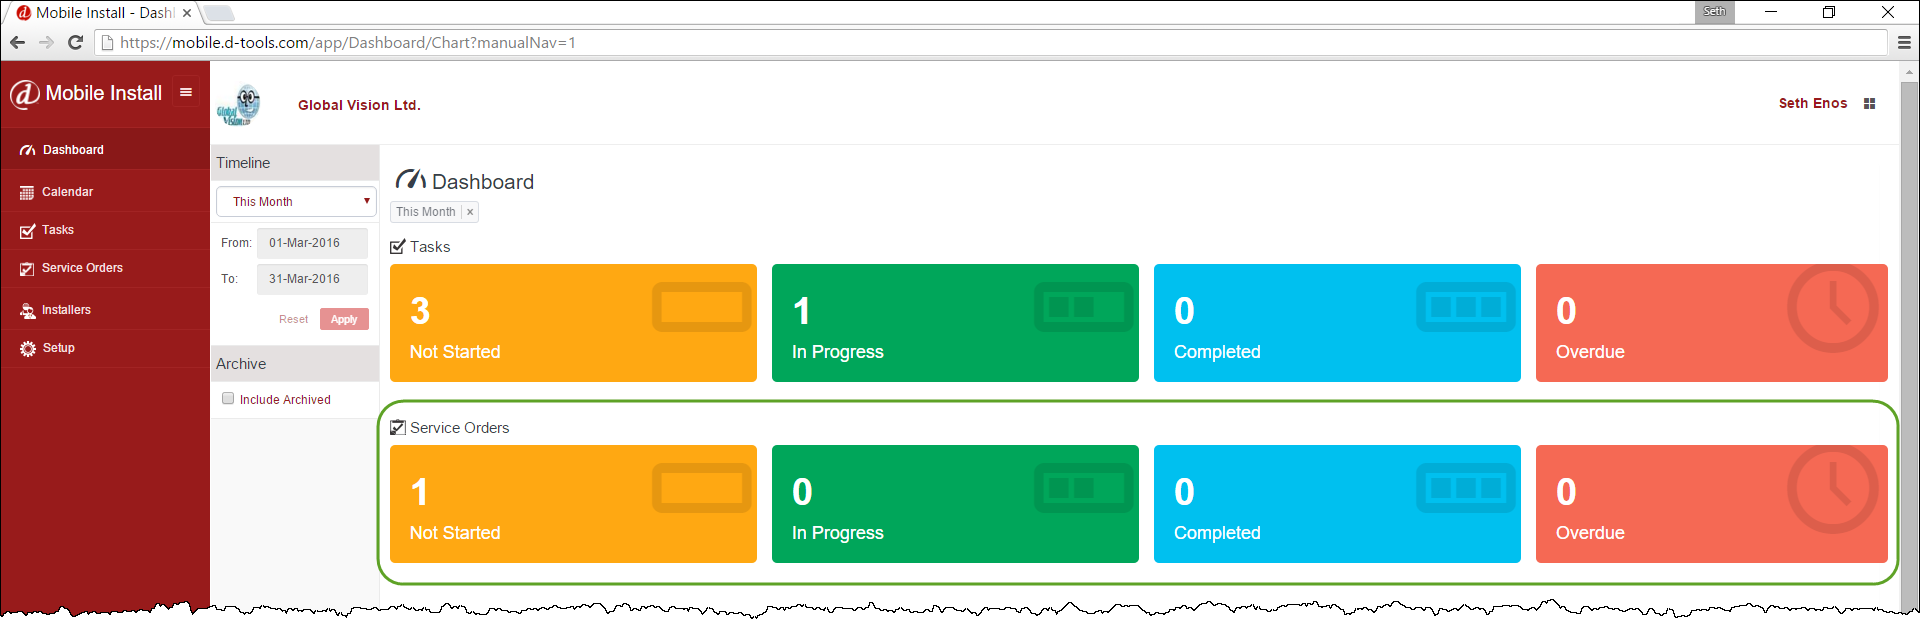
This will open the Service Orders page and display the Service Orders based on your selection:
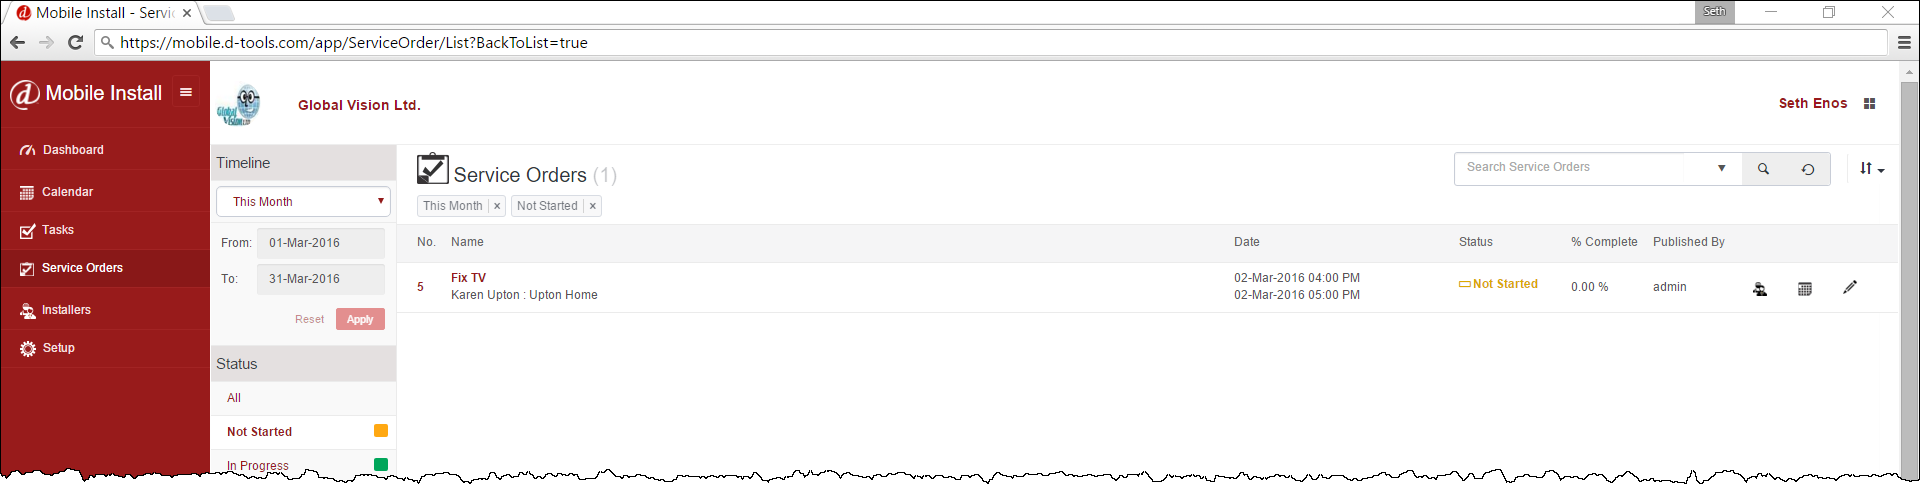
The left side of the page has a Timeline section where you can choose to view Service Orders within a date range.
Click on a Service Order to edit it.
This will open the following page where you can can edit the Service Order.
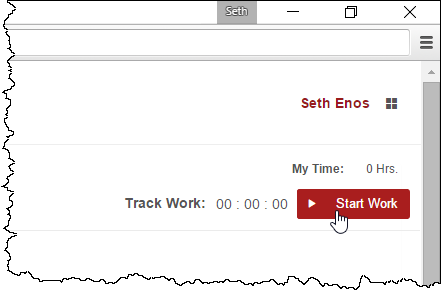
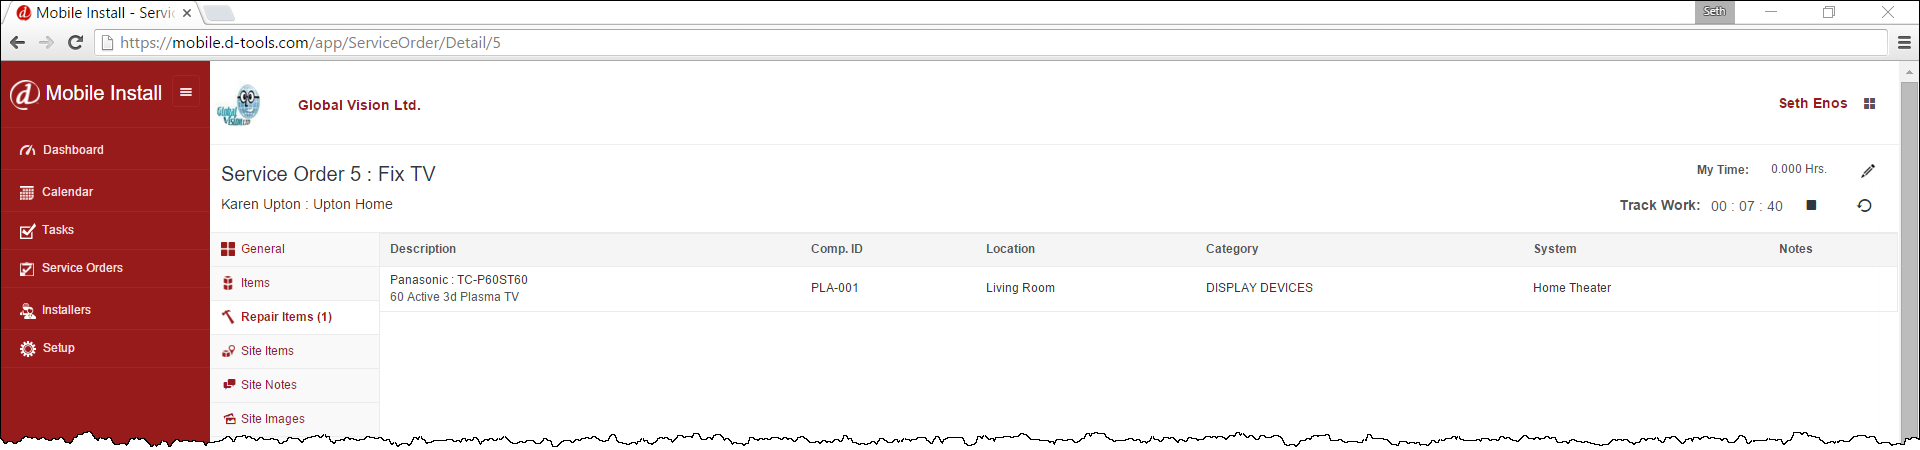
Track Work
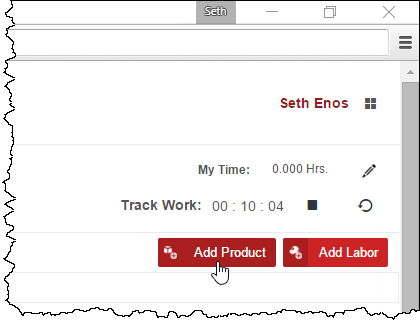
In the upper right corner of the Service Order interface there is a Track Work section that has a timer that will start when you click the [Start Work] button. Using this is optional as you can manually enter your hours if you prefer.
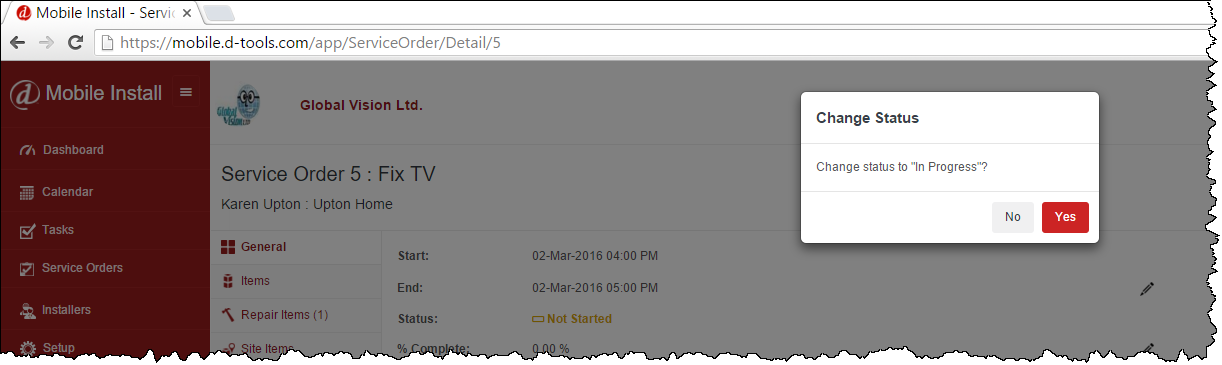
When you click the [Start Work] button, if the Service Order is not already marked as "In Progress", you will be asked if you want to change the Status of the Service Order:
When you click the Stop button for the timer you will get a prompt on what you would like to do with the time:
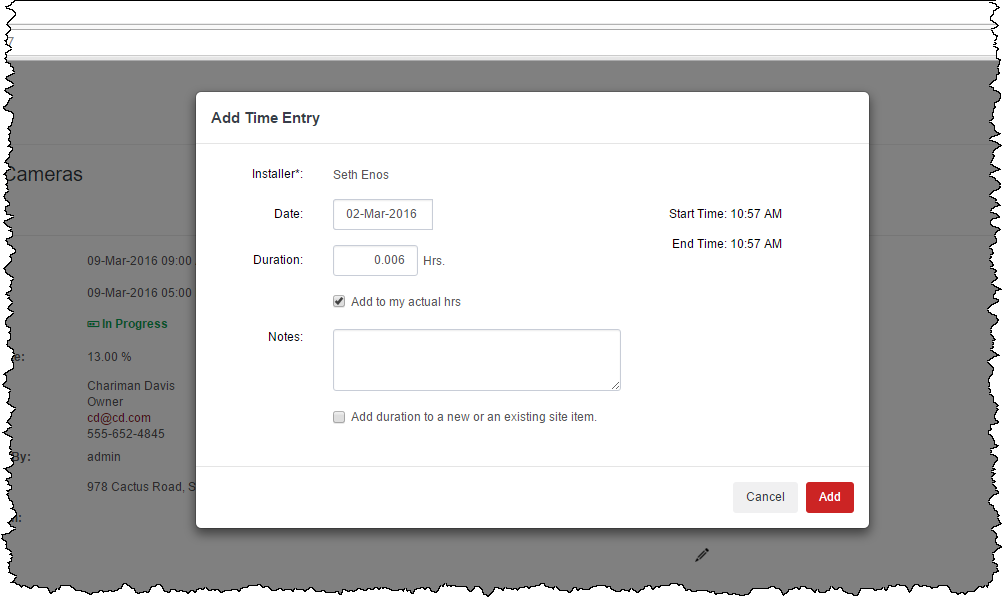
If you have chosen to use Time Sheets vs. a single actual hours field for a Service Order, you will see a slightly different prompt here just asking whether or not the time is billable. See further down on this page for information on Time Sheets and the Actual Hours field.
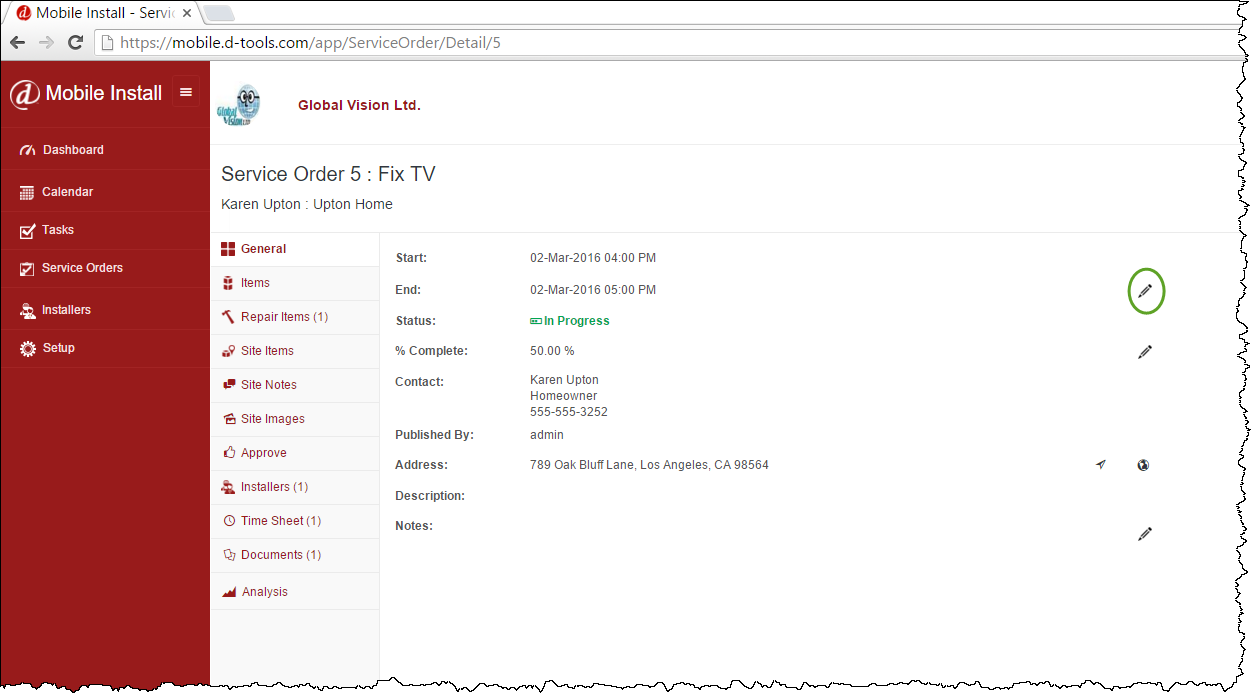
General Tab
The General tab has general information about the Service Order, some of which is editable via the pencil icon:
Items Tab
The Items tab lists all of the individual Items that have been added to the Service Order:
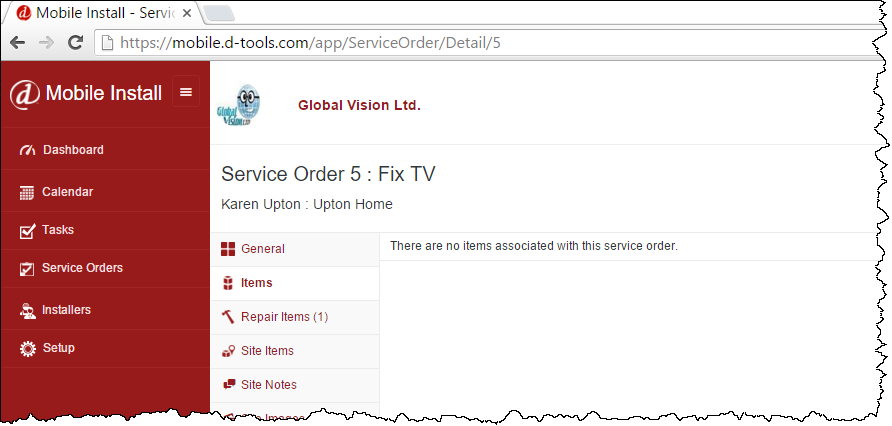
Note: Often times this will be blank as you may not know what Items to add to a Service Order ahead of time.
Repair Items Tab
The Repair Items tab will display any Repair Items that were added to the Service Order:
Site Items Tab
The Site Items tab allows you to add Products or Labor to the Service Order directly in the Mobile Install interface.
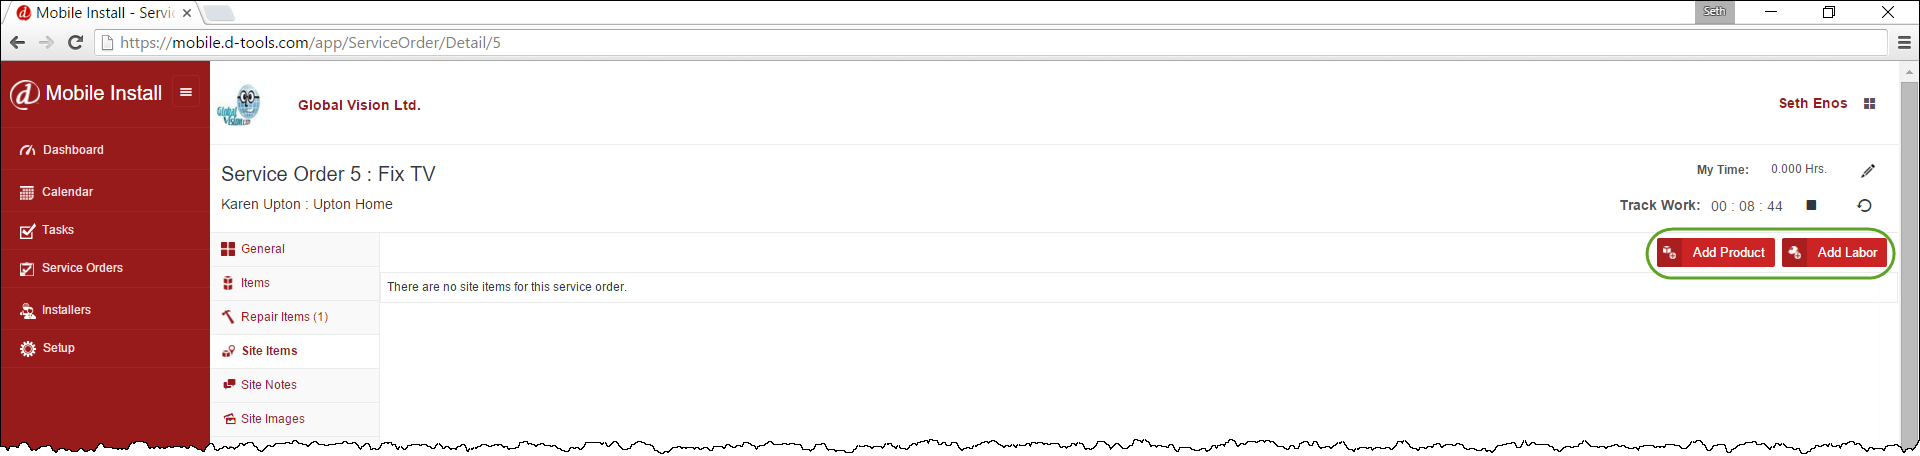
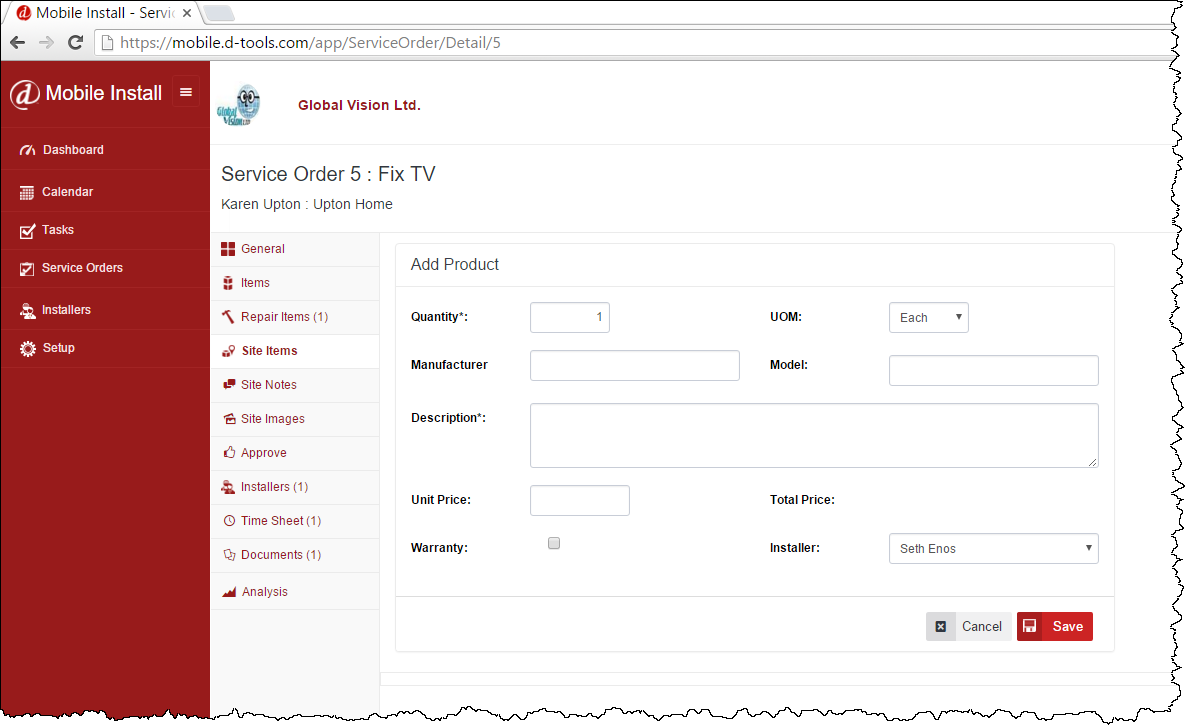
Add Product
Click the [Add Product] button:
Fill in as much information as desired. Once the Service Order is synchronized back to SI 2016, an item from your Catalog will need to replace this Site Item to be properly added to the Service Order. Click here for details:
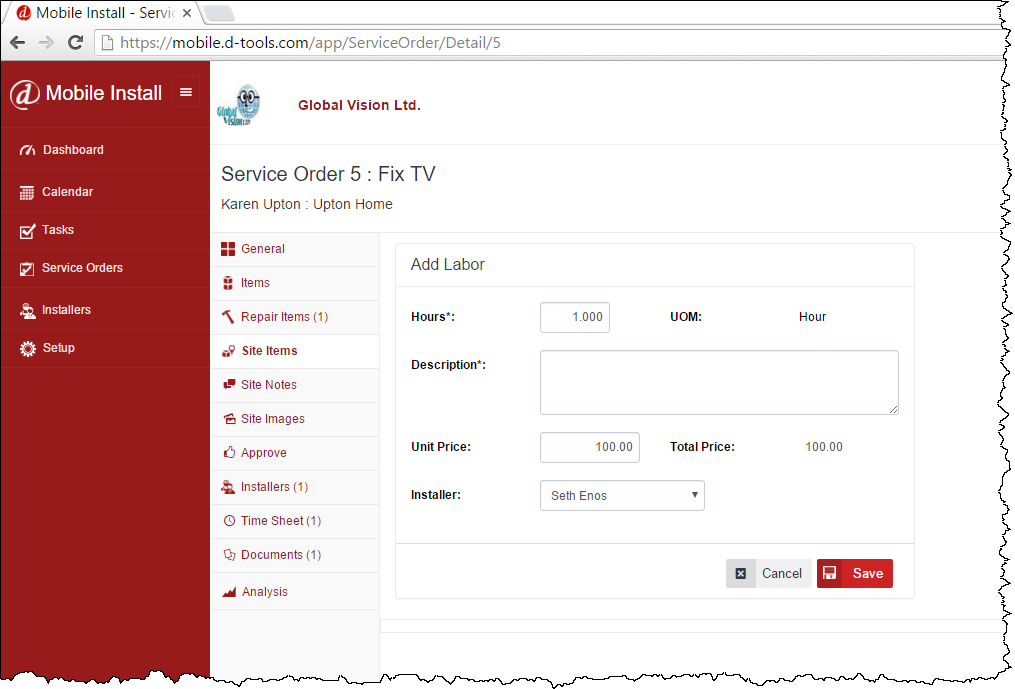
Add Labor
Click the [Add Product] button:

Fill in as much information as desired. Once the Service Order is synchronized back to SI 2016, an item from your Catalog will need to replace this Site Item to be properly added to the Service Order. Click here for details:
Site Notes Tab
The Site Notes tab allows you to add any notes from the field. Type in the box then click the [Add] button:
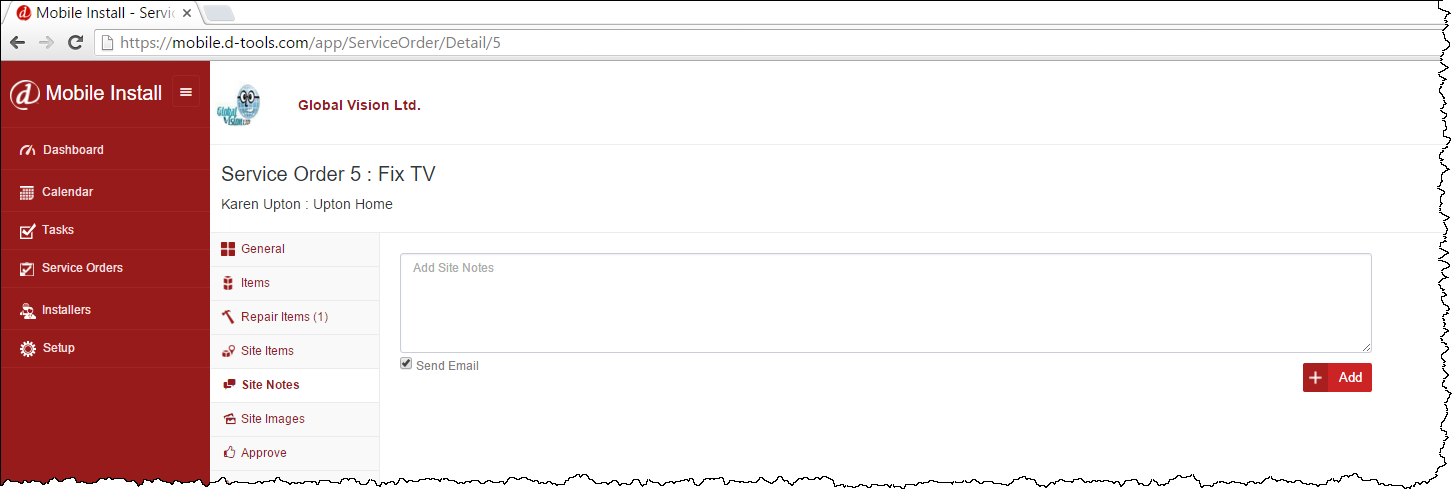
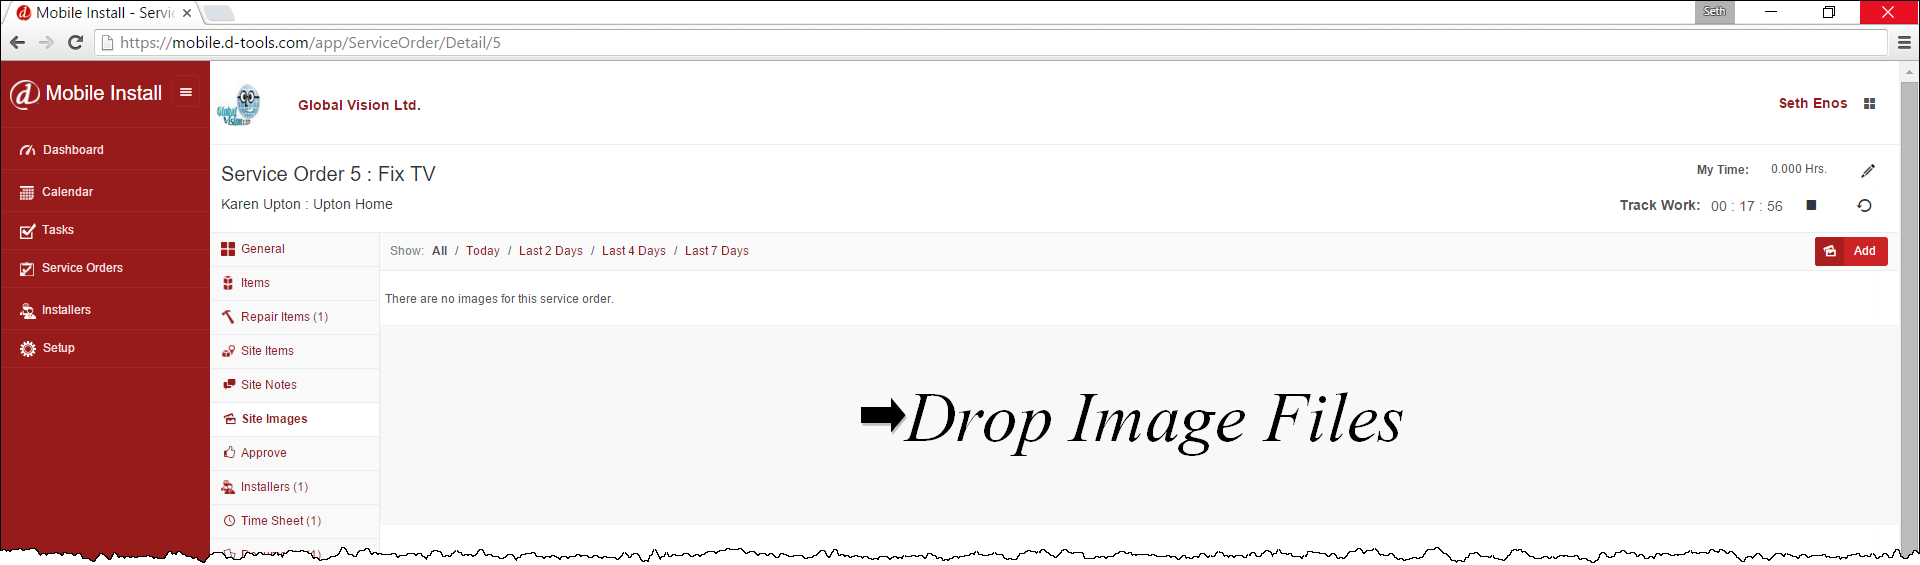
Site Images Tab
The Images tab allows you to add any images to the Service Order by dragging and dropping or by using the [Add] button:
Approve Tab
The Approve tab displays all of the Items that have been assigned to the Service Order, including Site Items. You can expand or collapse the items via the arrows on the right side of each section:
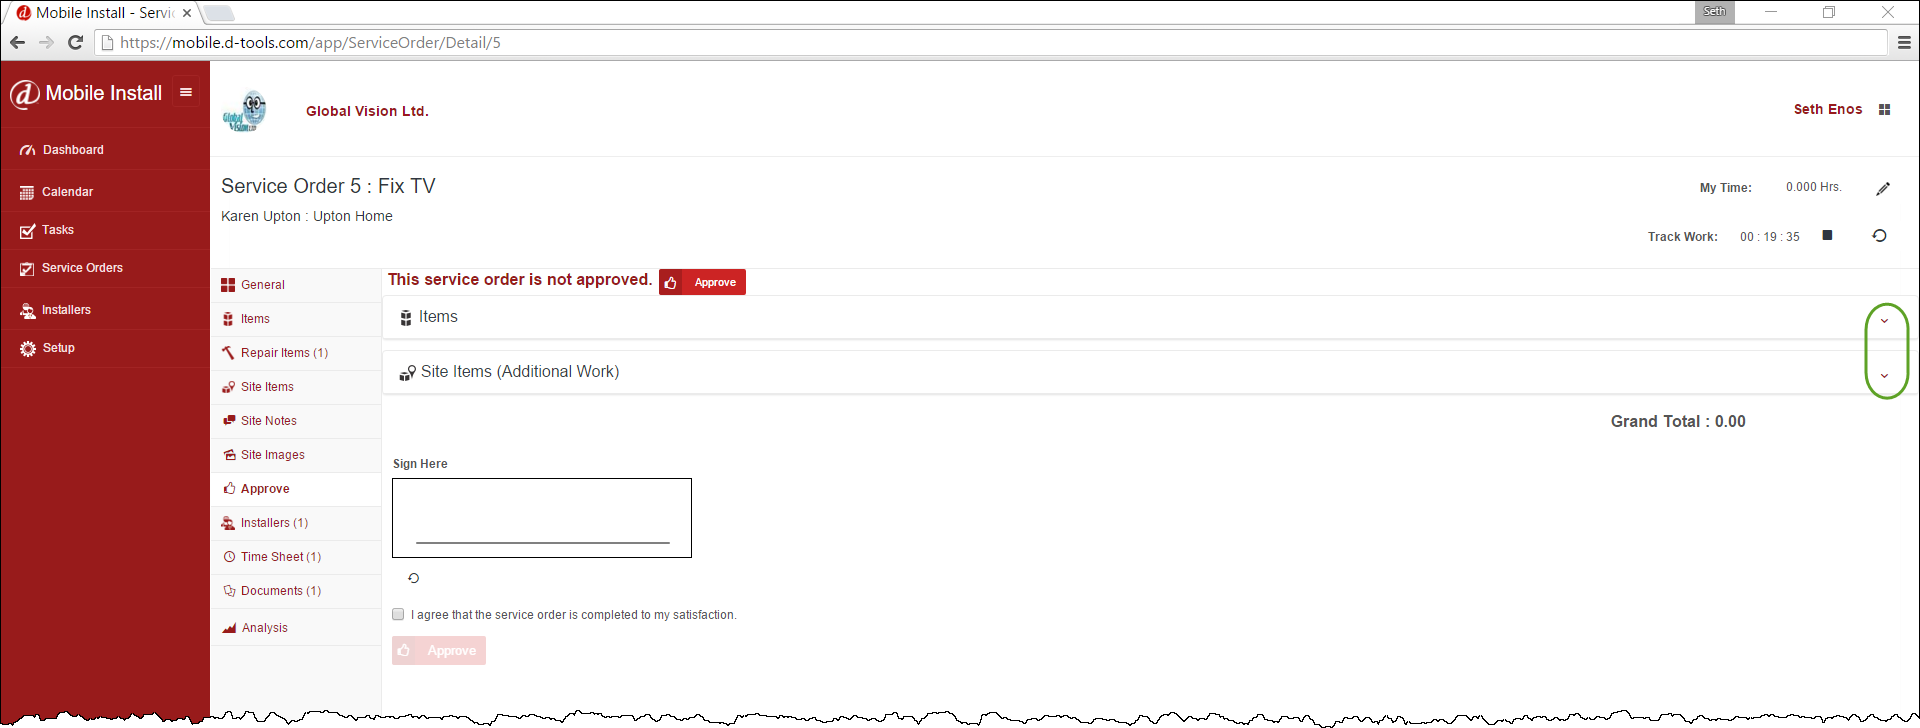
You can have the client sign off on the Service Order with a touch screen device or via a mouse:
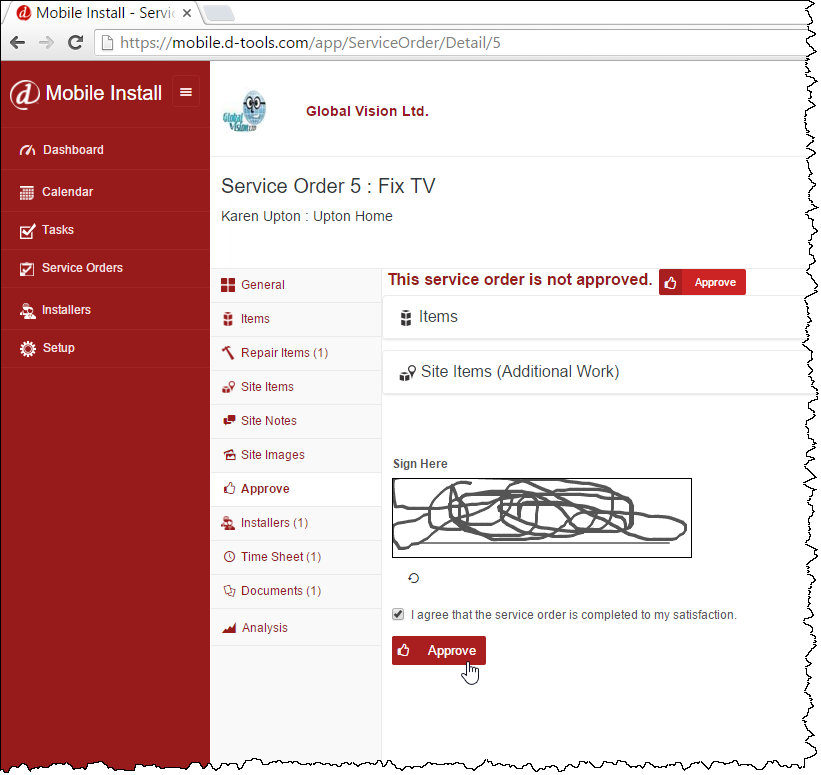
Note: You must approve Site Items or they will not synchronize back to the Service Order in SI 2016.
Installers Tab
The Installers tab displays the Resources for the Service Order as well as the Estimated Hours assigned. If Labor Items or Site Labor have been added to the Service Order, the Actual Hours will display their hours:
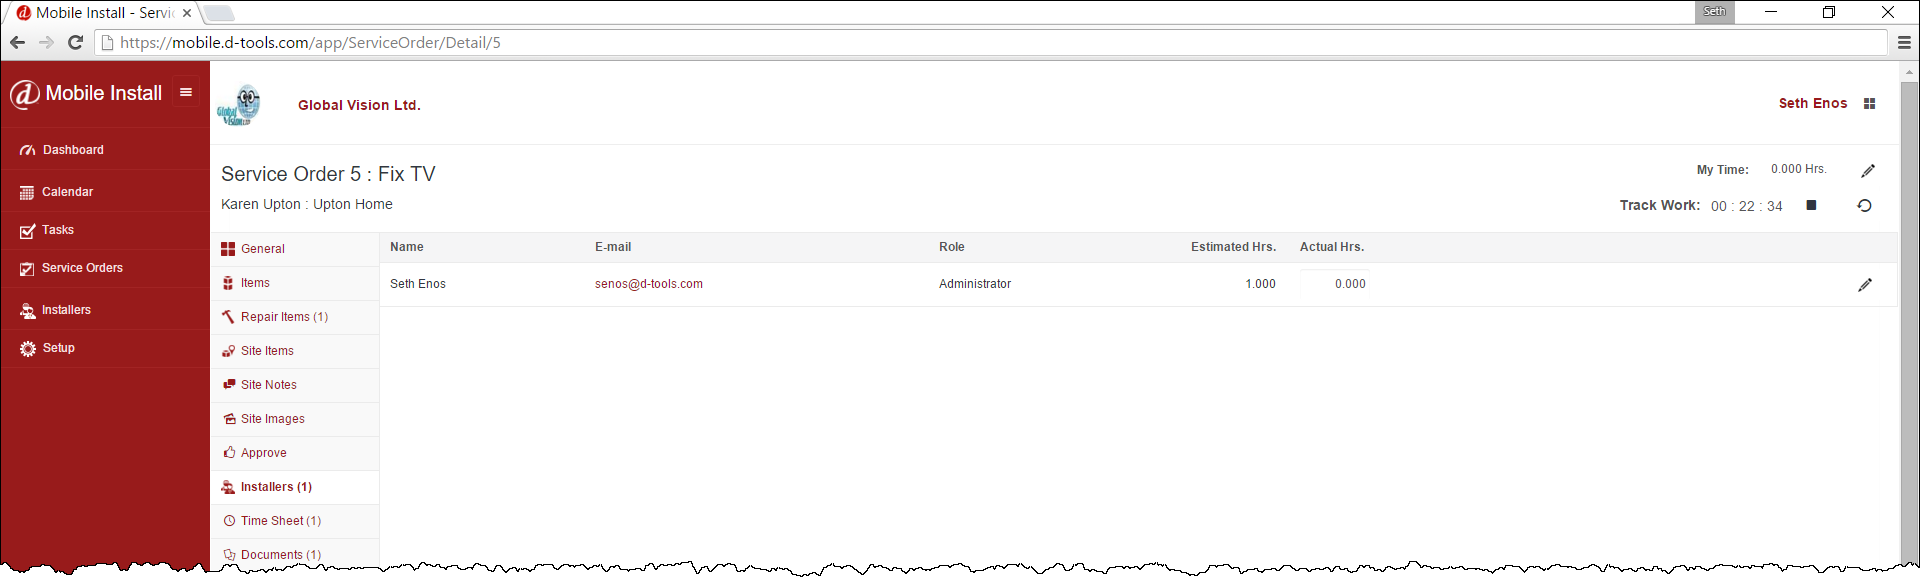
If you wish to change the Actual Hours manually, click the pencil icon next to each Installer:

Note: If you have enabled Time Sheets under your settings you will not have the ability to edit hours on the Installers tab. You will instead edit them on the Time Sheets tab.
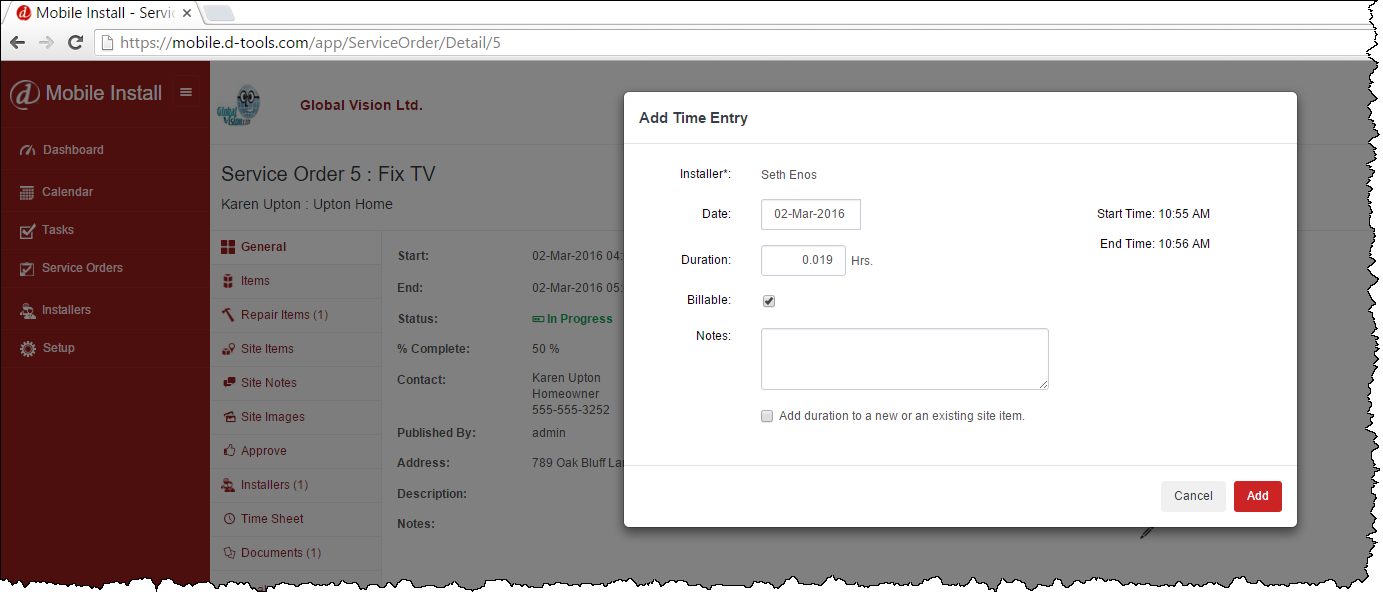
Time Sheets Tab
If you have enabled Time Sheets under your settings, you will have the ability to add time sheets to your Task.
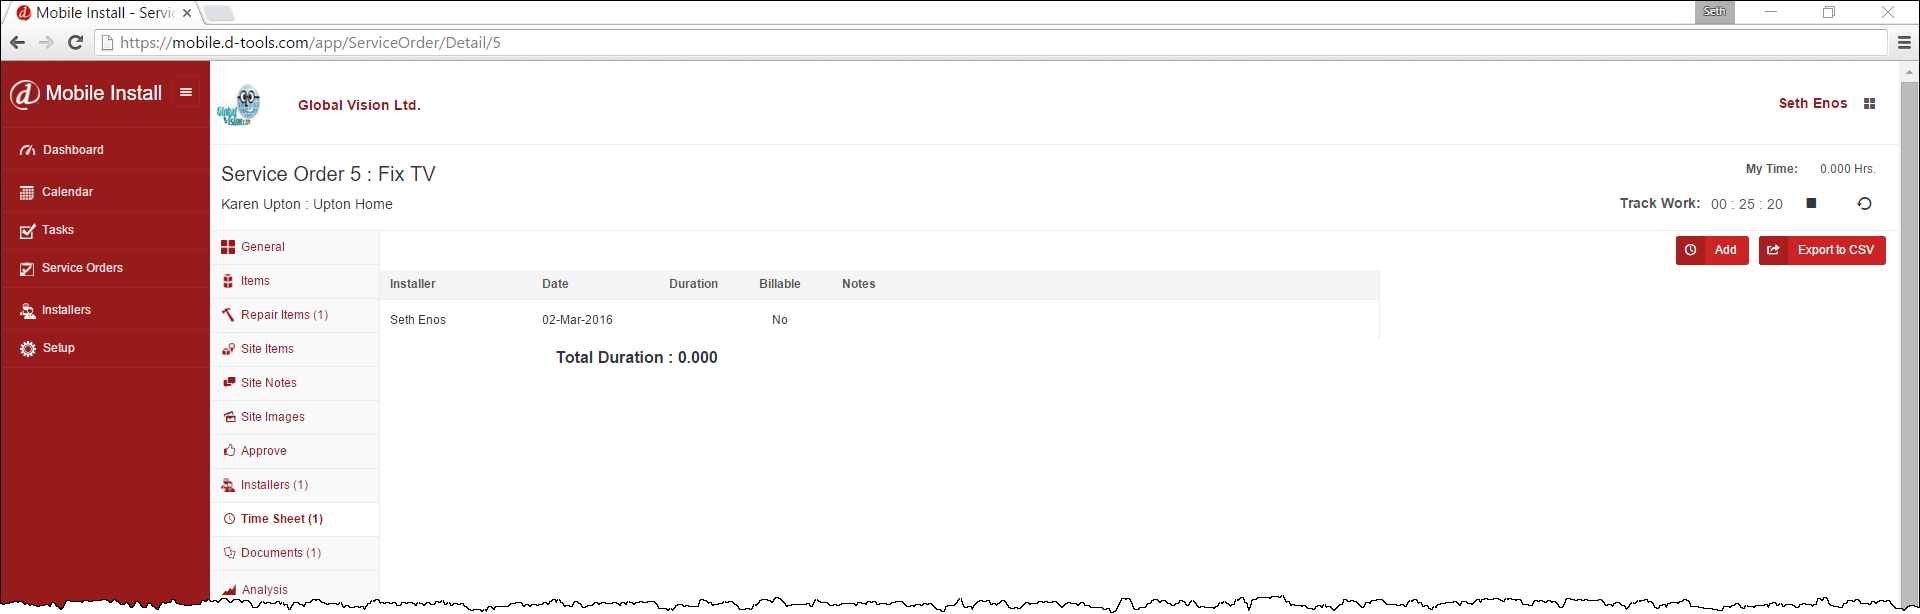
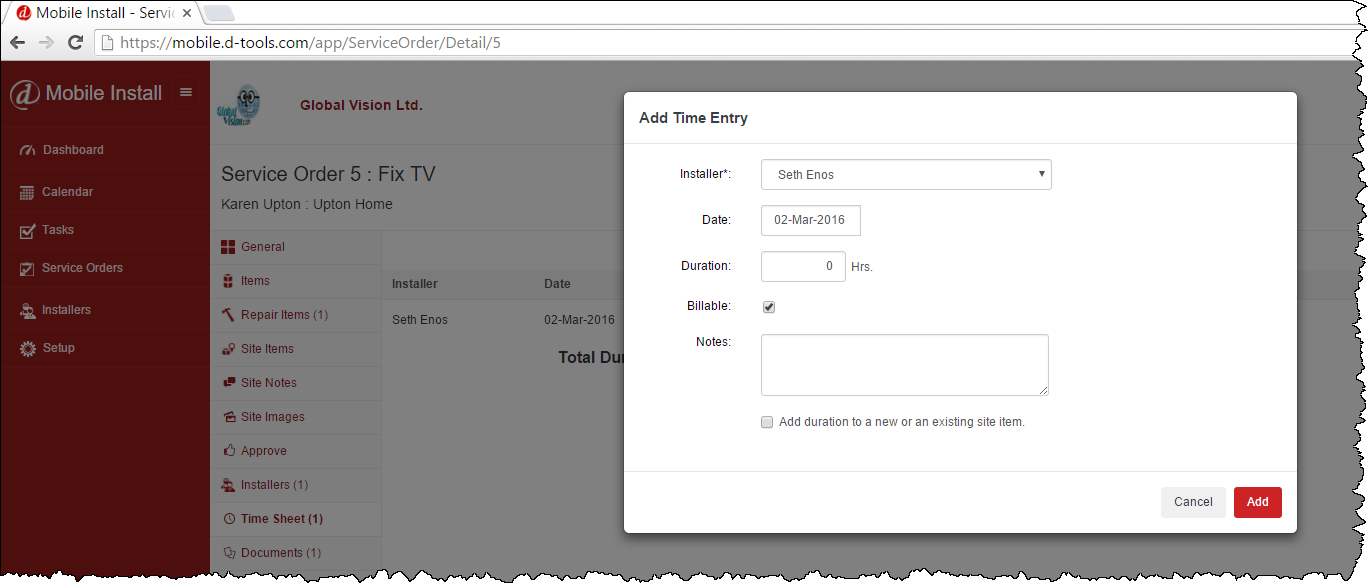
To add a Time Sheet, click the [Add] button:
This will allow you to enter your information for work done:
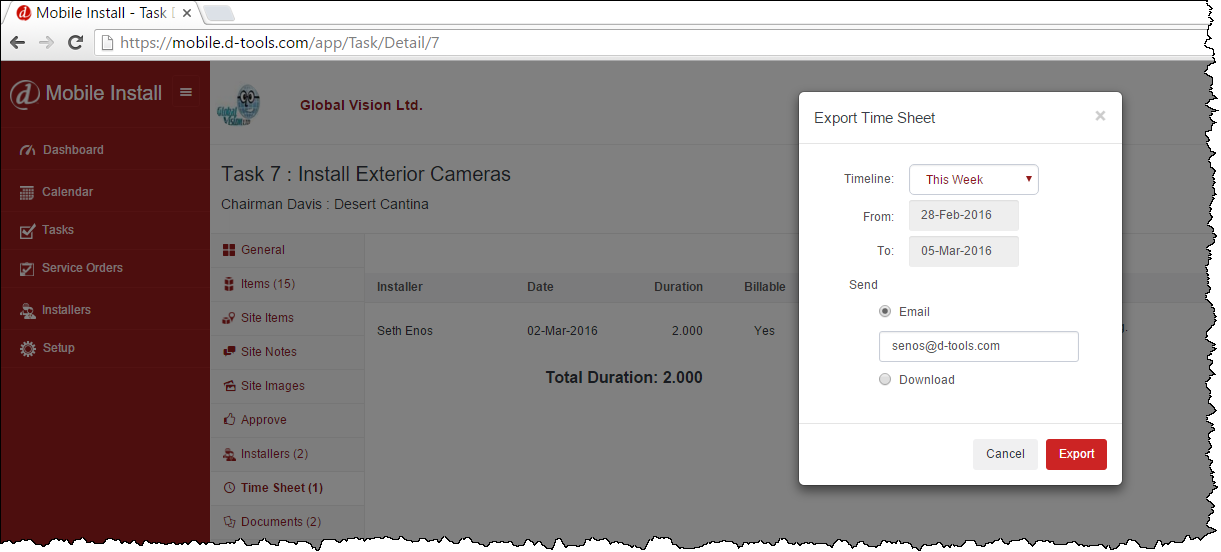
You can export your Time Sheets to a .csv file via the button [Export to CSV] button:
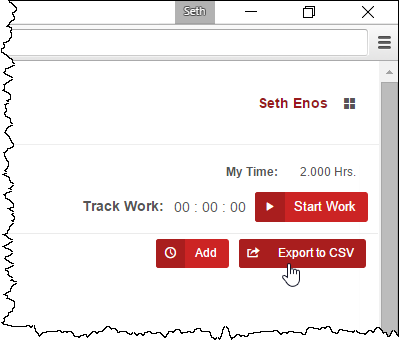
The file will automatically download to your machine.
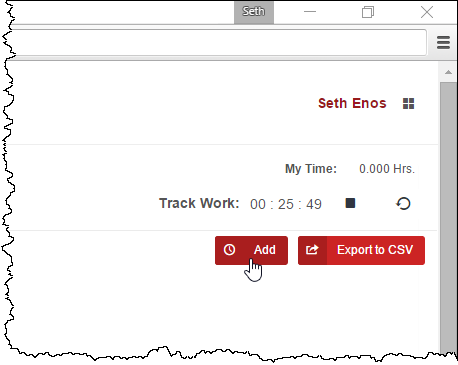
You can also export all Time Sheets for a date range, regardless of what Task/Service Order they are assigned to, by clicking the icon next to your user name from any tab within the Mobile Install interface:

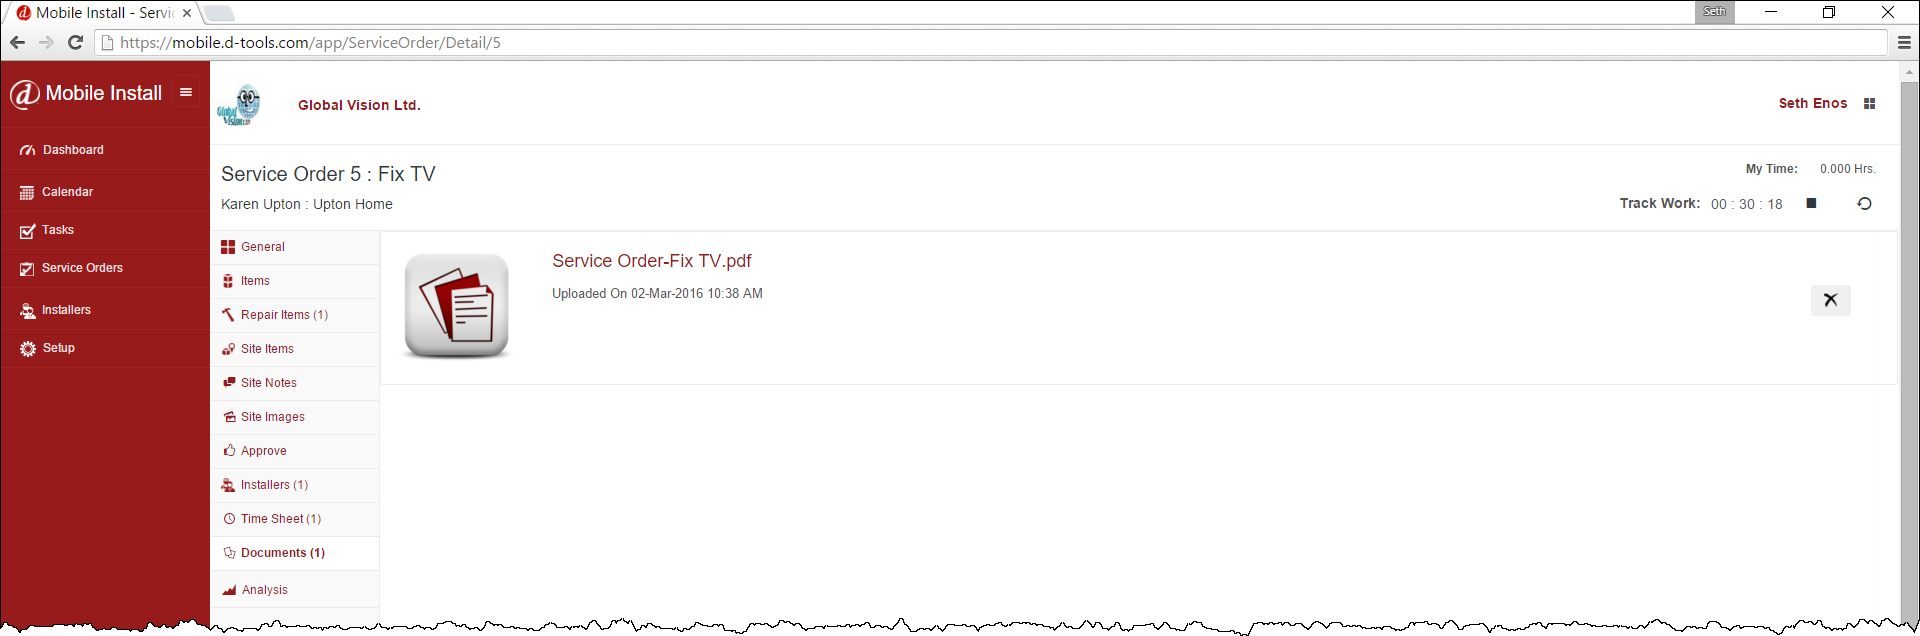
Documents Tab
The Documents tab displays any reports and/or files that were exported from SI 2016:
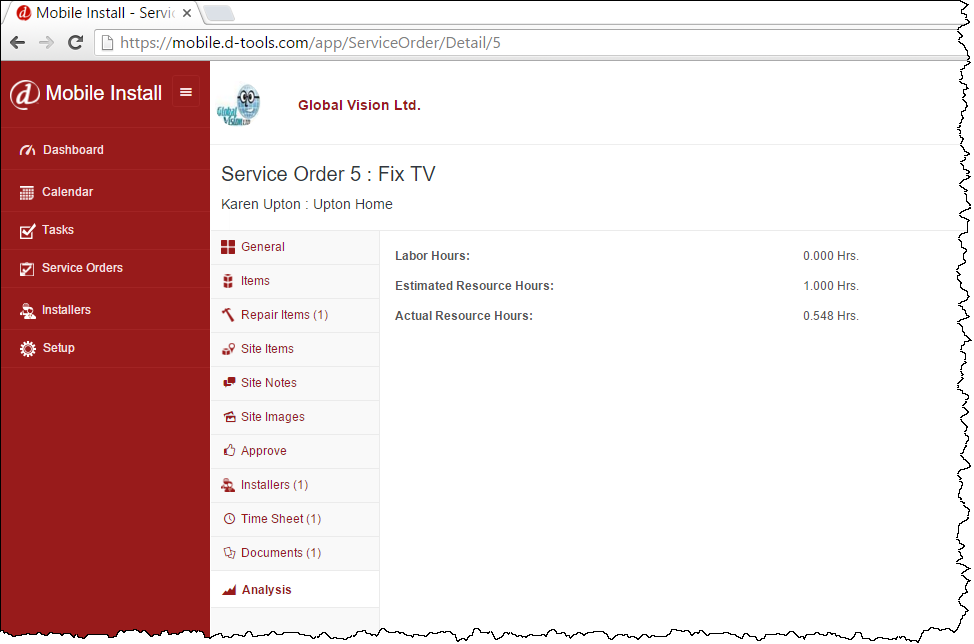
Analysis Tab
The Analysis tab displays a summary of labor for the Service Order including the Labor Hours from the Items in the Service Order, the Estimated Resource Hours, and the Actual Resource Hours from the Installer tab.
Update to SI 2016
All edits that you've made here in the Mobile Install interface for the Service Order can be synchronized to the Service Order within the Service Order Explorer interface in SI 2016:
Click the [Update From] button in the Mobile Install section of the ribbon:
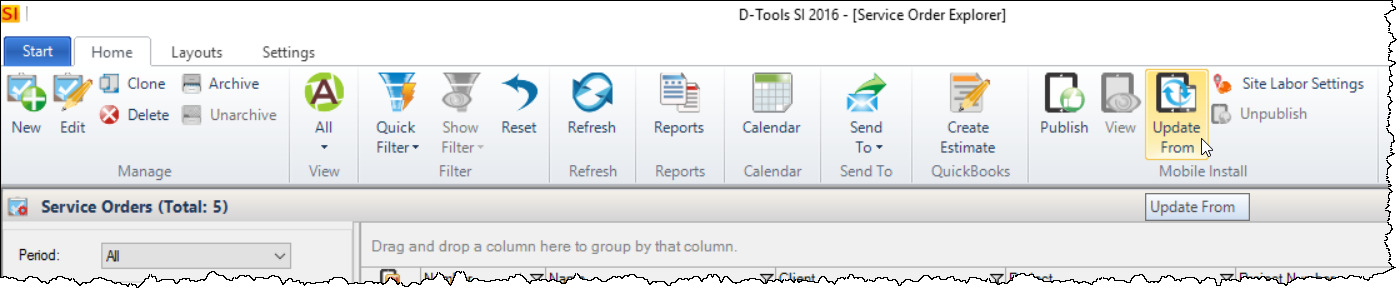
You can now edit the Service Order within SI 2016. Click here for details.
- © Copyright 2024 D-Tools