Running Reports

Details
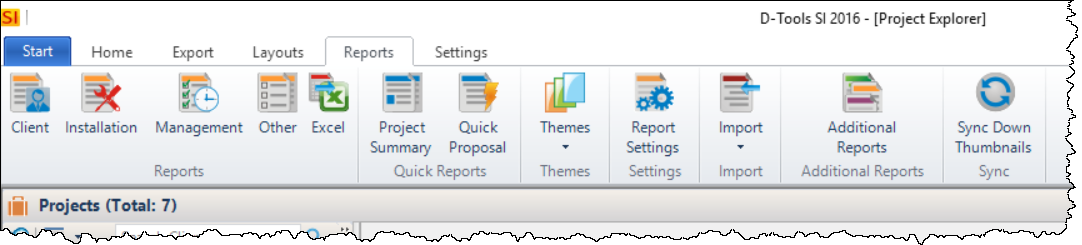
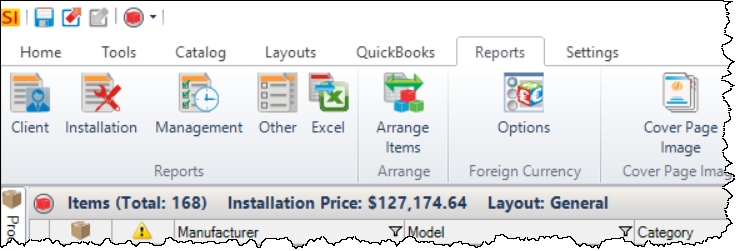
You can run the SI 2018 "standard" Reports from the Reports tab from both the Project Explorer and the Project Editor.
Report Categories
There three default Report Groups in SI 2018: Client, Installation, Management. Clicking on any of these buttons will display the Reports assigned to that Category:
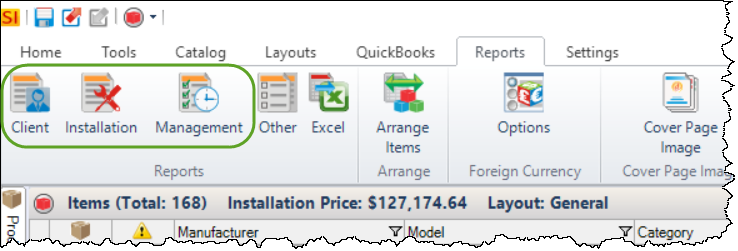
Click here for details on Report Categories.
Report Definitions
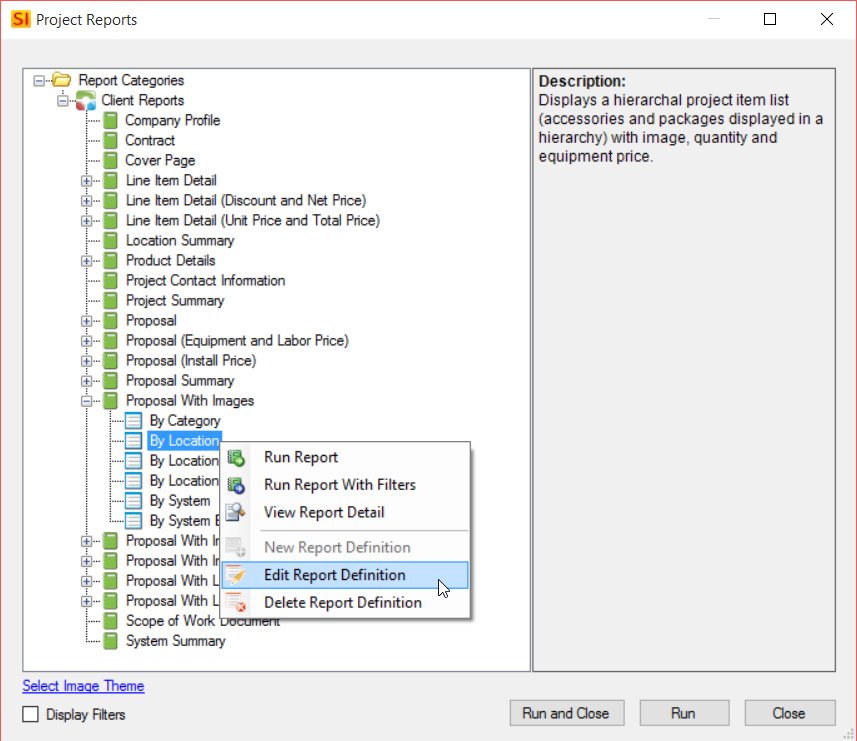
If you double-click the Report name, or highlight the Report name and click the [Run] button, the default Report Definition for that Report will run. You can also select a particular Definition to run by double-clicking it or selecting and clicking the [Run] button. You can change the Parameters on a Report Definition prior to running it via right-click:
See here for information on Report Definitions.
Filtering Reports
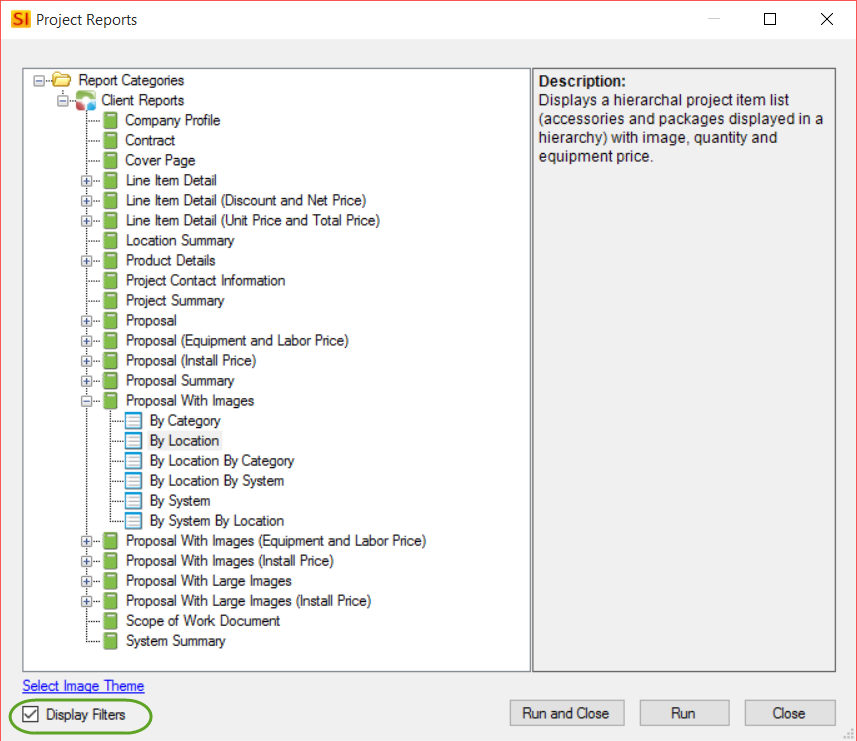
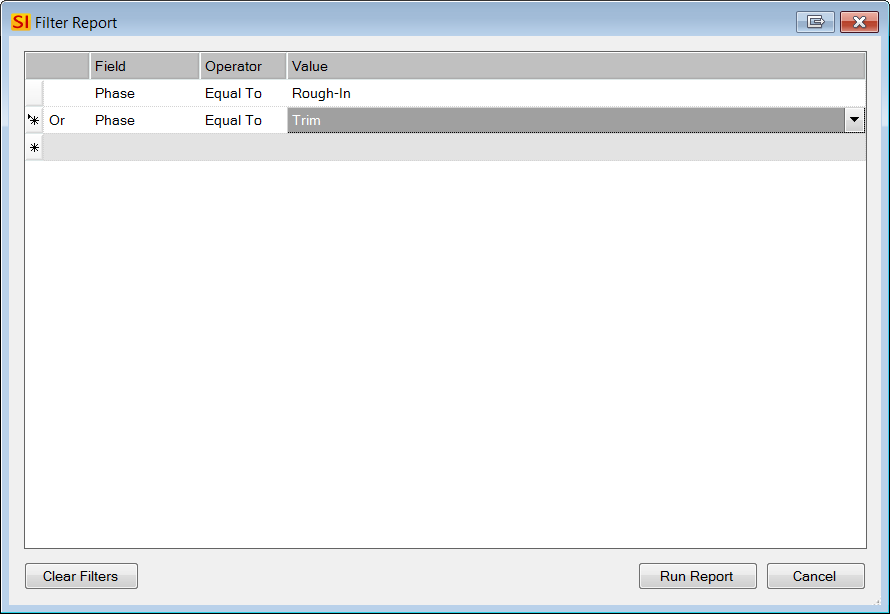
If you click the "Display Filters" checkbox before you Run a report a form will open allowing you to set a filter for the Report. In the example below, I want the Pick List Report that only displays Items assigned to the "Rough-In" or "Trim" Phase:
In addition to filtering via this feature, you can also filter within the Project Editor and then click the "Filtered Items" or "Selected Items" option on the Reports tab prior to running your report:
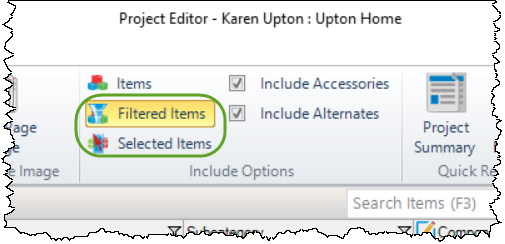
Here you can choose whether to run your reports for Filtered Items, or Selected Items. You can also choose whether or not to include Accessories or Alternates on your Proposal reports.
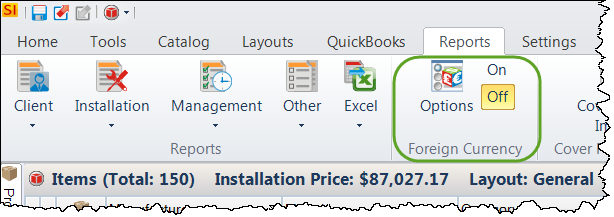
Foreign Currency
Within a Project, his option allows you to add a conversion rate that will be applied to the price of Items in the Project.
Click here for details.
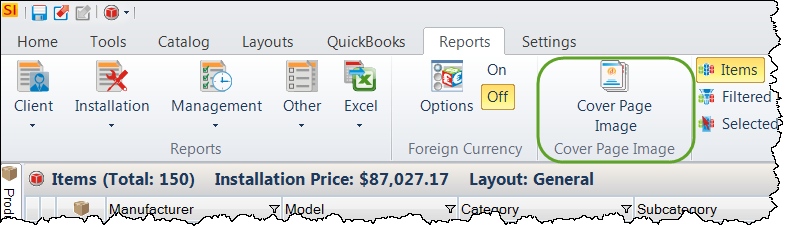
Cover Page Image
Within a Project you can choose to display a specific image on the cover page for Proposal and Cover Page reports.
Click here for details.
Sync Down Thumbnails
This option will be rarely used. It is intended for you to sync any Item Image changes that have taken place in the SI 2018 Catalog since you last opened the SI 2018 Client. Item Images will automatically sync with the SI 2018 Catalog when you open the SI 2018 Client.
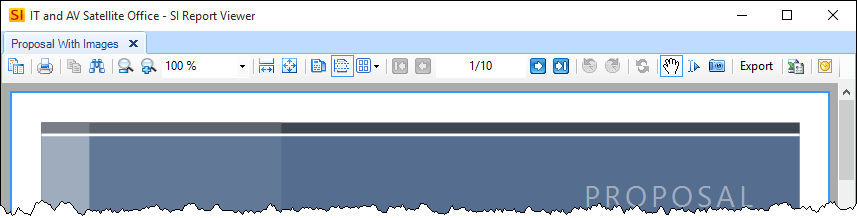
Report Viewer
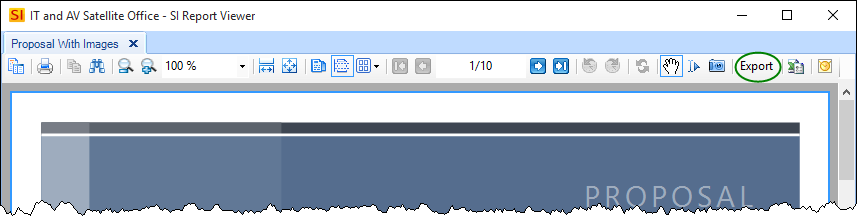
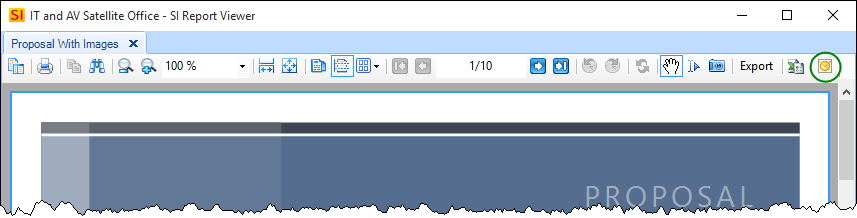
Reports will generate and display in a separate window called the Report Viewer:
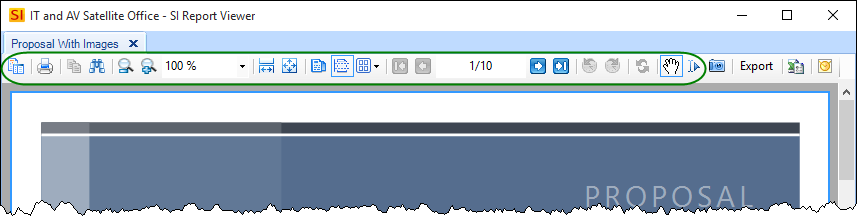
There are controls along the top for printing, viewing and printing your report(s):
There is an [Export] button where you can set your defaults for file type, location, and naming preferences:
Clicking the [Export] button will open the following dialog:
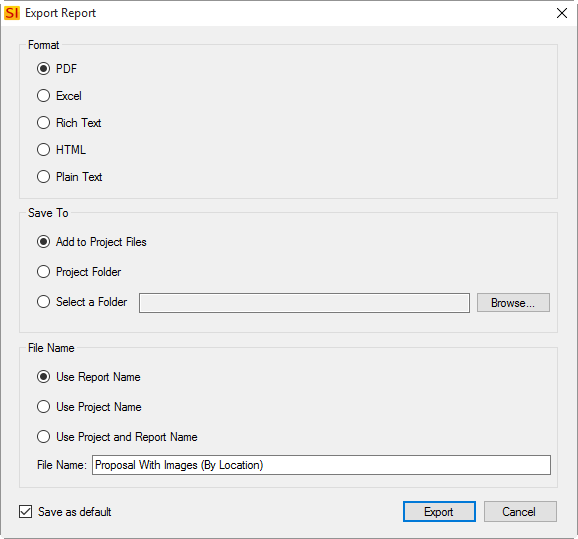
Format
The format options should be self explanatory but if not, check out the table below:
| Format | File Extension |
| Excel (see options below for this format) | .xls |
| Rich Text | .rtf |
| HTML | .html |
| Plain Text | .txt |
Save To
Add to Project Files
This option will synchronize the saved reports with your SI Server when you check a project in/out, i.e. they are shared with all users.
Project Folder
This option will store the file in your local project folder only, i.e. they will not by synchronized to your SI Server and will not be shared with all users.
Select a folder
This option will allow you to choose whatever folder you wish to export the file.
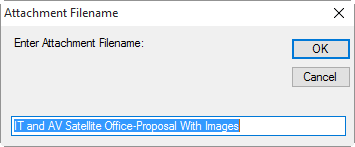
File Name
Here you can choose to use the Report Name, the Project Name, both, or manually type in a file name each time you export.
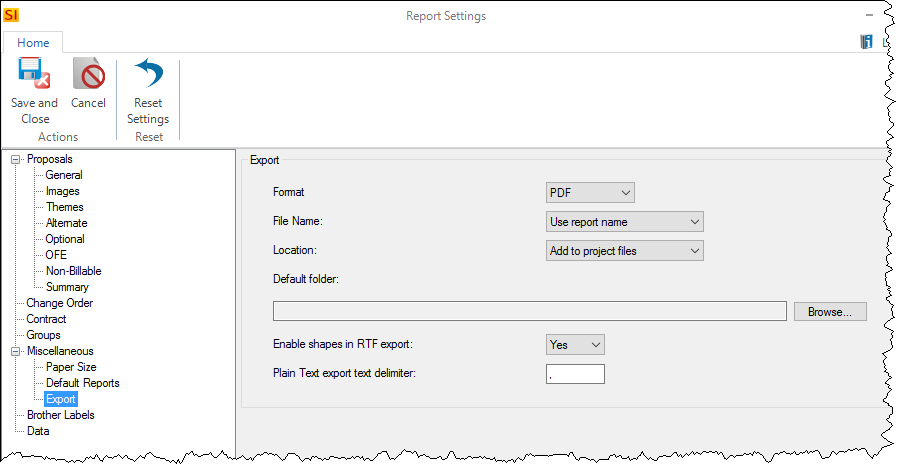
When you choose the option to "Save as default" these settings will be stored in your Report Settings:
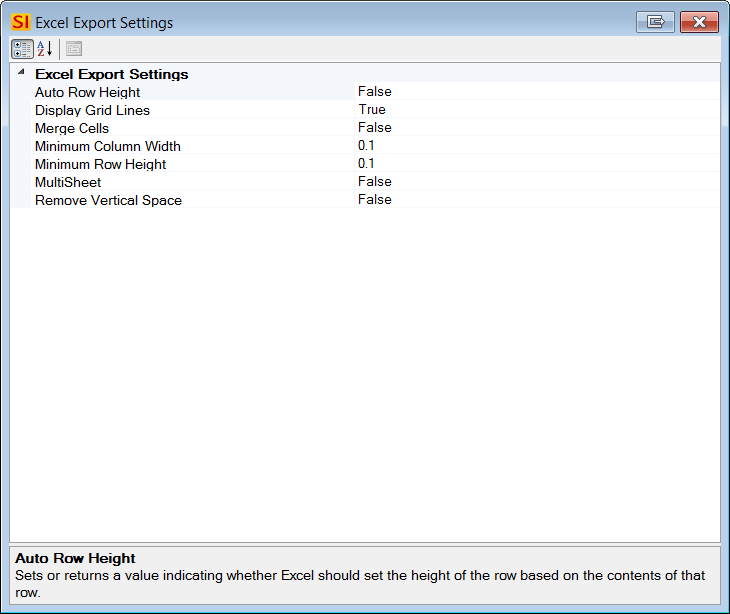
Excel Report Settings:
This launches a window for you to configure how your Excel settings:
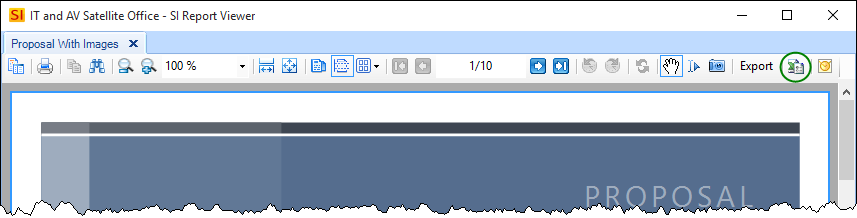
E-Mail Report
This button will create an email and attach the file in .pdf format through Microsoft Outlook. This option defaults to use both the Project Name and the Report Name but you can change that in the dialog shown below.
- © Copyright 2024 D-Tools