I/O Studio
Table of contents
The I/O Studio is where you can edit the Inputs and Outputs for multiple Products at a time in your Catalog or within a Project. Inputs/Outputs added to a Product will display in the Schematic shapes/blocks in our Visio and AutoCAD interfaces.
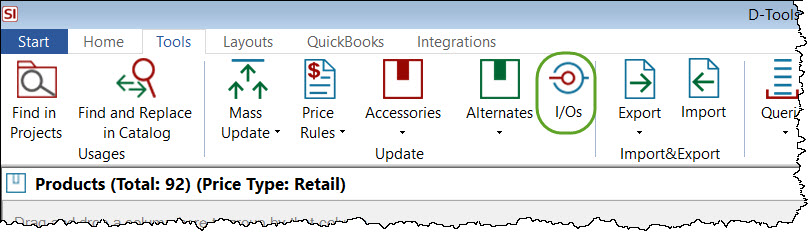
To open the I/O Studio interface for multiple Products, select the Products in the Product Explorer or Project Editor interfaces and click the I/Os button on the ribbon:
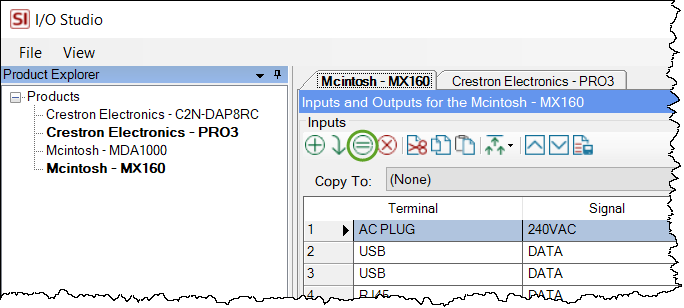
When multiple products are opened in the I/O Studio they will list on the left side and will display on their own tabs on the right side of the interface when double-clicked. If you are within the Project Editor interface, the Component IDs for the Products will display next to them:
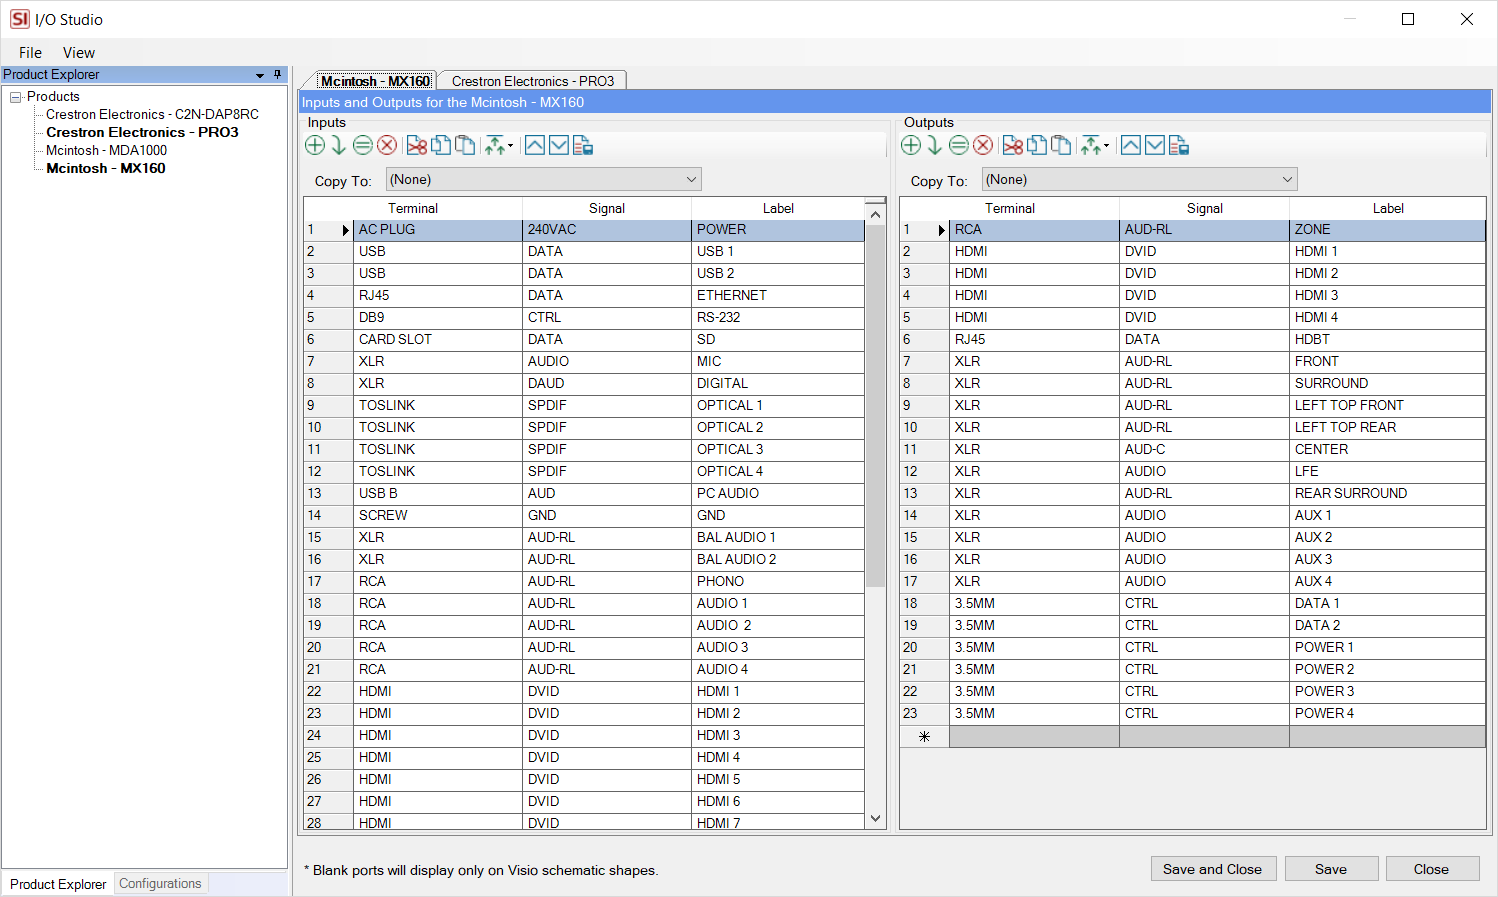
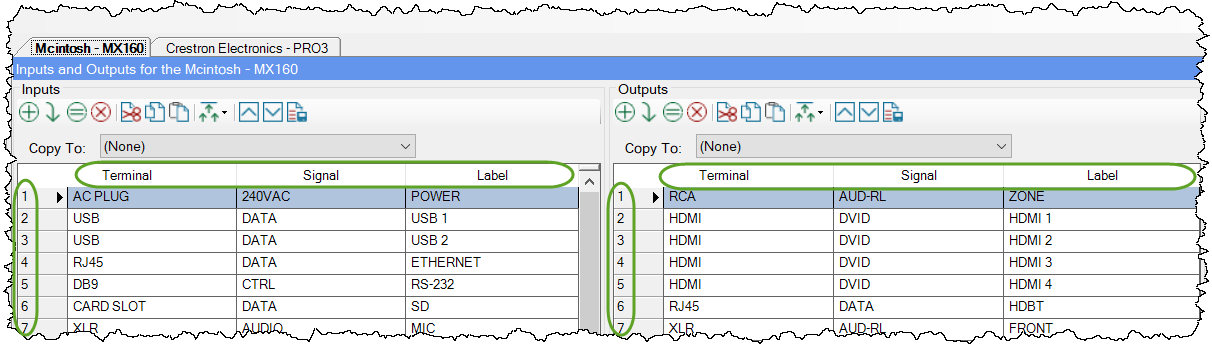
I/O consist of three parts: Terminal, Signal, and Label. There is also a numbered column referred to as the Port ID that references the I/Os posltion in the list.
Note: If a Product has been designated as a PSE, there will be a fourth column in the Outputs to set the PoE Standard for the port. See PoE for more information.
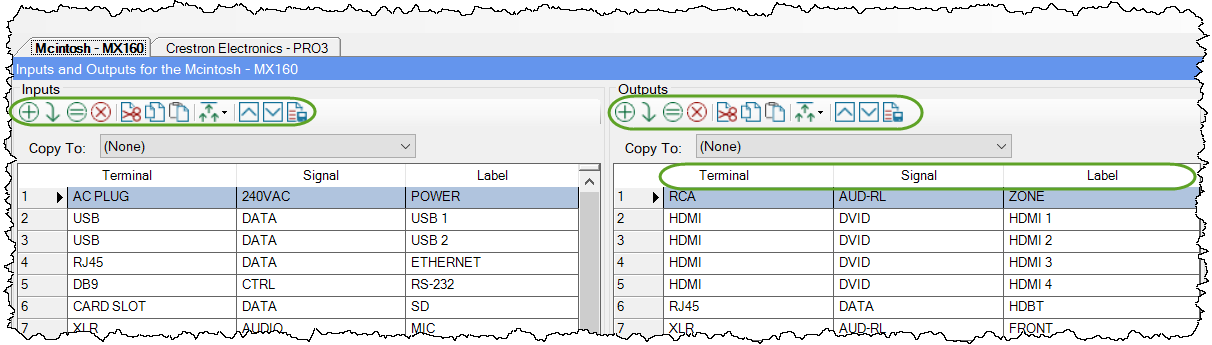
There are buttons along the top of the interface for adding/editing/deleting the I/Os for a product:
Adding I/Os
There are multiple ways you can add I/Os to a Product within this interface. One method is to use the dropdown menus in each cell to select from your existing lists of Terminals/Signals/Labels. The dropdown lists for Terminal/Signal/Label is managed in your global I/O list.

You can also type directly in the fields and you will be prompted to add any new Terminals/Signals/Labels to your global lists:

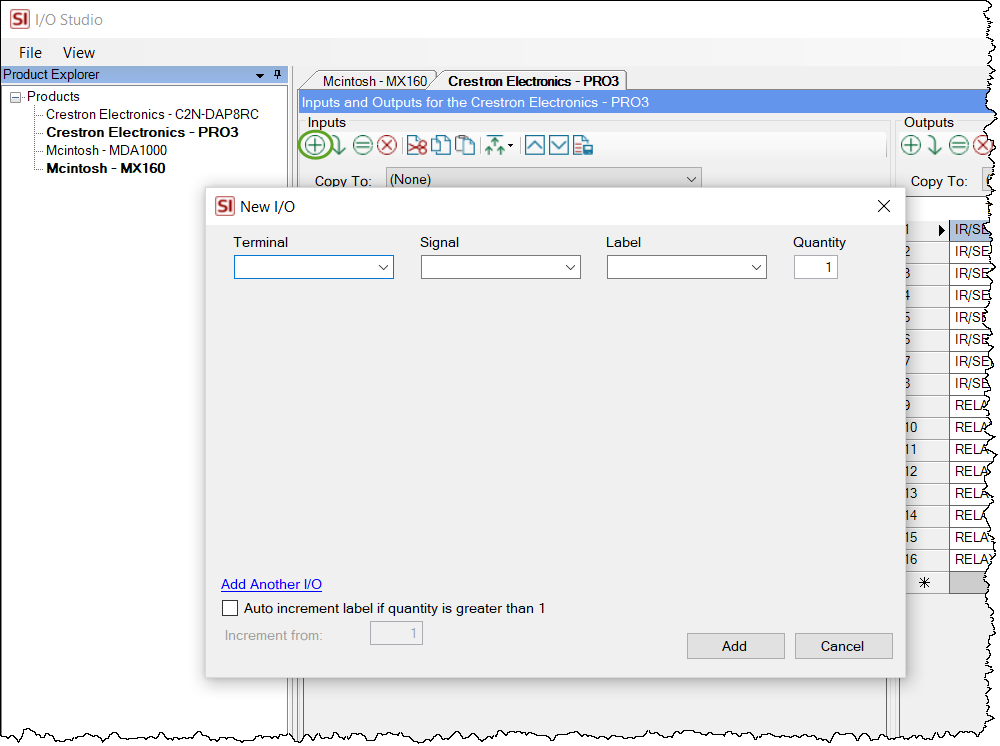
Another option is the New button that will open a dialog for you to add multiple I/Os at a time:
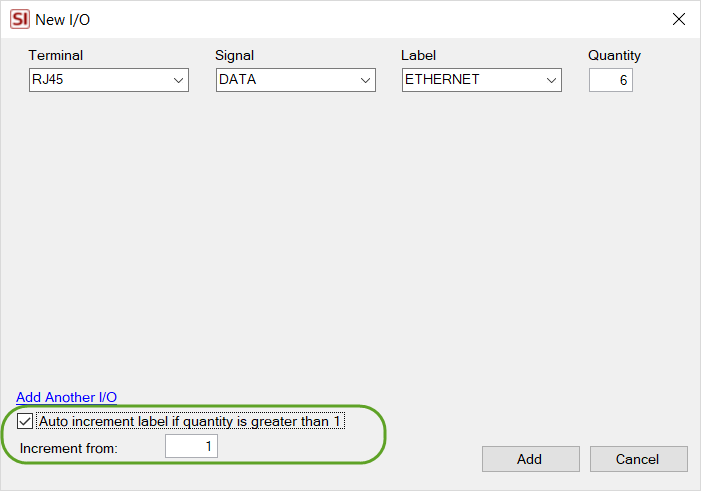
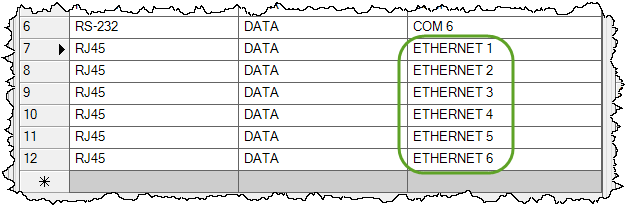
The "Auto increment label if quantity is greater than 1" option is useful when adding multiple of the same I/O to a Product:
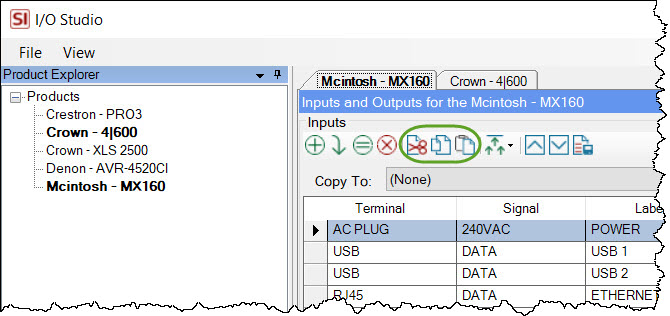
You can also select one or multiple existing I/Os for a Product and click the Clone button. This will clone the selected I/Os to the bottom of the list.
There are also cut/copy/paste functions allowing one or multiple I/Os to be cut/copied from one Product and pasted to another Product's I/Os:
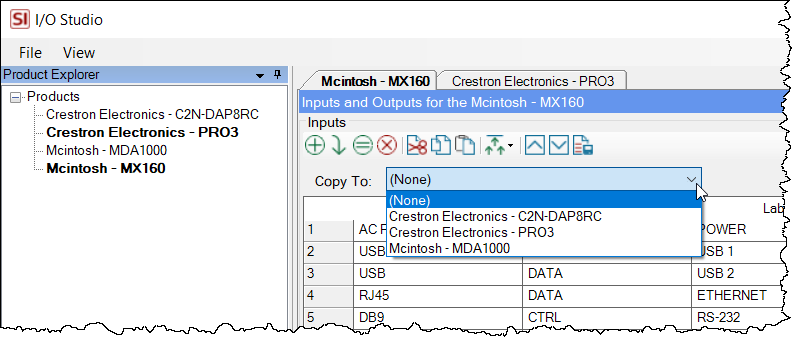
Similarly, you can use the Copy To dropdown to copy selected I/Os to other Products:
And yet another option for adding I/Os to Products is to use Saved Configurations, see below.
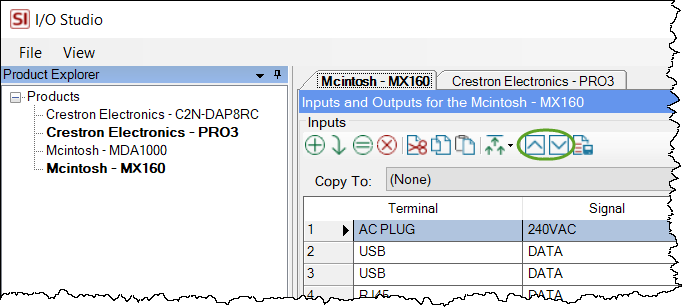
You can insert a blank port if you want some separation between the I/Os in your lists:
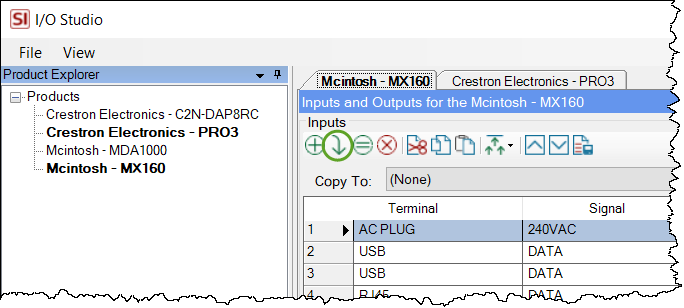
There are Move Up and Move Down buttons that allow you to position the I/Os to your preference. This is often useful on a per Project basis when doing Schematic drawings to avoid wires crossing over each other. I/Os can also be dragged/dropped to desired position.
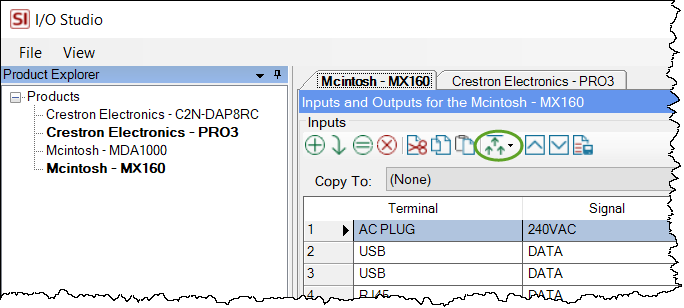
There is a Mass Update feature that allows you update the Terminals or Signals for multiple I/Os at one time:
Configurations
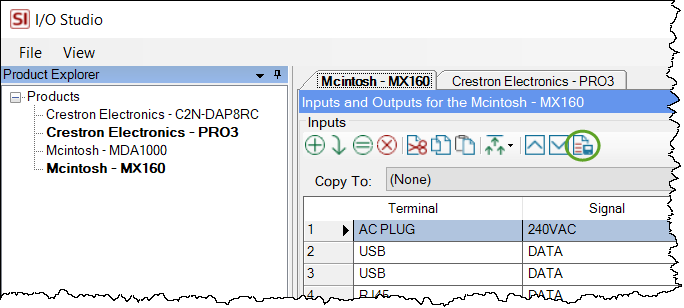
You can select common I/Os on a Product and choose to save them as a Configuration:
The Configurations tab at the bottom left of the I/O Studio interface lists all of your saved I/O configurations.
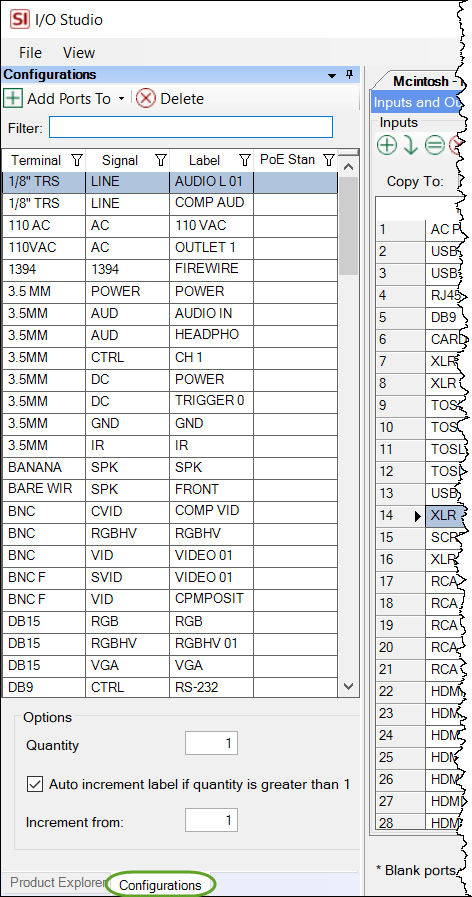
You can drag and drop Configurations over to either the Inputs or Outputs columns. To select multiple Products hold down Shift (to select a series) or Ctrl (to select outside of a series).
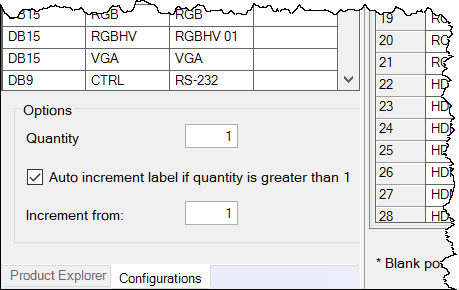
The Configurations tab also has the option to auto increment the label if the quantity is greater than 1 and allows you to choose your starting number:
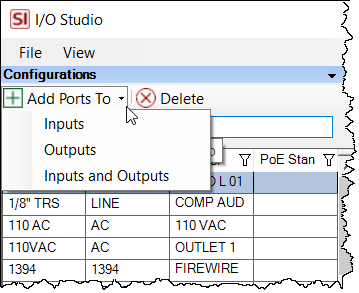
The Add Ports To button will add the quantity of the selected configuration(s) to Inputs, Outputs, or both.
Within a Project
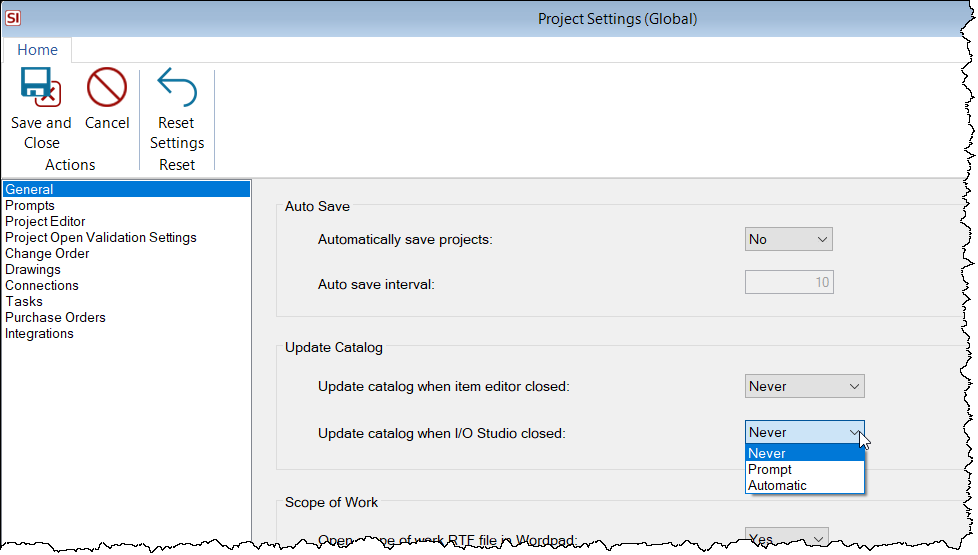
You can also open the I/O Studio within the Project Editor. There is a Project Setting to determine whether or not update the Products in your Catalog with the changes made within the Project:
- © Copyright 2024 D-Tools