Creating Custom Dashboards
Table of contents
Details
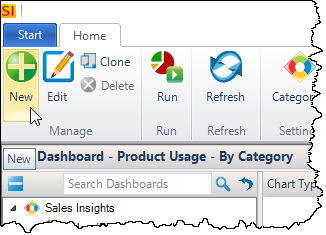
You can create your own custom Dashboards from scratch or you can clone existing Dashboards to modify them. Click Start->Projects->Manage Dashboards to open the Dashboard Explorer interface.

To create a new Dashboard, click the [New] button:
This will open the New Dashboard form:
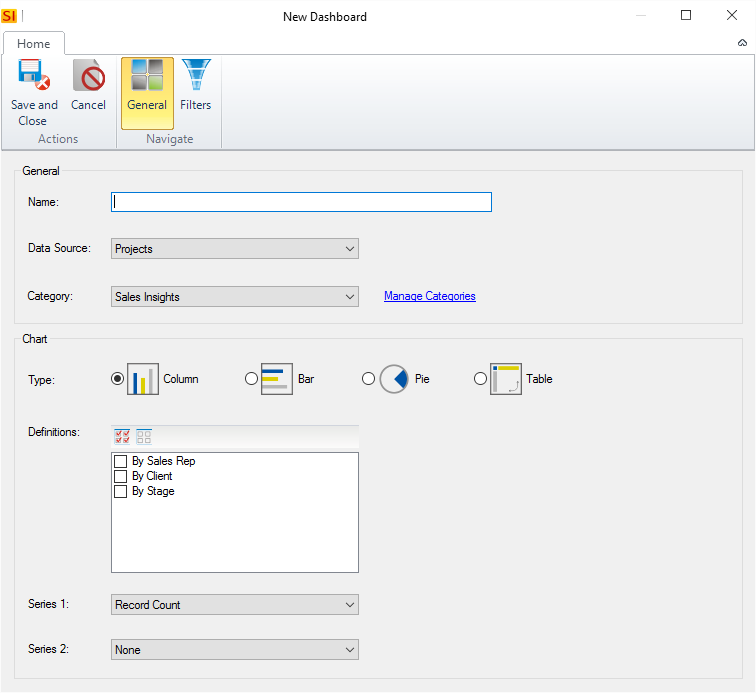
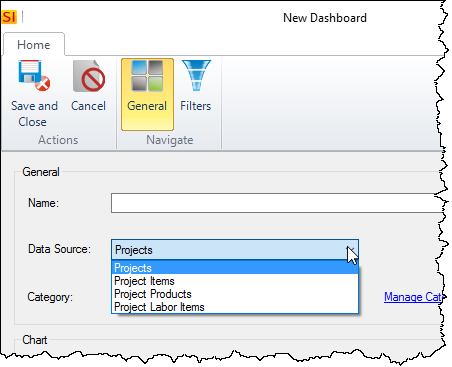
You are required to enter a name and then you can make the rest of your choices. You will choose a Data Source:
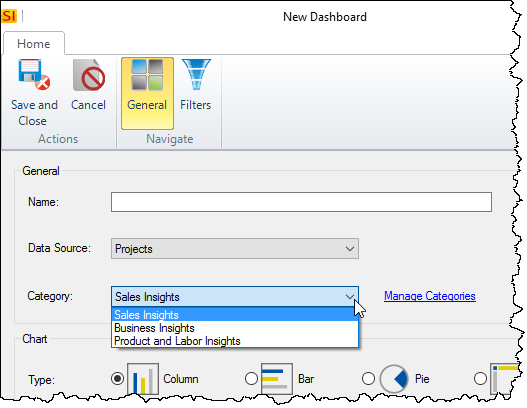
You can assign your Dashboard to an existing Category or you can create a new Category via the link:
You can choose your default chart type as well as choose which Definitions (grouping) you want for your Dashboard:
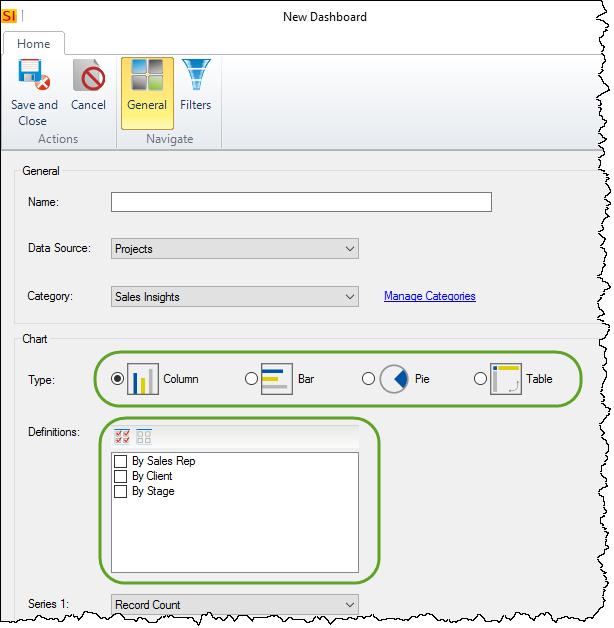
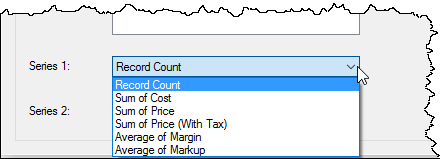
You will then choose whether you want one or two Series of data, and what you want that data to be:
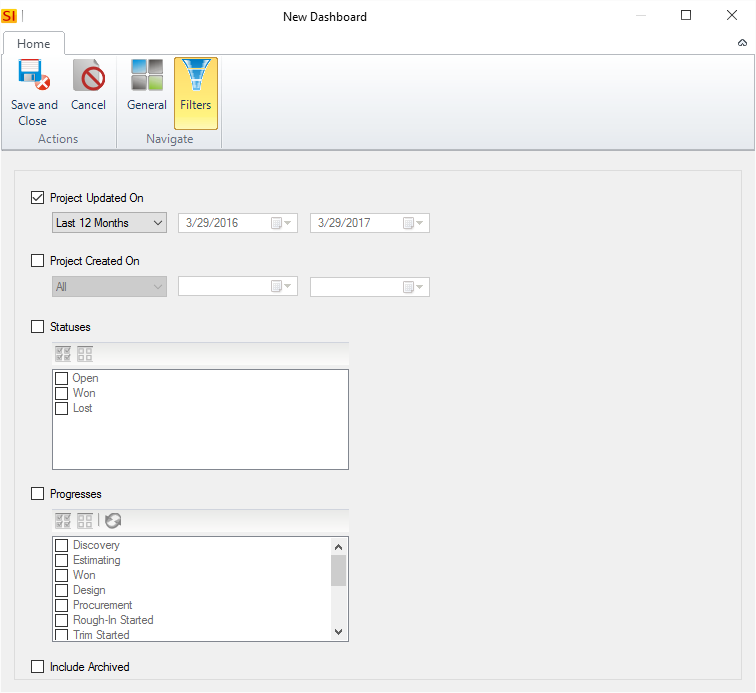
And lastly you can click the Filters tab if you want to pre-set any filters:
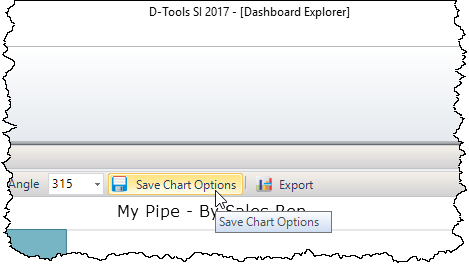
When done, click the [Save and Close] button. Your custom Dashboard will display with a slightly different icon. If you then make any adjustments/changes to your custom Dashboard within the Dashboard Explorer, you have the option to save your changes:
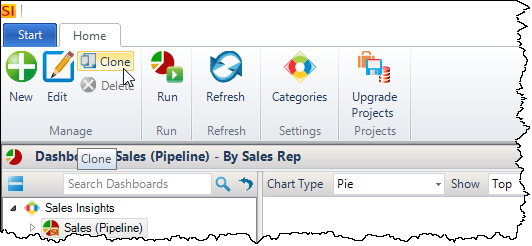
You can also choose to Clone an existing Dashboard if you don't want to start from scratch:
- © Copyright 2024 D-Tools