Managing Tasks
![]()
Details
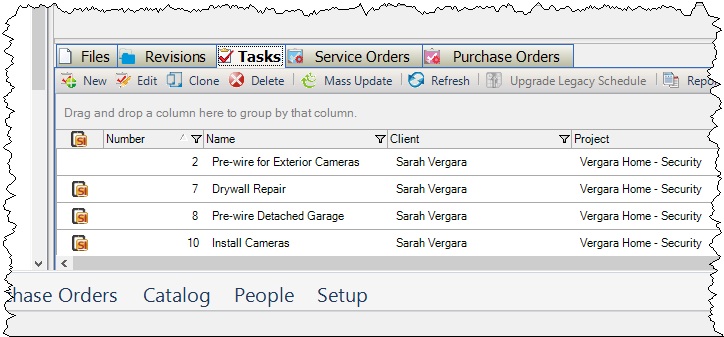
You can manage your Tasks via the Task Explorer:
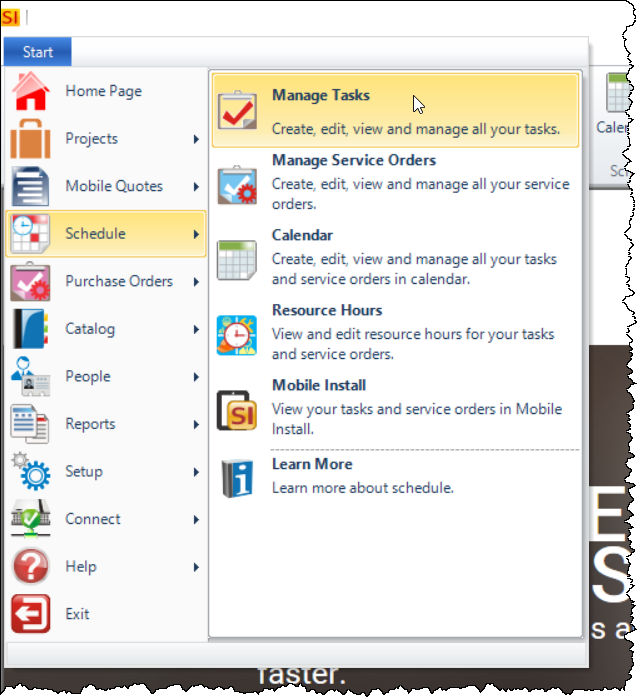

You can also view and manage Tasks via the Calendar or via the optional product Mobile Install.
Viewing Tasks
By default, all Tasks will display in the Task Explorer:
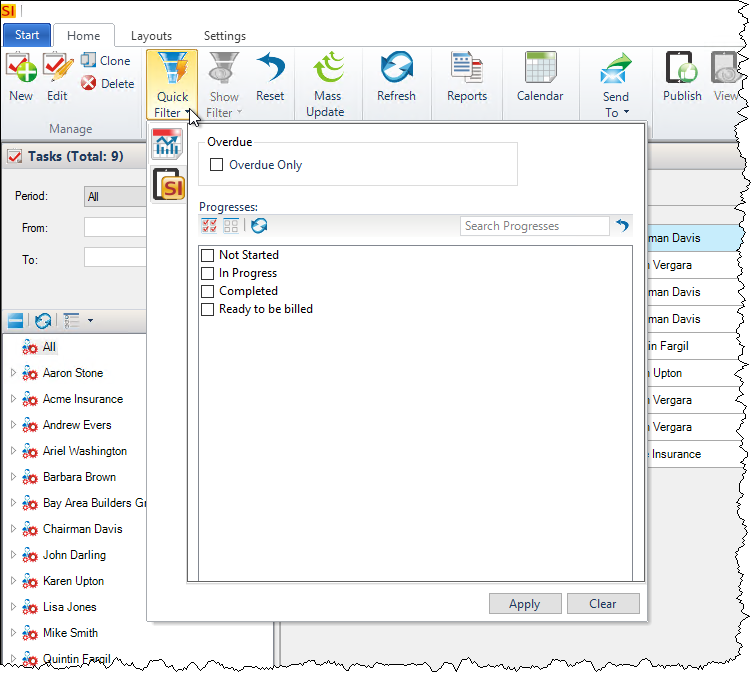
You can filter your Tasks via the Quick Filter button:
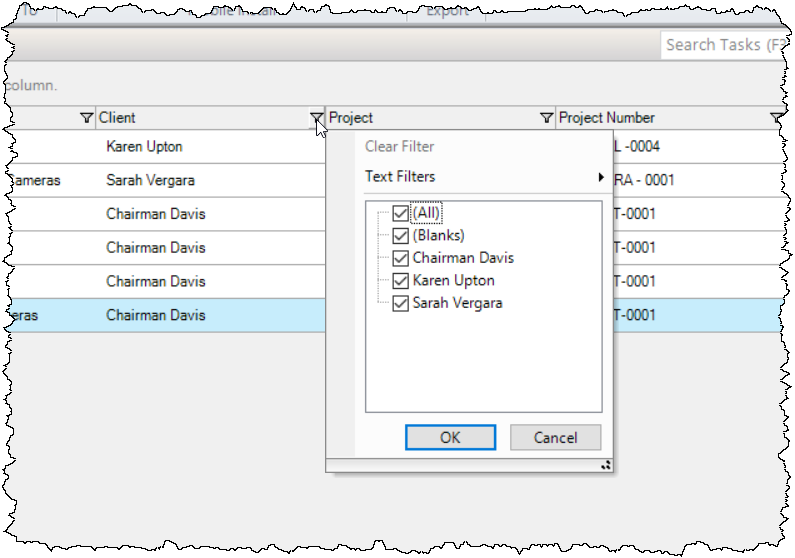
You can filter via the column filters:
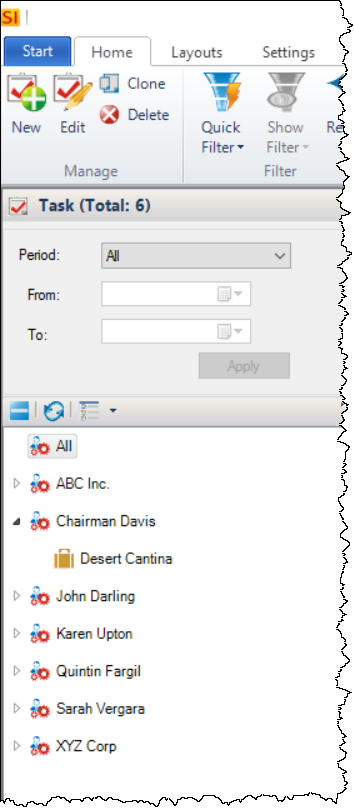
You can also filter by Client and/or Project in the tree on the left side of the Task Explorer:
From the Project Explorer
When you have a Project selected in the Project Explorer, you can click the Tasks tab along the bottom section of the window:
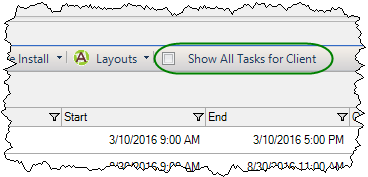
If you would like to see all of the Tasks for a Client and not just the ones for the selected Project, there is a check box for that:
Editing Tasks
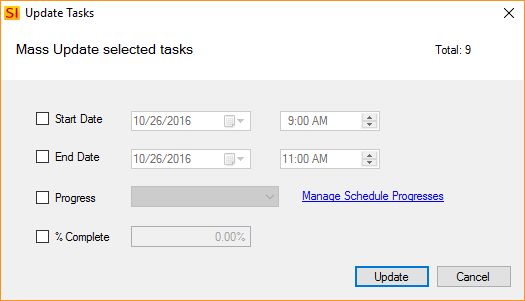
You can edit multiple Tasks at a time using the Mass Update function on the ribbon:

You can choose which fields you want to update for the selected Tasks:
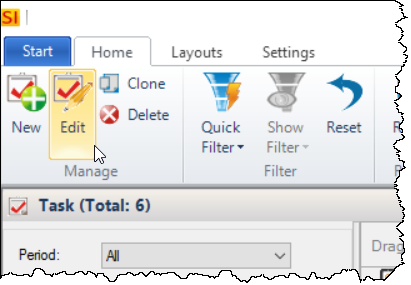
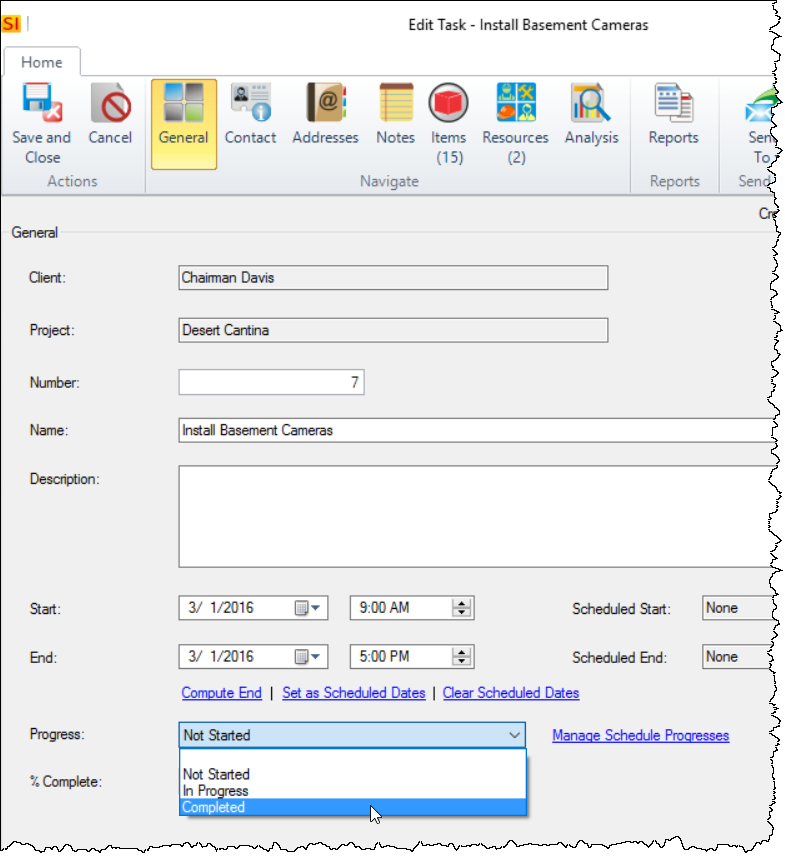
To edit an individual Task, you can double-click in the Task Explorer grid or you can select the Task and click the [Edit] button:
This will open the task for edit. If a Task has been completed, you can change the Progress to "Completed":
You can also change the "% Complete" field to 100%:
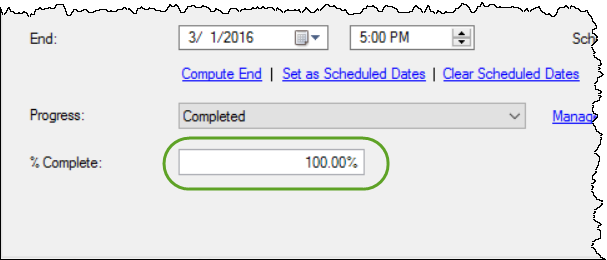
If the Task is not completed, you can choose an appropriate Progress and % Complete if you wish.
You can also enter the Actual Hours on the Resources tab if you wish to track this:
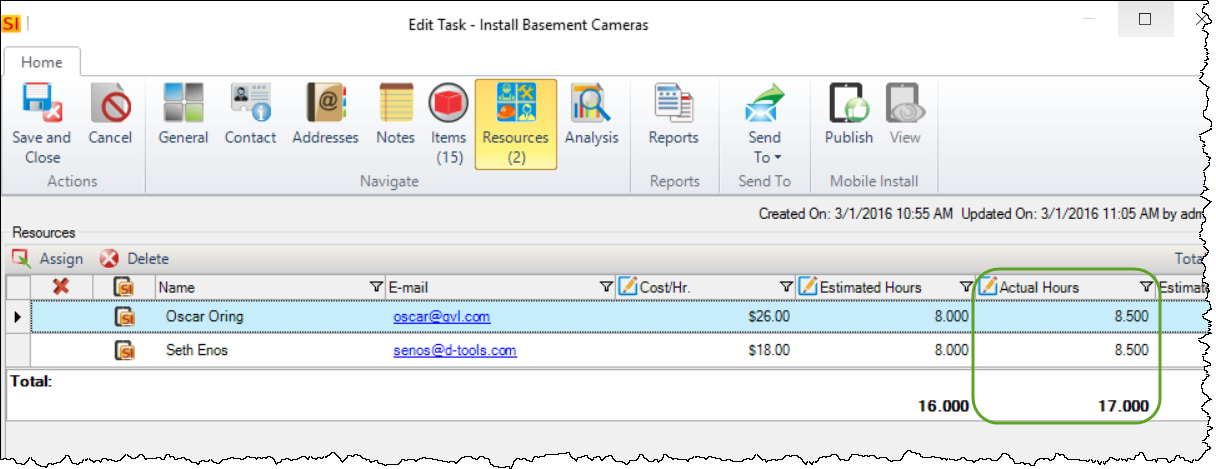
When Actual Hours are entered, you can run the Task Labor Analysis and Task Labor Costing reports, see Task Reports.
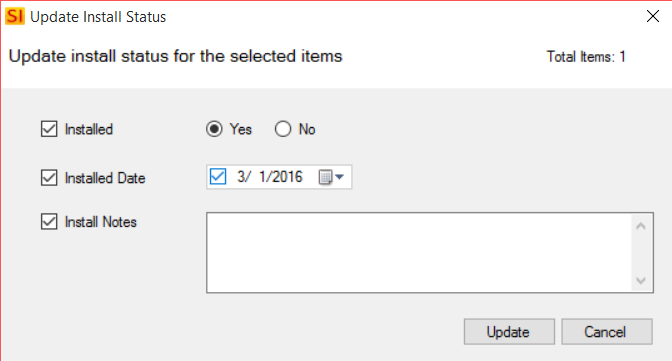
To mark which Items were installed, click the Items tab and select the Items you want to mark as installed and click the [Update Install Status] button:
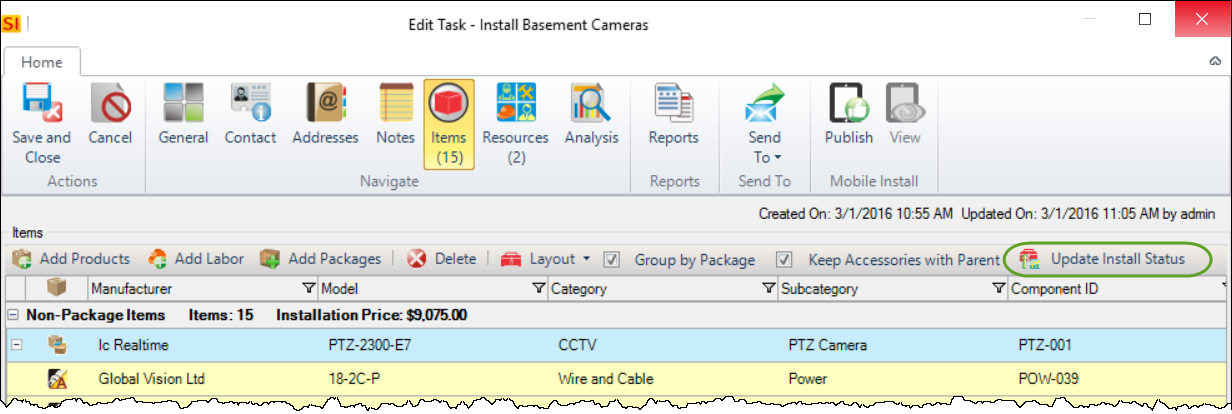
This will open a form where you can choose the Installed Date and and any Install Notes to the Item(s) selected:
Project Fields Affected
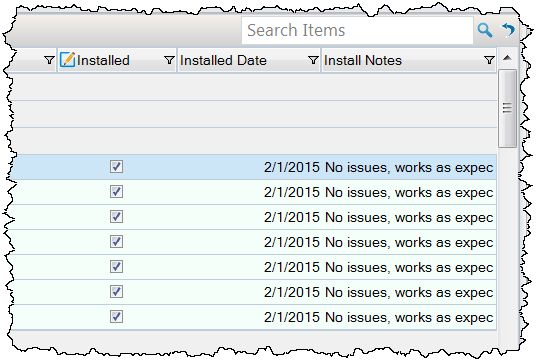
When you use the Update Install Hours function for Items in a Task, those fields are updated for the Items within the Project the next time you open the Project Editor:
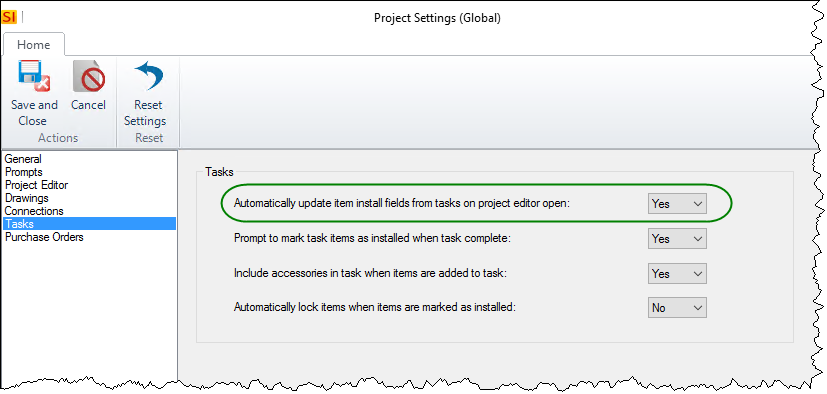
If for some reason, you don't want these fields to update, you can turn this function off in your Project Settings:
Mobile Install Users
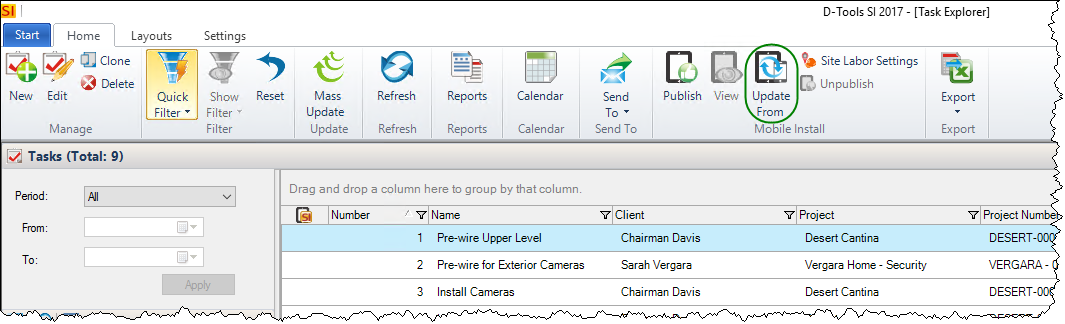
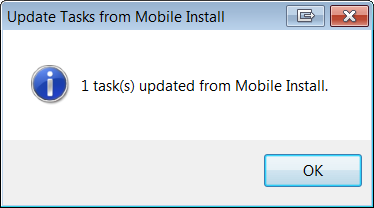
If you are using Mobile Install, Tasks will automatically update with the changes made in the Mobile Install interface. However, if you already have SI open when the changes are made in Mobile Install, you will need to click the [Update From] button in the Mobile Install section of the ribbon of the Task Explorer to bring down the changes:
This will update the Task with information added within the Mobile Install web interface. You will get a confirmation once updated:
You can now further edit the Task within SI 2017 if needed.
Site Items
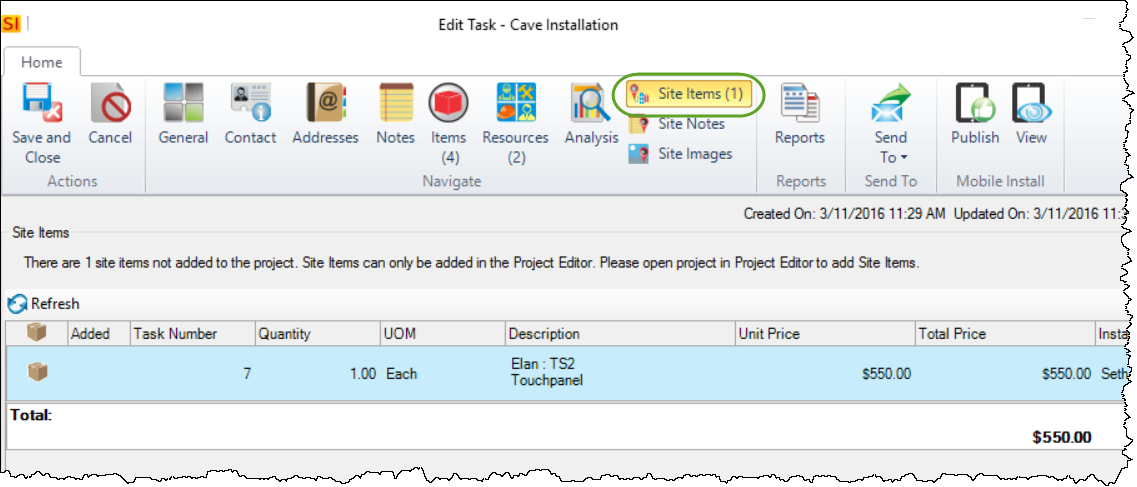
If Site Items were added to the Task in the Mobile Install interface, click the Site Items tab in the Edit Task form:
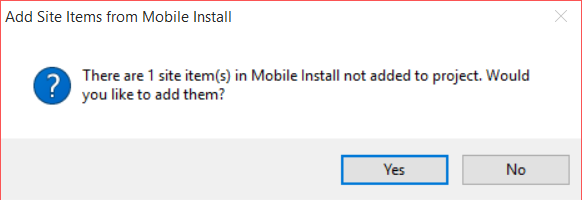
The next time you open the Project, you will be prompted to add the Site Items to the Project:
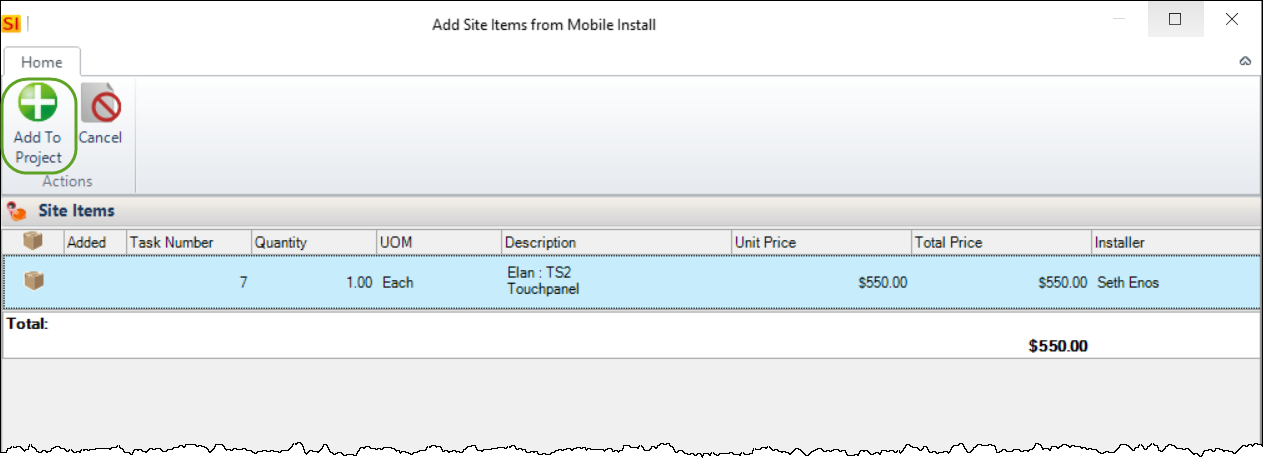
This will open a form where you can select the Site Items that you want to add to the Project. Click the [Add to Project] button:
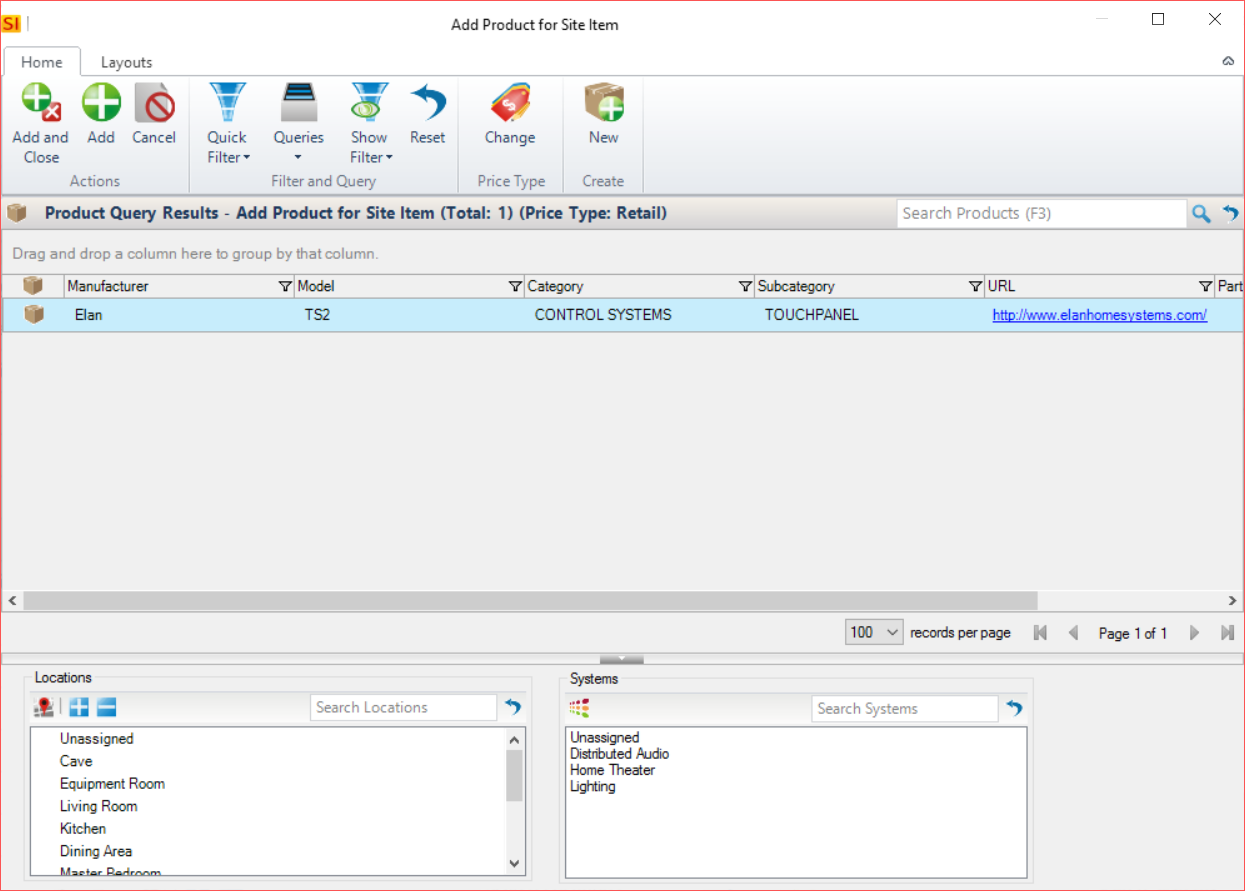
A form will open where you can select a Product from your Catalog, and choose the Location and System where you would like to assign the Product:
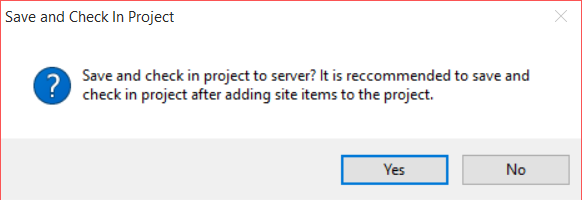
Once added, you will be prompted to save and check in your Project:
- © Copyright 2024 D-Tools