Sharing Documents
Setup
In order to use the Customer Portal, you must first create your custom URL. This is done in the Control Panel under your Company Information settings.
You must also be assigned to a User Group that has the permission granted to share documents to the Customer Portal.

Interfaces
Documents can be shared from the Project Explorer, Project Editor, or the Project Compare Editor.
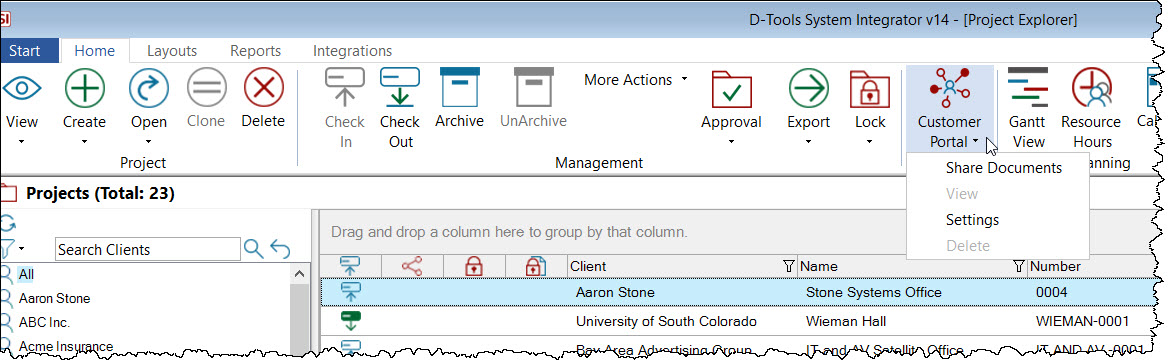
From the Project Explorer you can access the Customer Portal Settings as well as delete any shared documents.
From the Project Editor you can share documents and view previously shared documents.
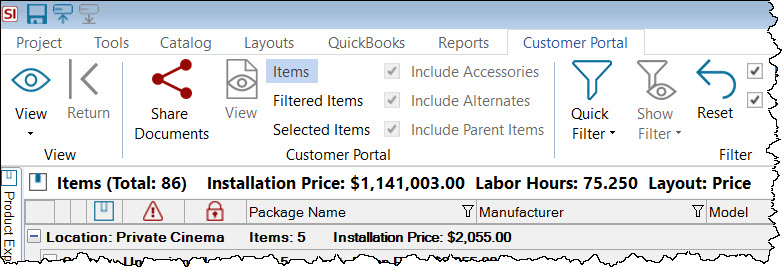
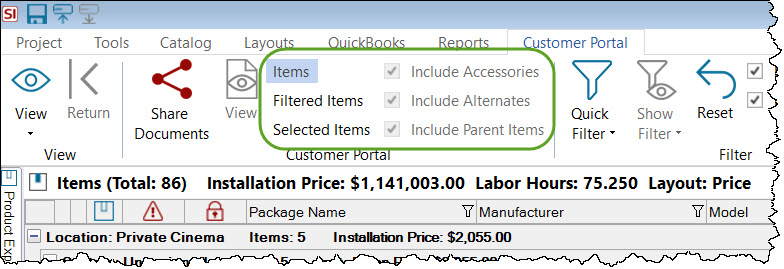
From this interface you can take advantage of the "Include Options" to choose exactly what you want to display on your reports:
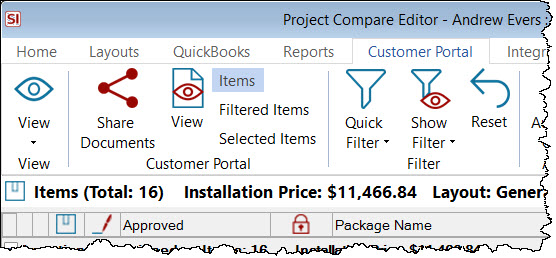
From the Project Compare Editor you can share documents to the Customer Portal or view previously shared documents on the Customer Portal. This is how you can share Change Order reports.
Steps
These steps are written for sharing from the Project Explorer (because there is the one extra step of first selecting the Project).
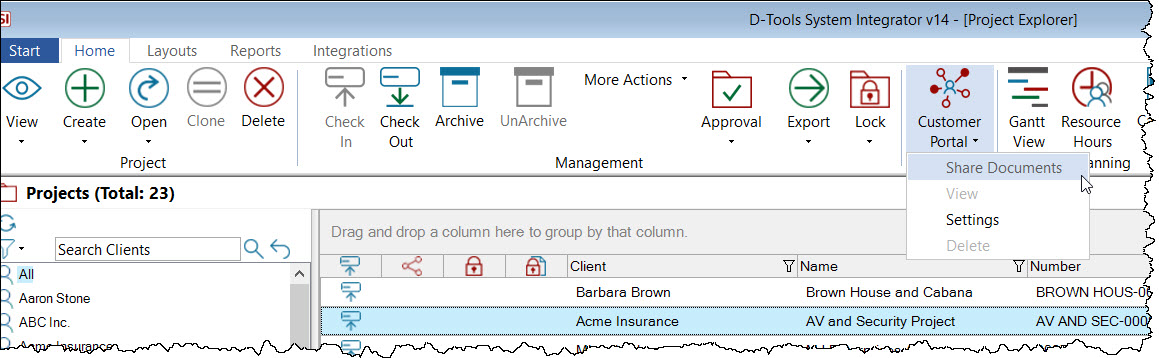
- From the Project Explorer, select the Project for which you want to share documents and click the Customer Portal tab followed by the Share Documents button:
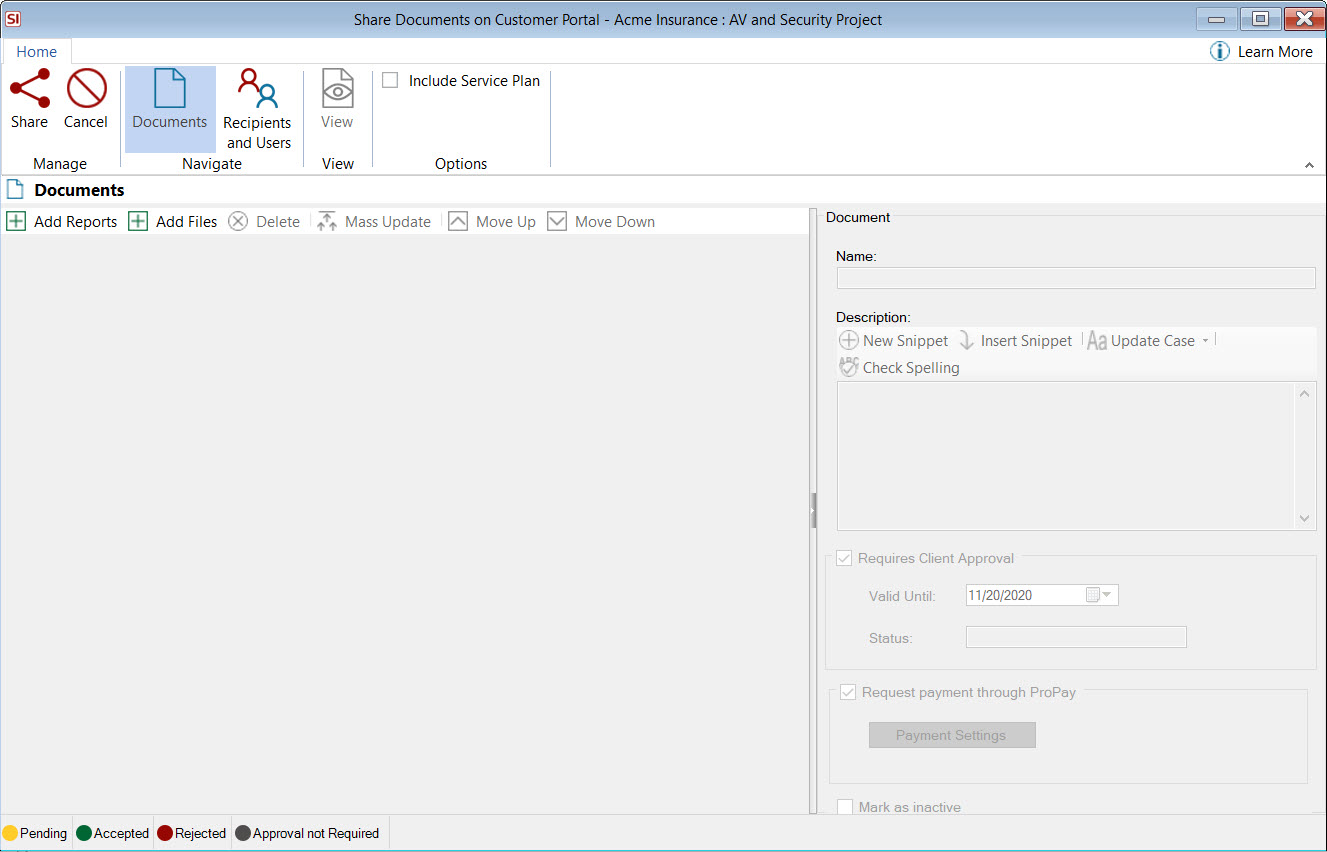
This will open the following form:
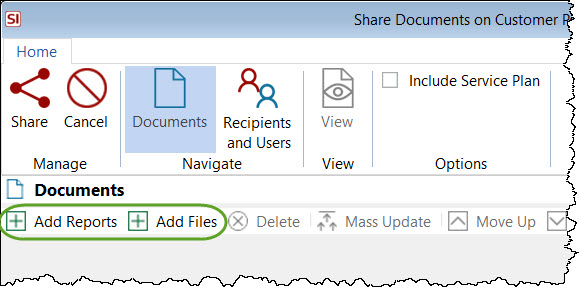
- Click either the Add Reports button or the Add Files button.
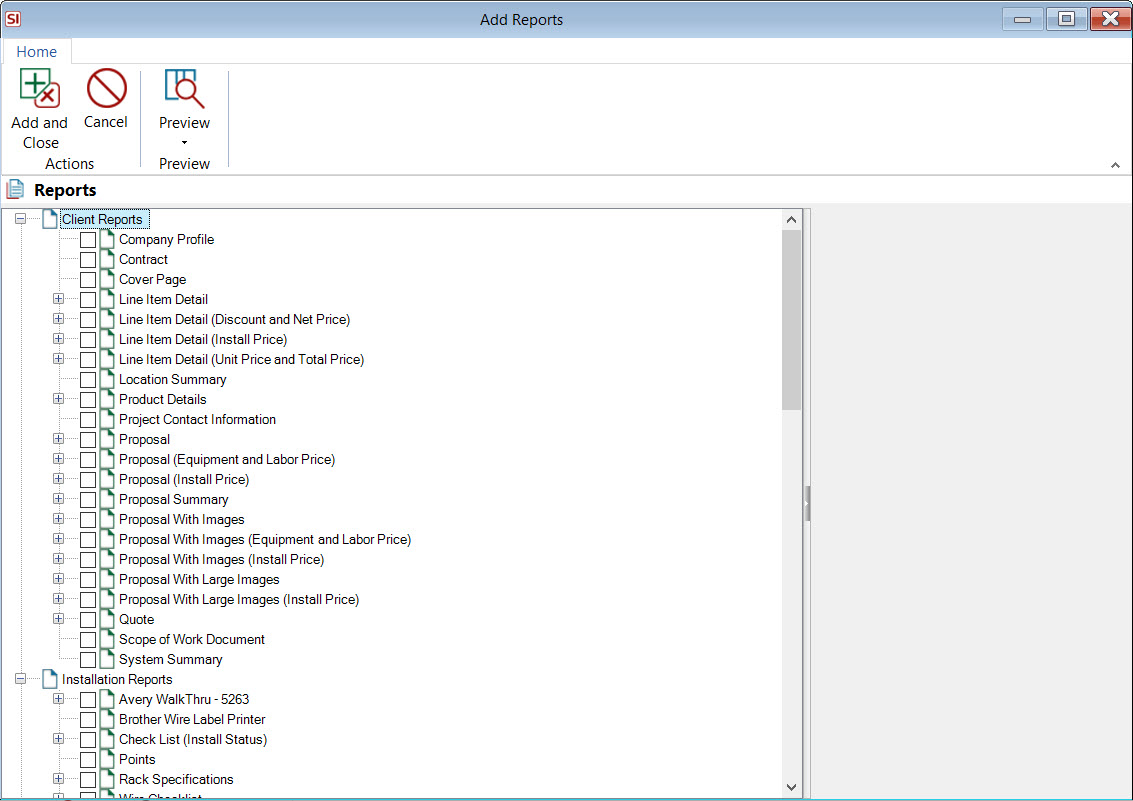
The Add Reports button will open the following form where you can select a report or a Report Group to share:
The Add Files button will open the project's folder but you can browse and select any other files you wish to publish. These should be in PDF format so they can be viewed in a browser.
Note: the maximum file size permitted to publish to Customer Portal is 20MB.
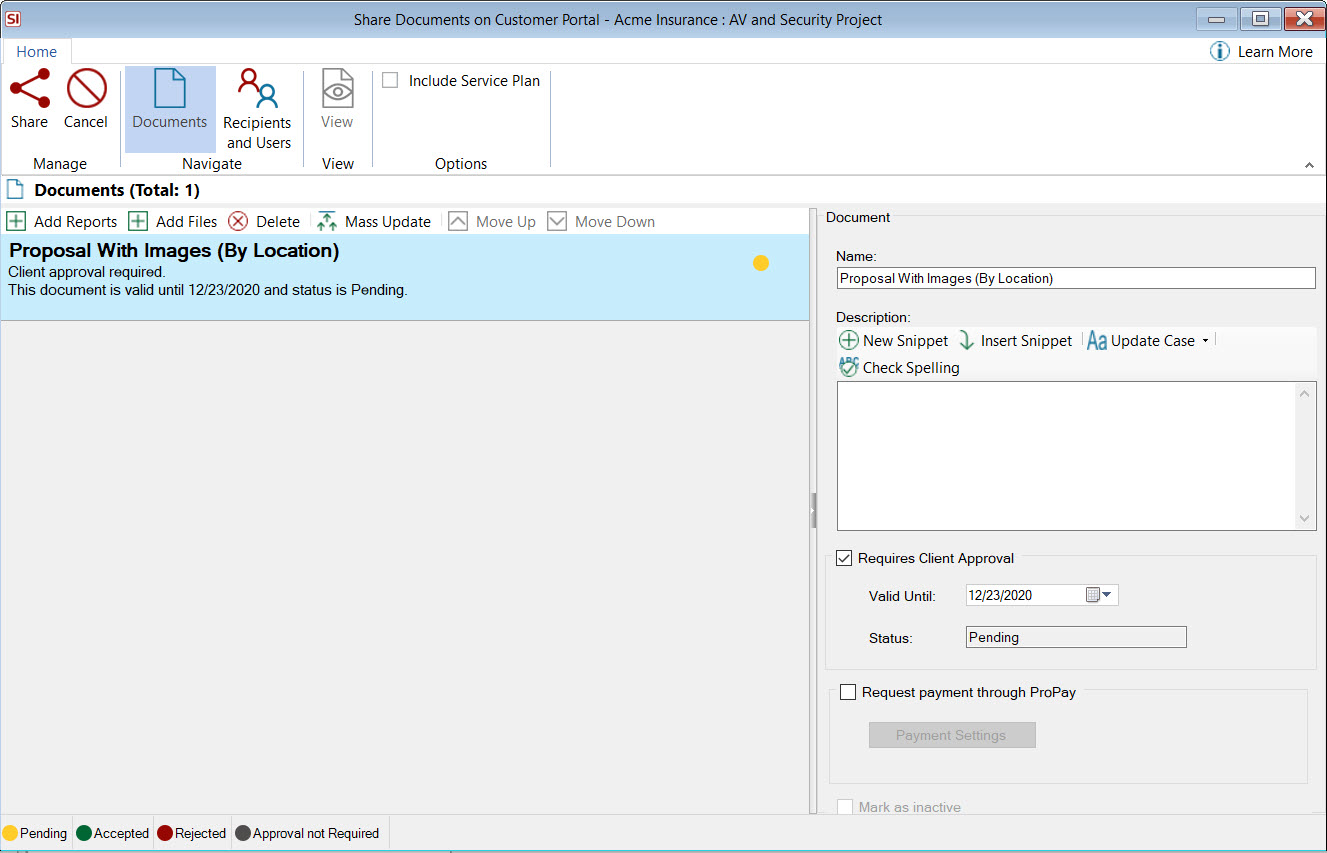
When a file is added it will display on the form and the status will be "Pending" (denoted by the yellow circle, legend at bottom of form):
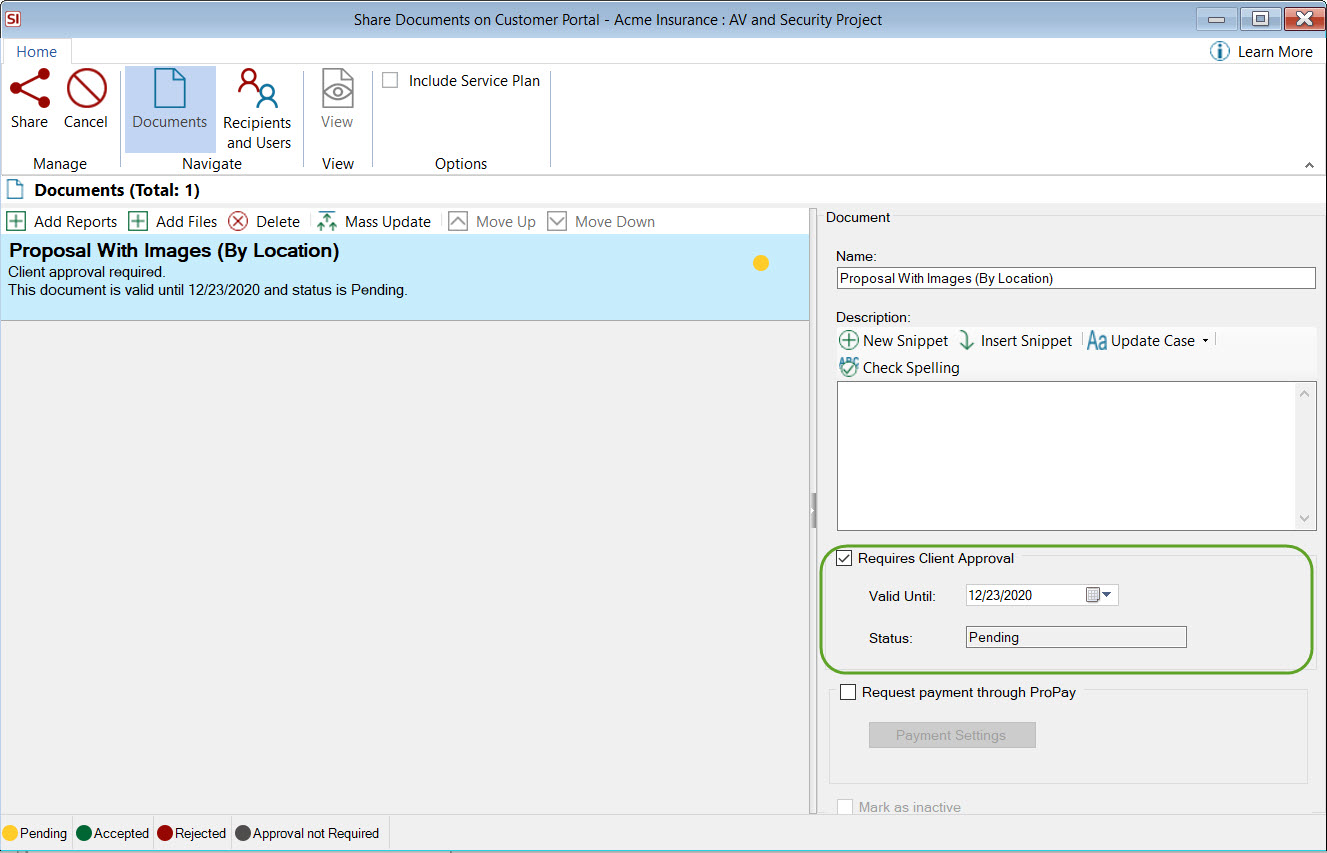
- Choose whether or not you want the document to require client approval, default is checked. This also defaults the "Valid Until" date 30 days out but you can change this if needed.
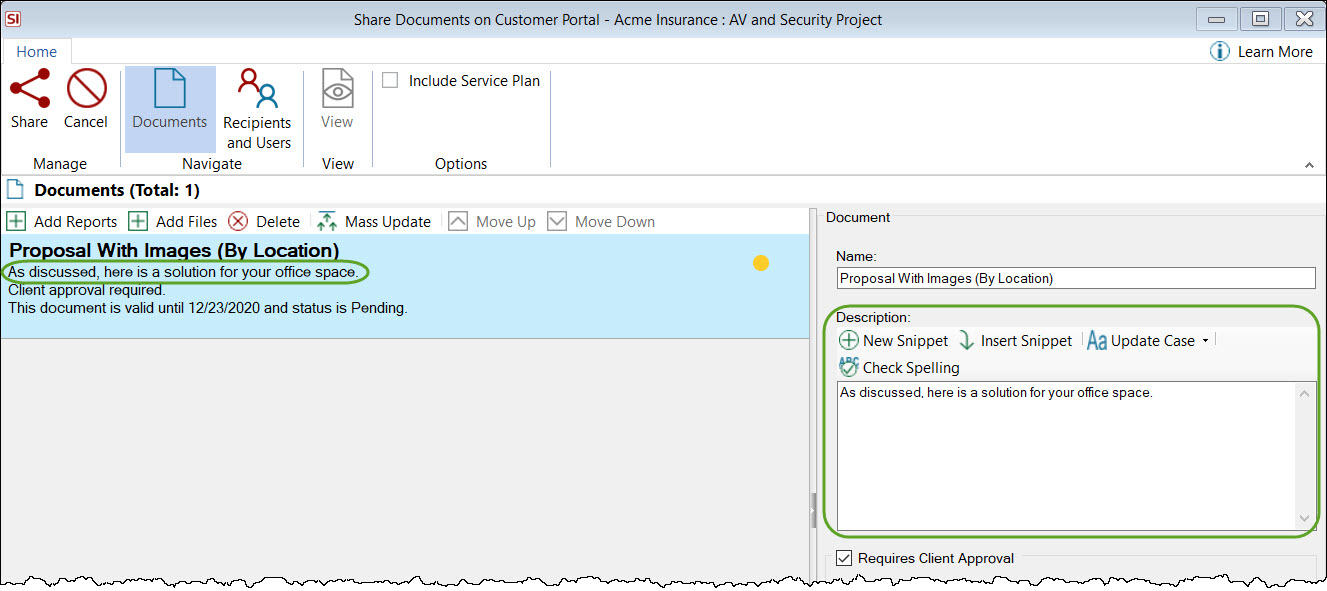
- You can add a description if desired:
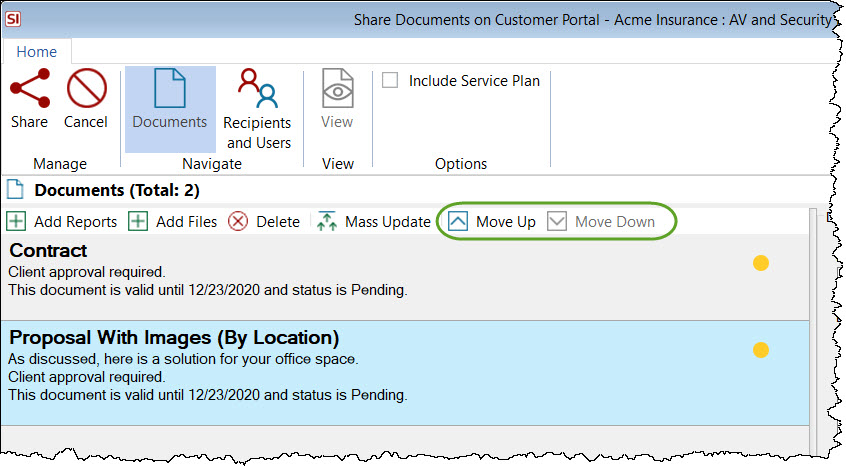
- If adding multiple documents, you can use the Move Up/Down buttons to put them in the order you wish them to display in the Customer Portal:
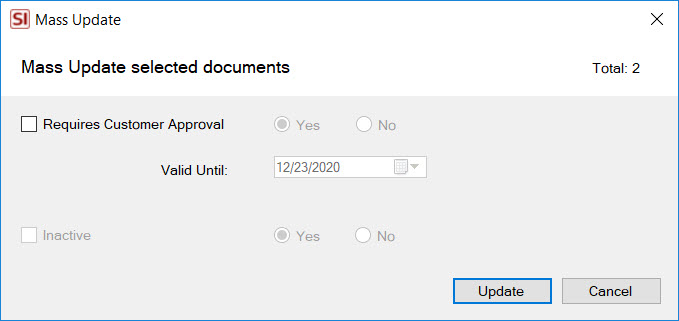
Also when adding multiple documents, you have a Mass Update option:

Here you can mass update whether or not the documents require approval and the "valid until" date. If you have previously shared these documents you will also have the option of marking them as inactive (see below for information on the inactive status).
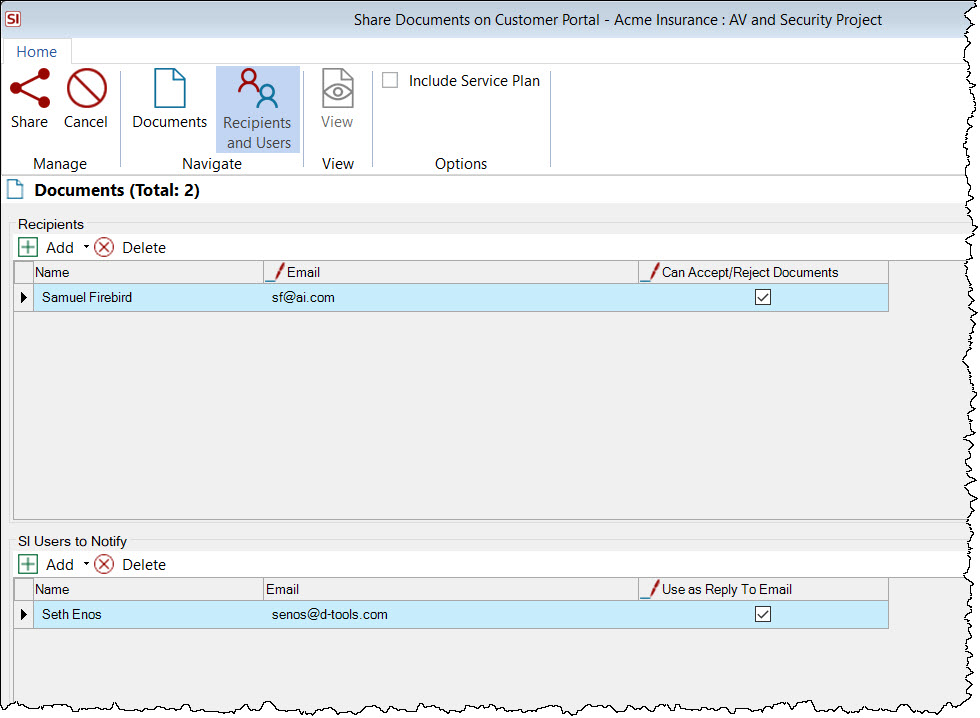
- Click the "Recipients and Users" tab.
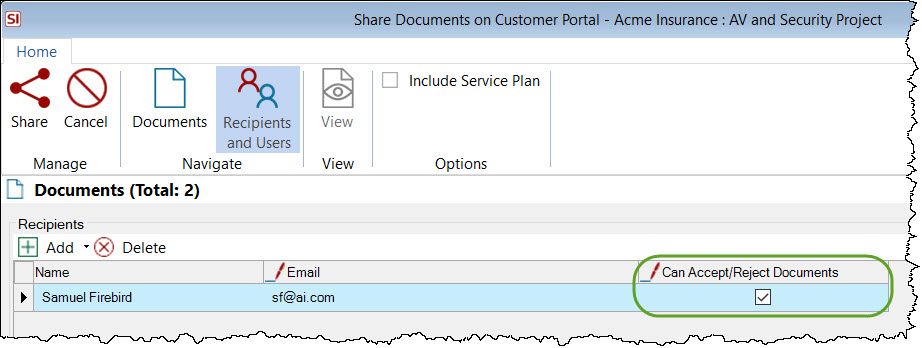
You can choose which recipients are permitted to accept/reject documents via the checkbox next to their information:
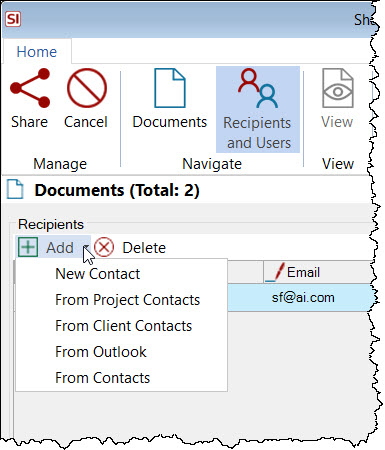
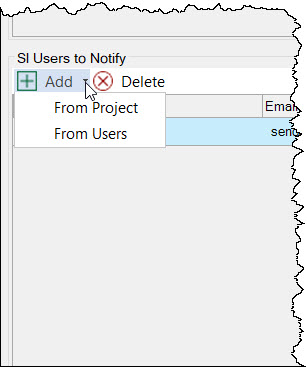
The default recipient will be the primary Contact for the Project and the default user to notify will be you (who you are logged in as in SI). You can add additional recipients and/or users to notify, as well as delete any you don't want to be notified:
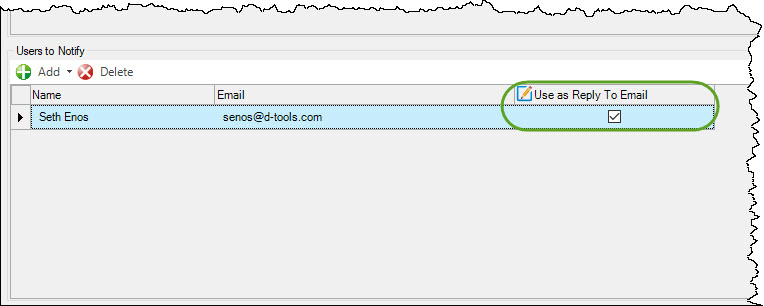
By default, every "user to notify" will have the "Use as Reply To Email" option checked. If your customer replies to emails sent to them via the D-Tools Customer Portal, the email address for the user will be used. This setting can be used in conjunction with/instead of the "global" reply to email you may have set in your Customer Portal Settings.
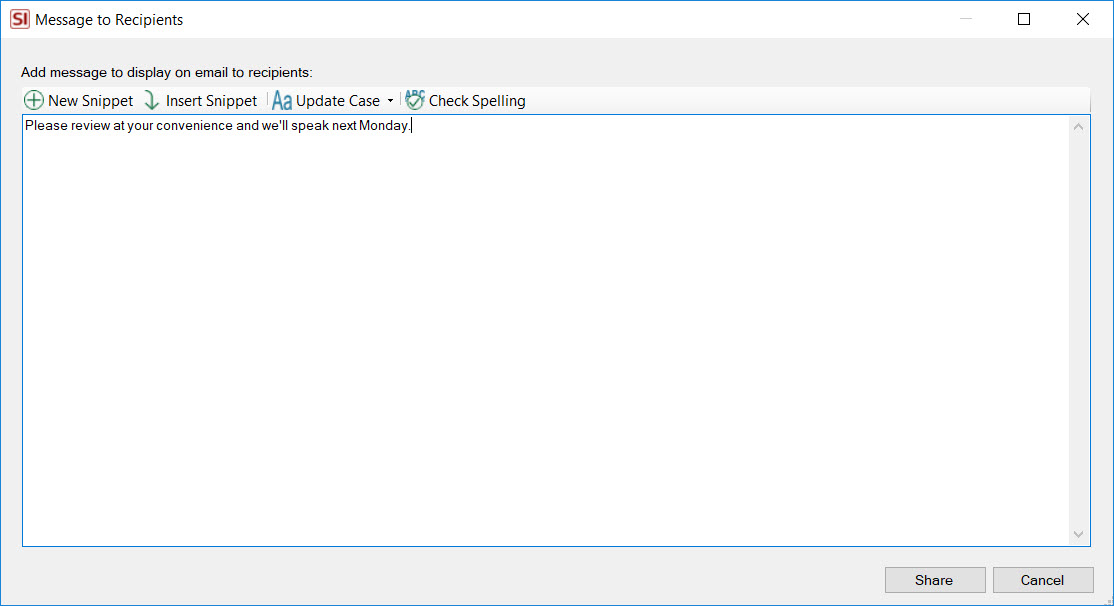
- When you are ready to share to the Customer Portal, click the Share button. You will be prompted to add a message to the email that your client will receive:
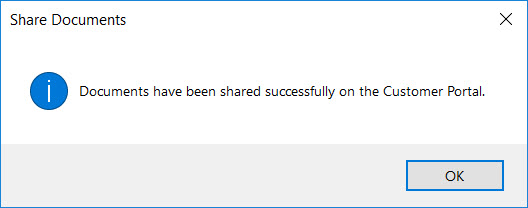
You will get a confirmation when the document(s) is/are shared:
Login Email Notifications
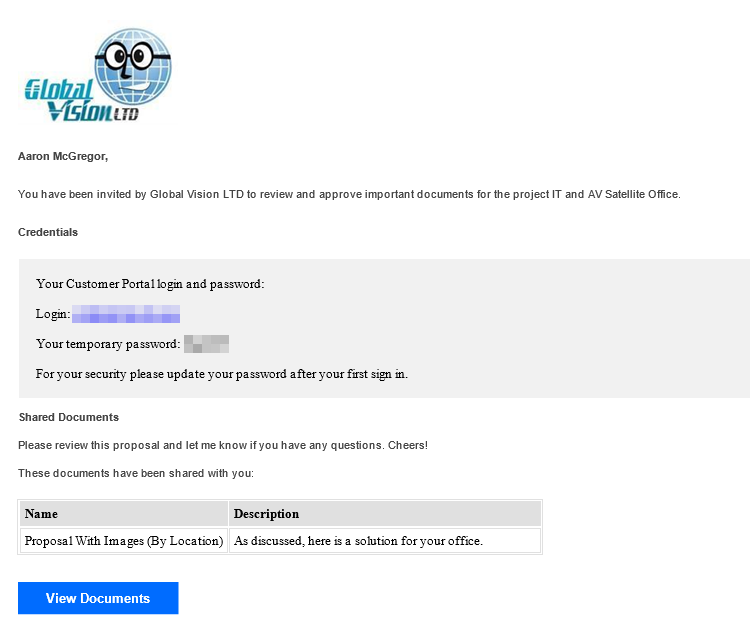
If this is the first time a document has been shared to a recipient and the first time you have been a "user to notify", both your client and you will receive emails with your login credentials for the Customer Portal with a temporary password.
The email to the recipients will display your Company Logo and look similar to the image below:
Note: If you do not want to require your clients to have to sign in to the Customer Portal to view documents, there is an auto-sign in setting in your Customer Portal settings that will allow your users to view documents shared to them by just clicking the link in the email.
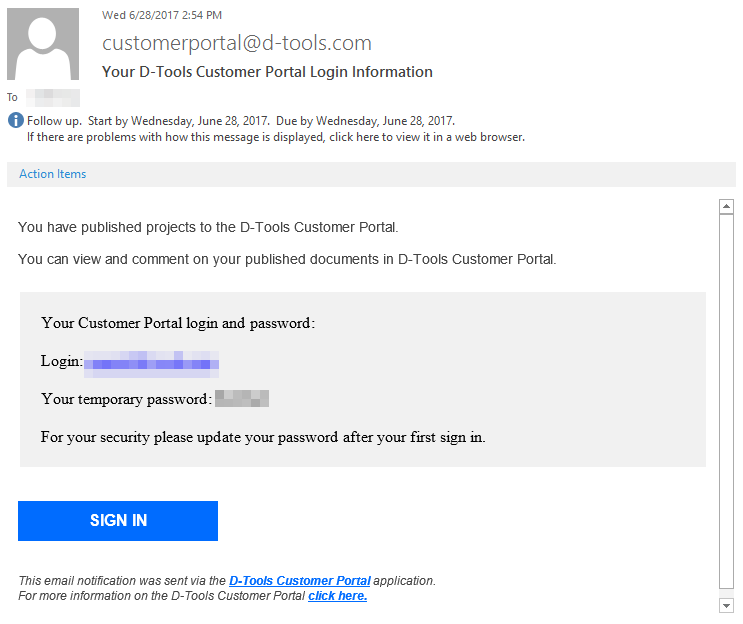
The email that the "users to notify" will receive will look similar to the image below:
ProPay Integration
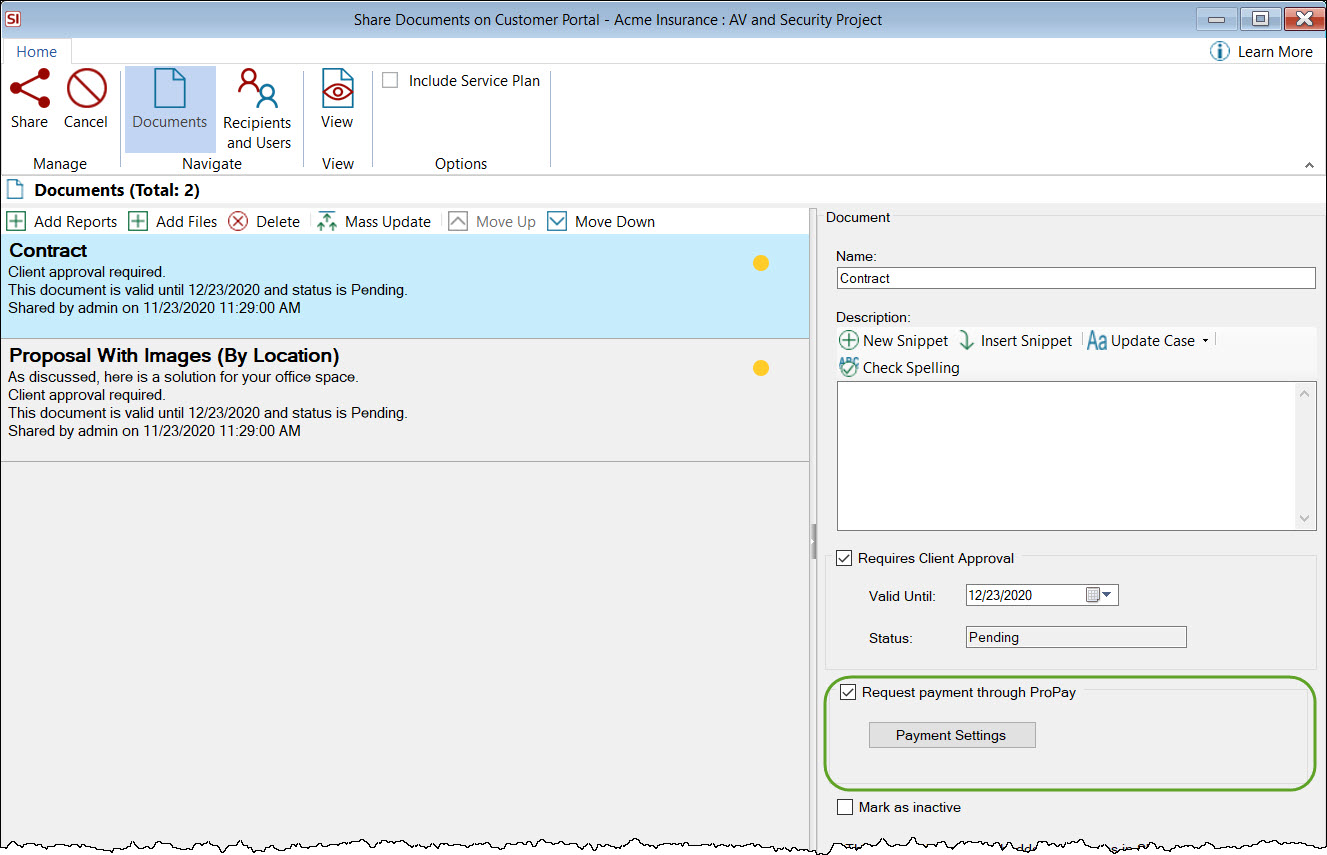
If you have enabled the ProPay integration you will see the additional option to request payment when publishing your documents:
Note: ProPay if for US clients only.
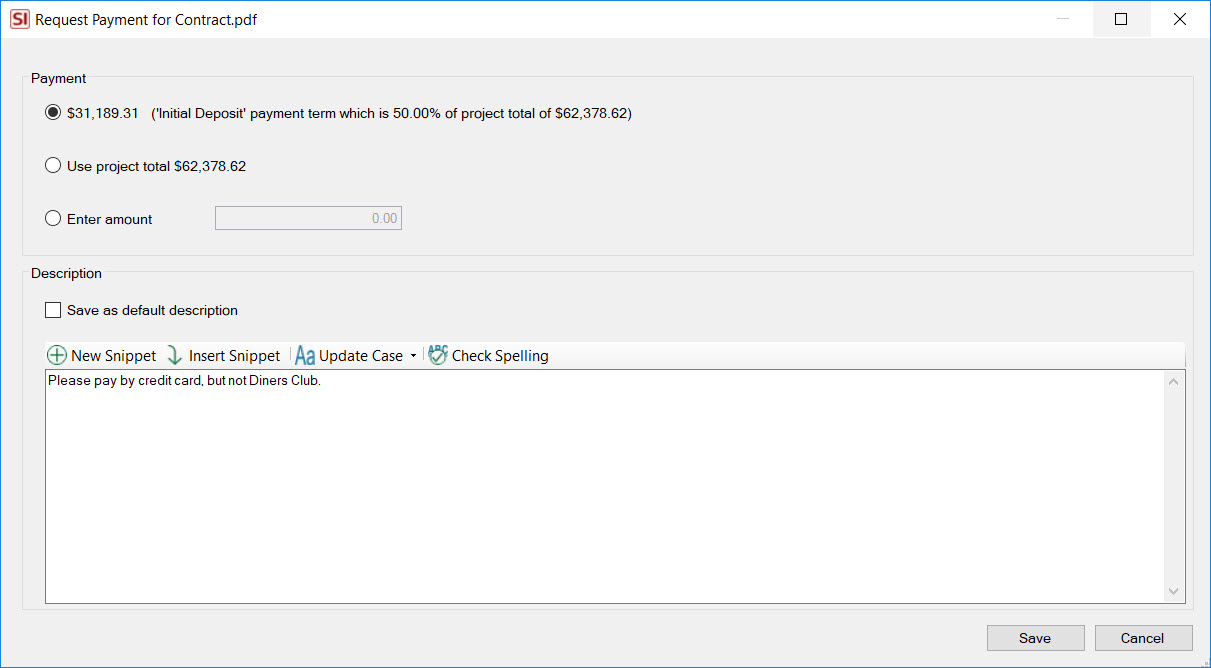
When you check this option and click the Payment Settings button the following form opens. The first radio button displays the first value from your Payment Terms for the Project, the second displays the project total price, and the third allows you to enter any amount desired. Keep in mind that the standard limit for ProPay transactions is $5,000 without requiring additional correspondence and approval from ProPay.
You can also add a description (this displays in the Customer Portal) and choose whether you want to save the description as your default.
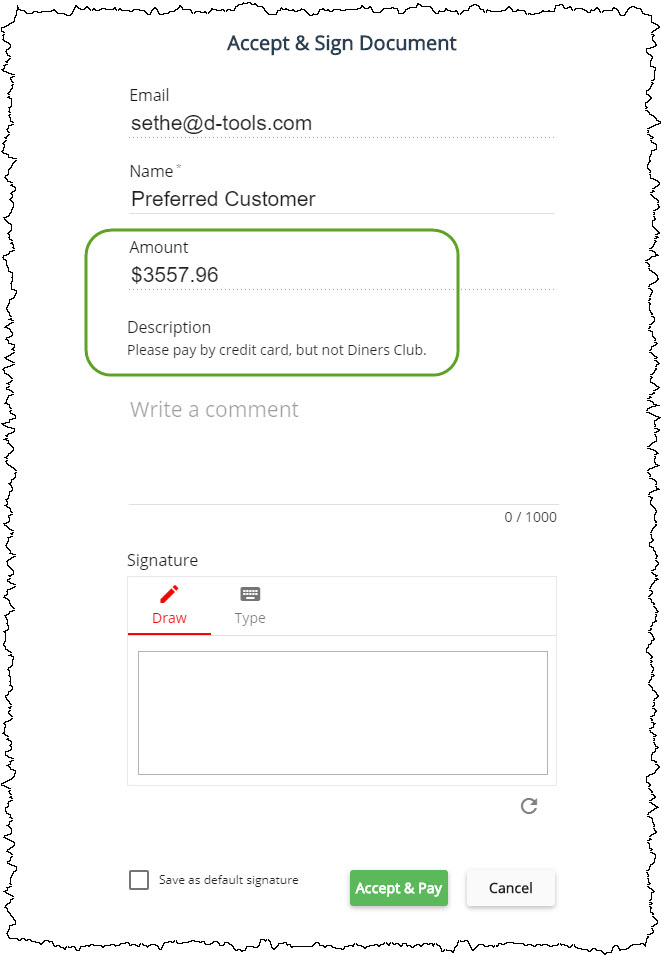
When your client views the document in the Customer Portal there will be an "Accept & Pay" button vs. just an "Accept" button:
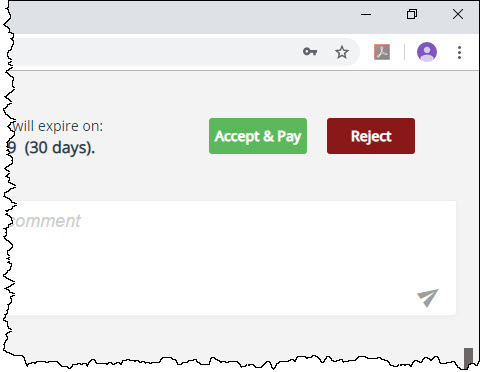
When they click this button the amount and your description (see above) will display:
Deleting
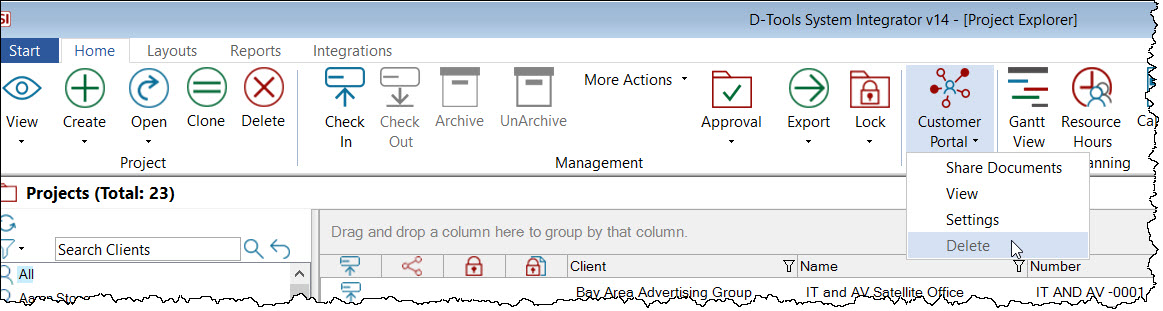
Once you have shared a document, you will have the option to delete the document(s) if needed from the Project Explorer:
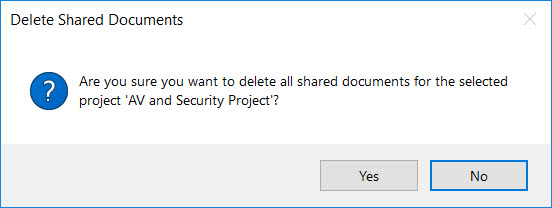
This option will delete all documents. You will get the following prompt:
Note: Deleting a document will completely remove it from the Customer Portal and you will lose all History and Comments for the document(s).
When in the Share Documents form, you also have the option of deleting documents.
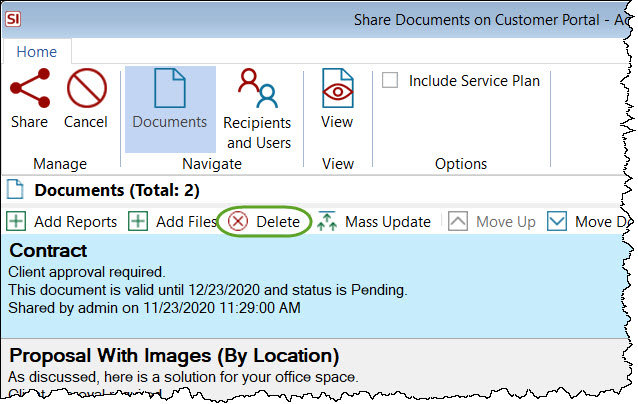
If you choose to delete a document that has been previously shared/published to the Customer Portal you will get the following message/option:

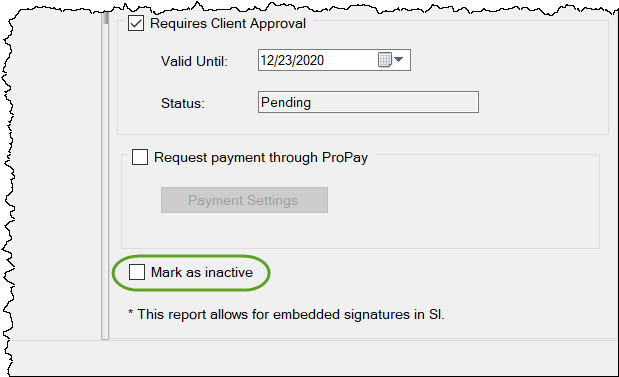
Mark as Inactive
An alternative to deleting a document is to mark it as inactive. This will keep the History and Comments for the documents in the Customer Portal interface. You can manually do this by clicking the Share Documents button again and checking the option:
- © Copyright 2024 D-Tools