Annotation Shapes
Details
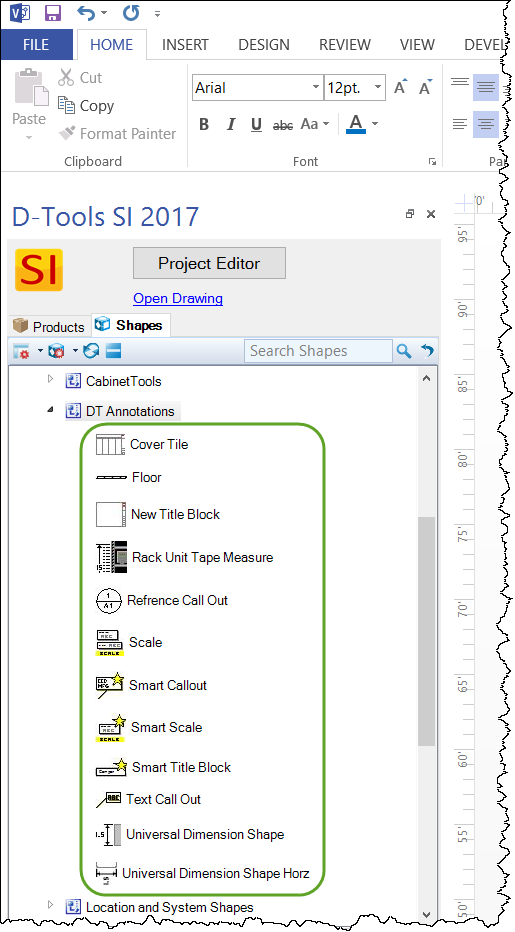
This page describes some of the shapes in the DT Annotations stencil:
Smart Title Block
In the DT Annotations stencil there is a shape named Smart Title Block. When the user drops the smart title block on the page they will have access to 48 fields of date, file, page, project and company information by using the Shape Data UI. With this shape the user can easily build custom title blocks that will automatically populate with whatever project information the user feels is relevant. The fields we are tracking are:
How to Use
Drop on to the page, make sure the Shape Data UI is showing. Chose the field value you want to display on the drawing. The software will reconfigure the shape with the new data and field label. You can add whatever custom label text you want by entering the new text in the custom field label field of the shape data UI. For example if you want the Resources field to say Designer instead of Resources just type "Designer" in the Custom Field Label area.

Shape Features
- Multiple date formats
- Auto text box sizing
- Manual text box sizing using the yellow control handle
- Automated field labeling
- Custom field labeling
- Auto font sizing based on page scale
- Connection points enabled for easy alignment of shapes (tip, grab close to where you want the shape to glue to the other shape)

Shape Caveats:
- The values that are in the shape WILL NOT update automatically. For example if you add a project manager to a job in the Si forms after you have configured the project manager title block the new information will not update unless you change it to another field value using the Shape Data UI and then change it back.
Universal Dimension Shape
The single Universal Dimension shape works on all sides of an object you want to measure and works with all measurement units. In addition there are now up to 0.0000 user defined levels of precision. The previous dimension shapes required a separate shape for each side of an object and did not work well at metric measurement units.
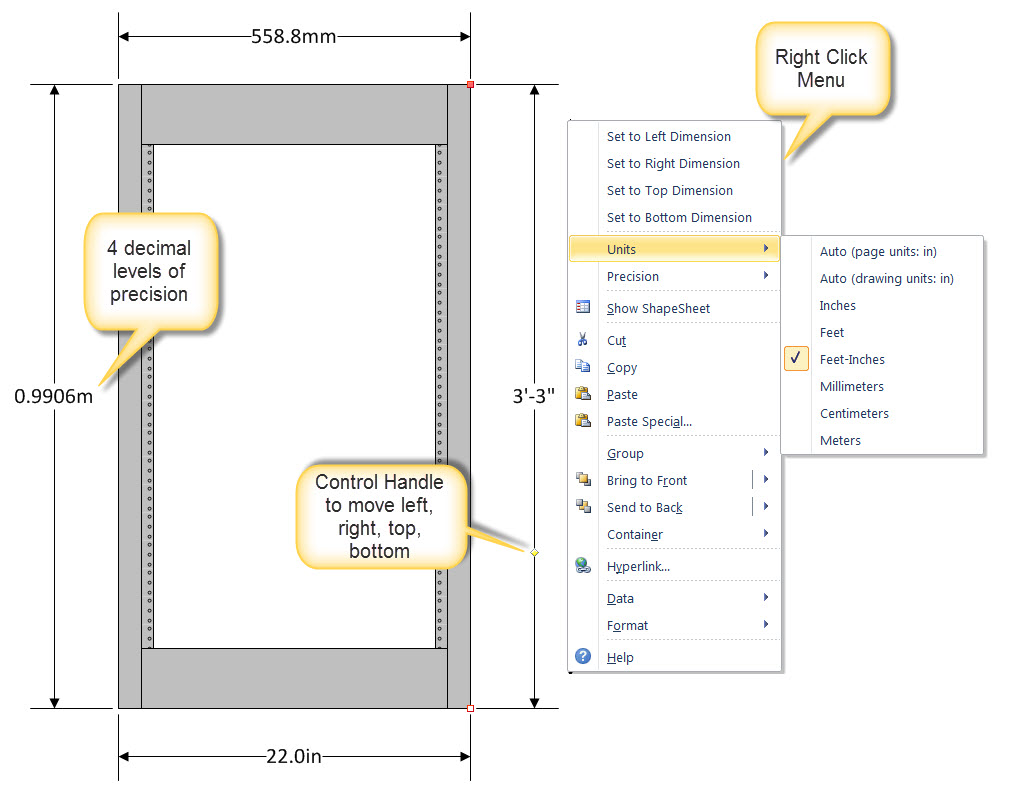
How to use the Universal Dimension Shape
Drag on to the drawing page and attach the extents to a shape you want to measure. Explore the Shape Data UI and Right Click menu to set options. Use the control handle or the right-click Set Dimension commands to set the shape to the proper alignment. The default measurement unit settings are set to Auto (page units). This means that whatever the page is set to the shape will assume those properties. The default precision unit is set to 0.0. Both can be easily changed. See above.
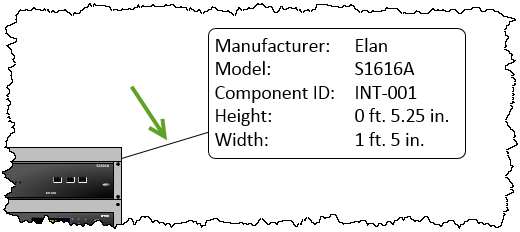
Smart Callout Shape
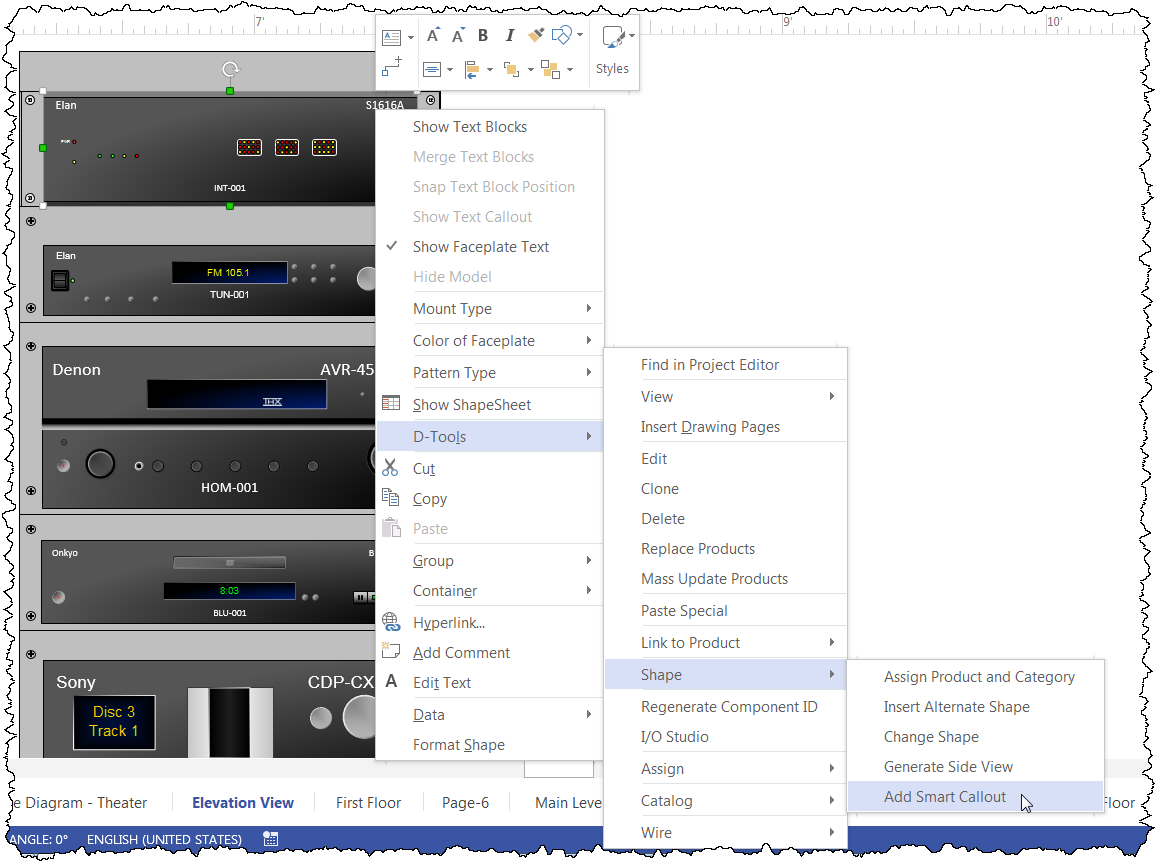
The Smart Callout shape is a customizable shape that reads the custom properties of any shape that it is attached to. While you can drag Smart Callout shape to a page and manually attach it to a shape, we recommend right-clicking the shape you wish to add the Smart Callout shape to and selecting D-Tools->Shape->Add Smart Callout:.
This will open the following form where you can use the arrow buttons to choose the fields you wish to display on the shape in the order you want them to display:
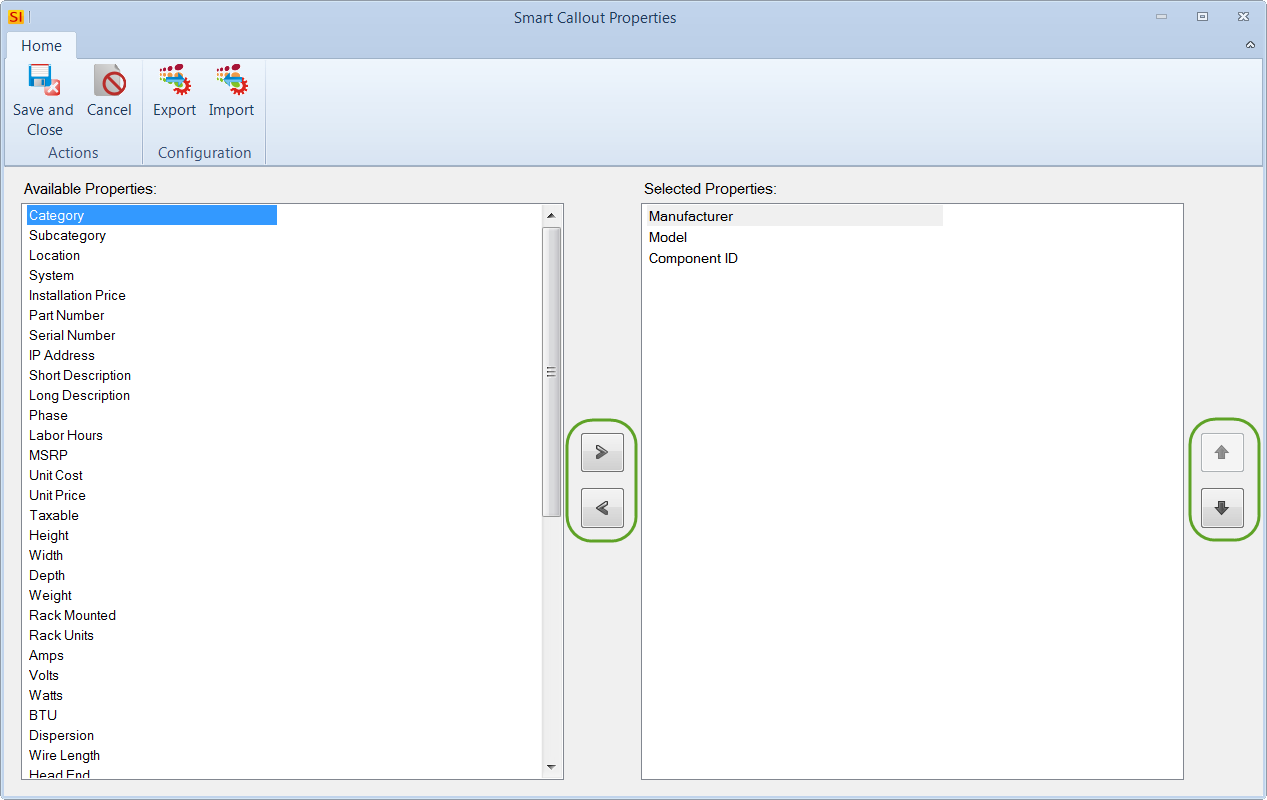
Once you've made your selections, click [Save and Close].
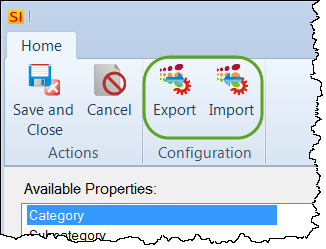
The [Export]/[Import] buttons can be used to save configurations for future use:
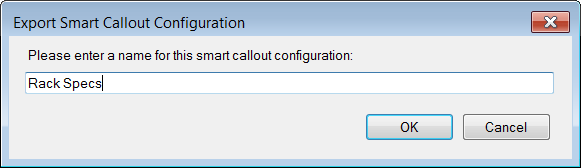
When you export you will be prompted to name the confiiguration:
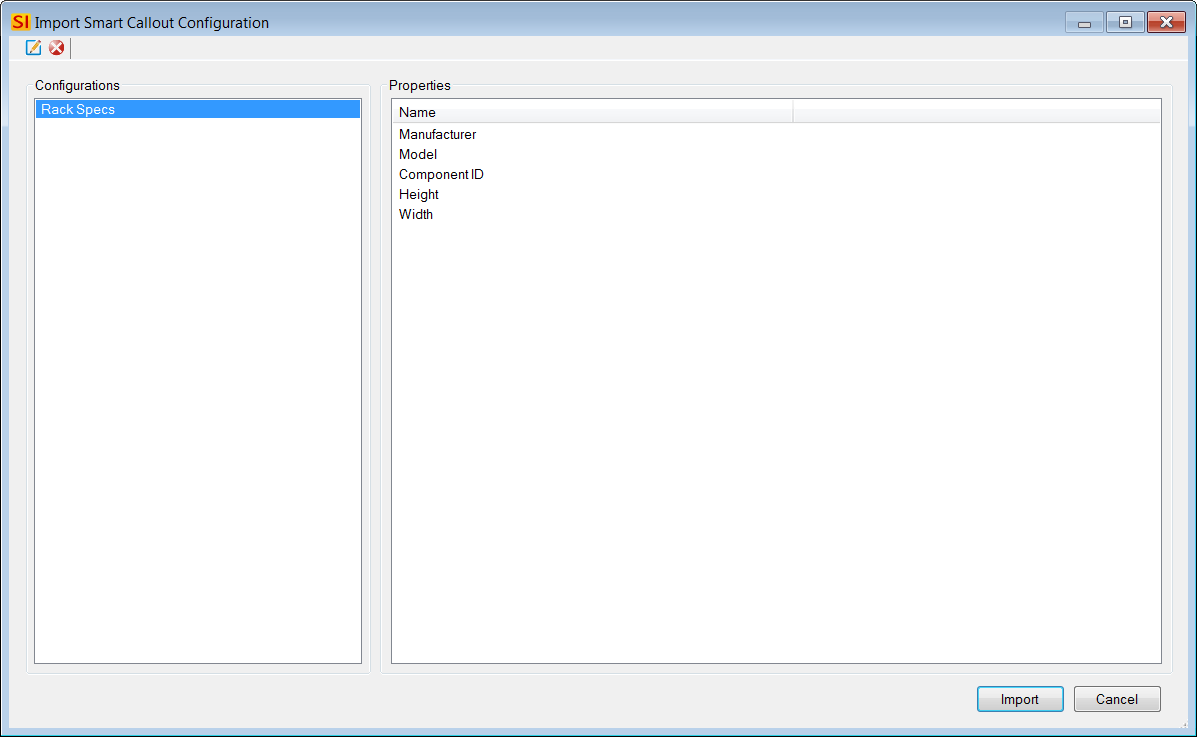
When you import, you'll be able to select from any saved configurations:
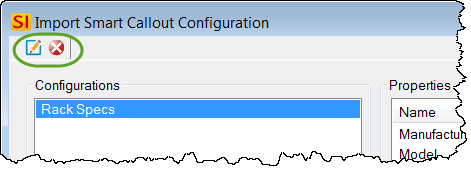
On the import form you can also edit the name of the configurations or delete them if you no longer need them:
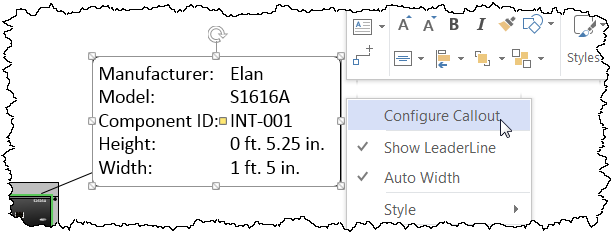
Once on the page, you can right-click the Smart Callout shape and select Configure if you wish to make changes to the fields that display:
Shape Data Window
All user adjustments to the Smart Callout shape are accessed through the Shape Data window. To display the Shape Data window, click the View tab then select "Shape Data" from the Task Panes dropdown:

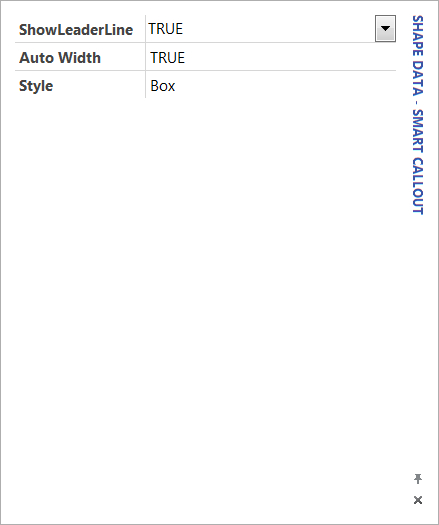
Show Leader Line - Default = True. Show or hide the leader line.
Auto Width - Default = True. The Smart Callout shape will automatically resize to accommodate the text. With either choice, you can always use the control handles to manually adjust the size of the text box manually.
Style - Default = Box. There are four text box styles illustrated below. Box, No Outline, 1 Line, 2 Lines.

- © Copyright 2024 D-Tools