Working with Clients
Adding/Editing/Deleting a Client
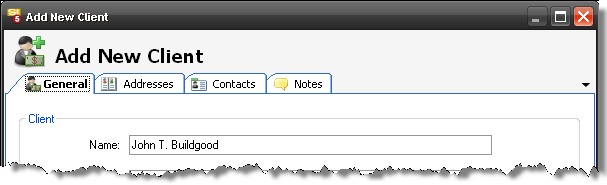
When adding or editing a Client the form is the same and will be referred to as the Add New/Edit Client form. This form has four tabs: General, Addresses, Contacts, and Notes. To add or edit a Client, click the appropriate link and the Add New/Edit Client form will open:
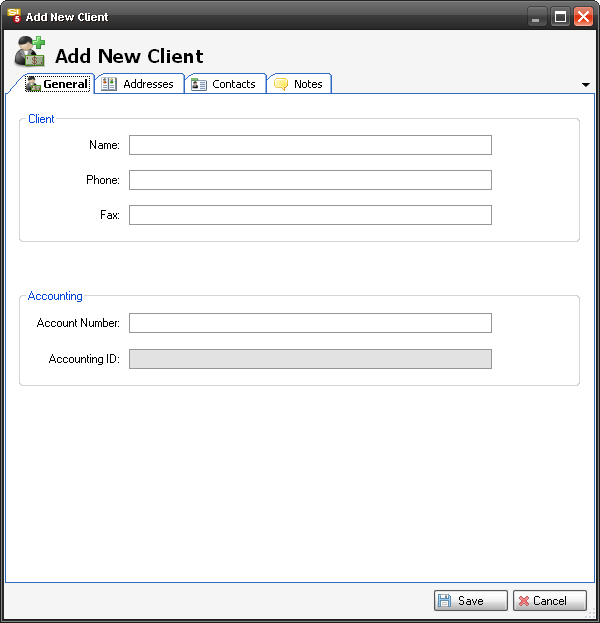
The General tab, as shown above, has fields for: Name, Phone, Fax, Account Number, Accounting ID.
| Field | Description |
| Name | Client name |
| Phone | Client phone number |
| Fax | Client fax number |
| Account Number | If you wish to identify a Client by a number use this field |
| Accounting ID | This field auto-generates when you import a Client from QuickBooks |
The Addresses tab allows you to enter as many addresses for the Client as needed.
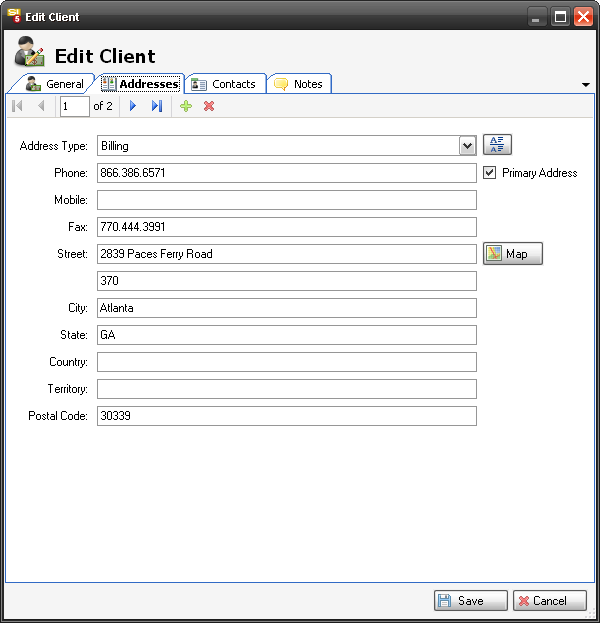
Use the ![]() button to add an address and the
button to add an address and the ![]() button to delete an address. You can view your addresses by using the navigation buttons
button to delete an address. You can view your addresses by using the navigation buttons ![]() . To add or edit the Address Type list use this button
. To add or edit the Address Type list use this button ![]() . There are Only one address can be the primary address for a Client and is designated by a checkmark “Primary Address”. The
. There are Only one address can be the primary address for a Client and is designated by a checkmark “Primary Address”. The ![]() button will launch IE in its own window and display Google Maps for the address.
button will launch IE in its own window and display Google Maps for the address.
The Contacts tab of the Add New/Edit Client form allows you to add as many Contacts to a Client as desired.
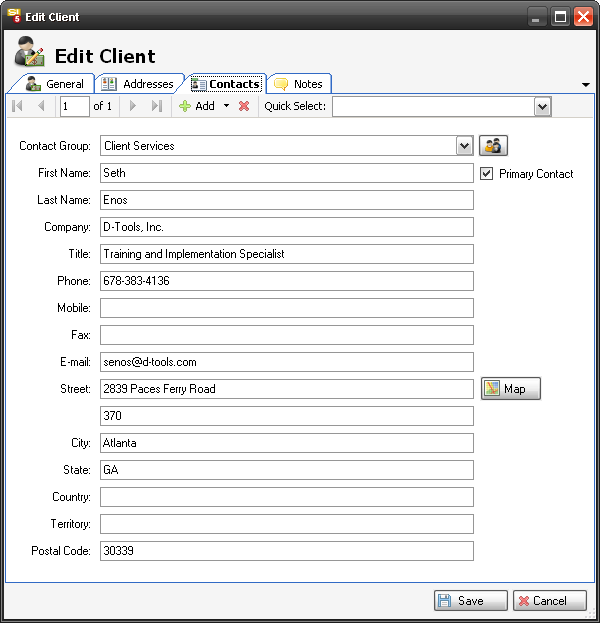
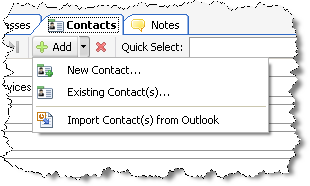
You can click the ![]() button to manually enter a Contact or you use the dropdown arrow to associate an existing Contact to the Client or you can import Contacts from Outlook. Use the
button to manually enter a Contact or you use the dropdown arrow to associate an existing Contact to the Client or you can import Contacts from Outlook. Use the ![]() button to delete a Contact. You can view your Contacts using the navigation
button to delete a Contact. You can view your Contacts using the navigation ![]() buttons or you can use the “Quick Select” dropdown
buttons or you can use the “Quick Select” dropdown ![]() .
.
Contacts must be assigned to a Contact Group. You can Add/Edit your Contact Groups by clicking the ![]() button.
button.
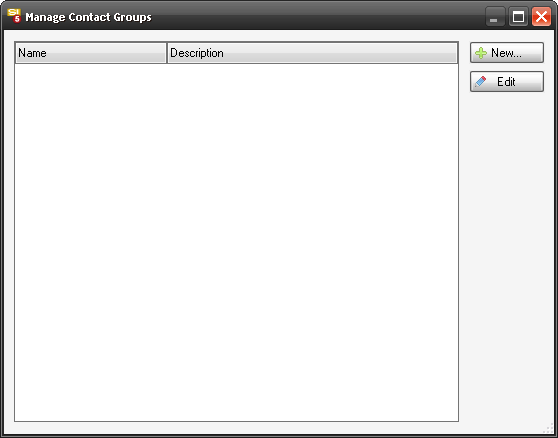
When you click either the [New] or the [Edit] buttons, the following form opens.

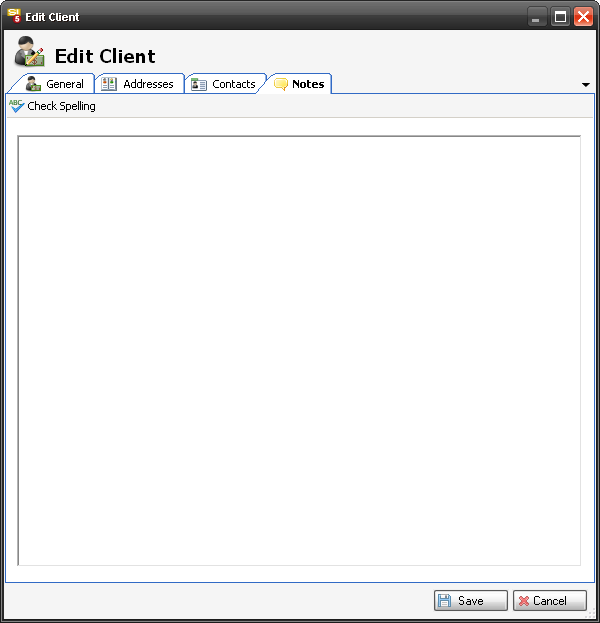
The Notes tab of the Add New/Edit Client form is one big editable field and there is a spell check function.
To delete a Client select an entry in the list can click the “Delete Client” link.
Import Client from Outlook
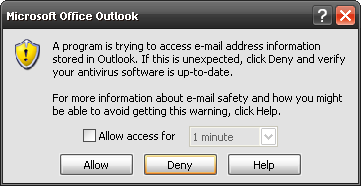
When you click this link, the first thing that will appear will be a message from Outlook letting you know that a program is trying to gain access Outlook. Click the checkbox, select a time, and click [Allow]:
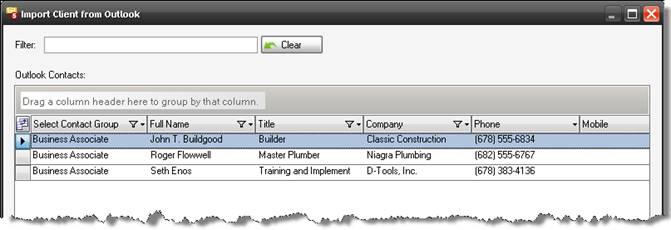
The Import Client from Outlook form will open. Select a Contact from the list and click the ![]() button:
button:
The Add New Client form will open for any changes you wish make:
Import Client from QuickBooks
Your company must have a QuickLinks license in order to use this functionality and you must have the “Allow QuickLinks” permission assigned to your Group. See QuickLinks for details as well as Installing QuickLinks for information on permissions.
When you click the option “Import Client from QuickBooks” the following form will open:
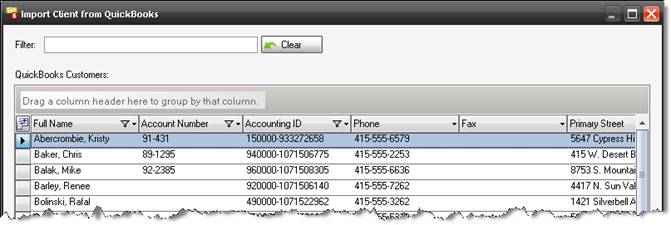
Select the QuickBooks Customer from the grid and click the ![]() button. You can only import one QuickBooks Customer to an SI 5 Client at a time.
button. You can only import one QuickBooks Customer to an SI 5 Client at a time.
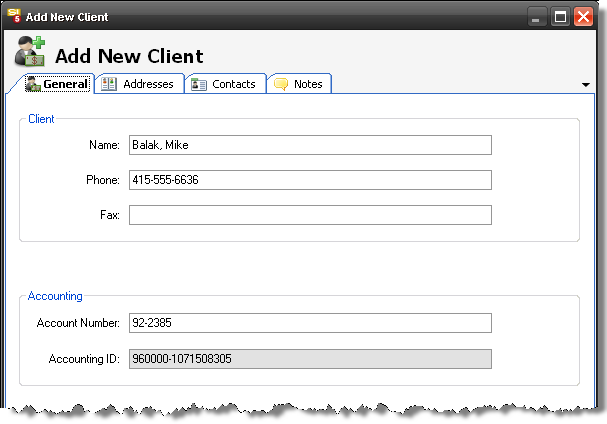
The Add New Client form will open in case you wish to make any changes. When done, click the ![]() button.
button.
Export Clint to QuickBooks
Your company must have a QuickLinks license in order to use this functionality and you must have the “Allow QuickLinks” permission assigned to your Group. See QuickLinks for details as well as Installing QuickLinks for information on permissions.
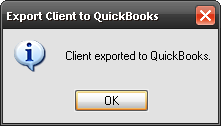
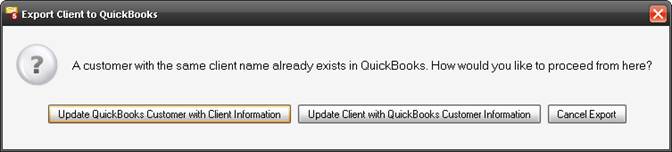
This will export a Client from SI 5 to a Customer in QuickBooks. There is no form, just a message that the operation completed. If a Customer exists in QuickBooks of the same name, a form will give you options.
Create New Project for Client
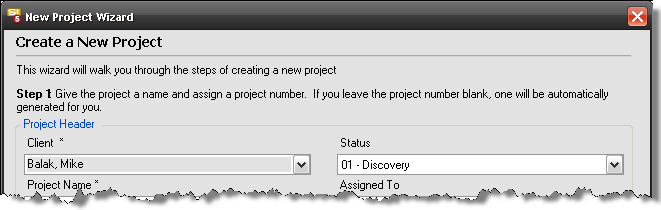
This link will open up the New Project Wizard with the Client name and address information already filled in. The Primary Contact information will be populated in the Project Contact and Staff section of the wizard:
Send an E-mail
You must have Outlook 2007 installed for this function. This will open up a new Outlook email addressed to the primary Contact for the Client.
Create an Appointment
You must have Outlook 2007 installed for this function. This will open up a new Outlook Appointment addressed to the primary Contact for the Client.
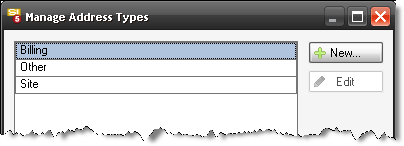
Manage Address Types
This allows you to add to the stock list of Address Types in SI 5. The three types in the stock list are Billing, Site, and Other and these three are not editable.
- © Copyright 2024 D-Tools