Work Orders
Work Orders
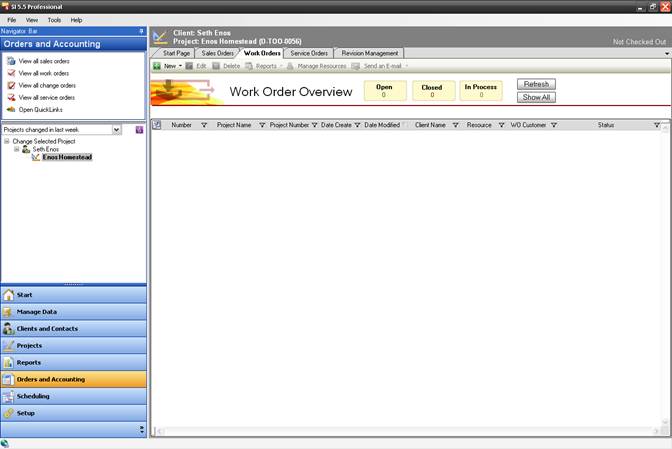
The Work Order function within Orders and Accounting interface allows you to create Work Orders for installation scheduling. We recommend that you create and reconcile Work Orders on a daily basis if possible rather than reconciling in bulk. Accurate tracking of Work Orders will allow your product based labor estimates to improve over time.
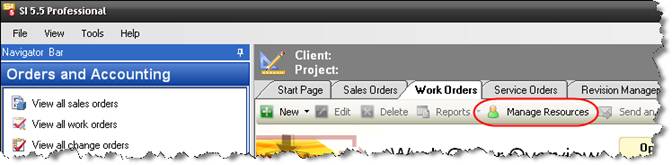
Resources should be setup before creating a Work Order. A Resource is generally considered to be an installer. Click [Manage Resources]:
The Resource Management form opens:
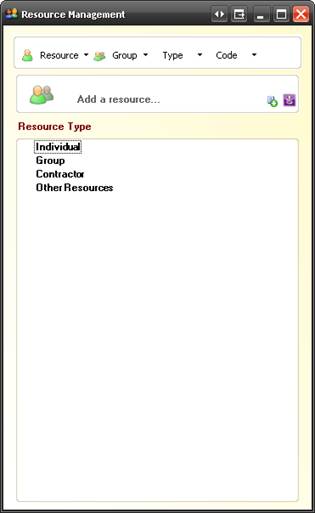
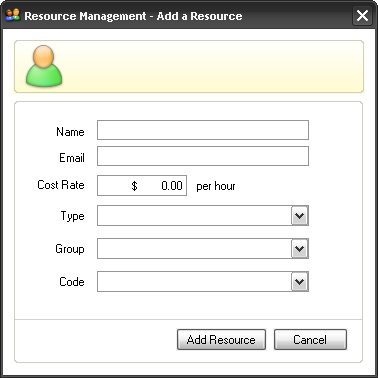
There are four options for a resource: Resource, Group, Type, and Code. Resource allows you to edit or add Resources. SI 5 does not use Group, Type, or Code anywhere but you may wish to use Group to organize your resources. These fields are there for D-Tools clients who choose to use them when working with our SDK. To edit any of these fields, use the dropdown along the top of the form:
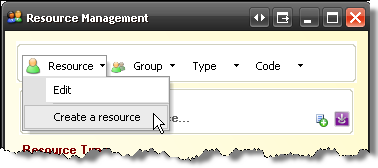
The following form will allows you to enter information about the Resource. Here you can enter the Name, Email, how much the resource costs you per hour, Type, Group, and Code.
Creating a Work Order
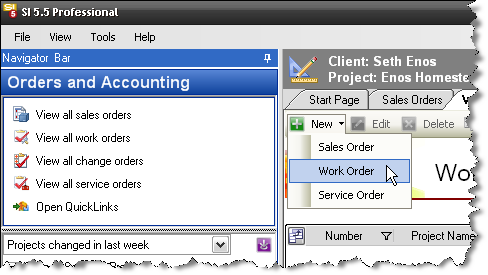
To create a Work Order, click [New] and select Work Order:
The Work Order window opens:
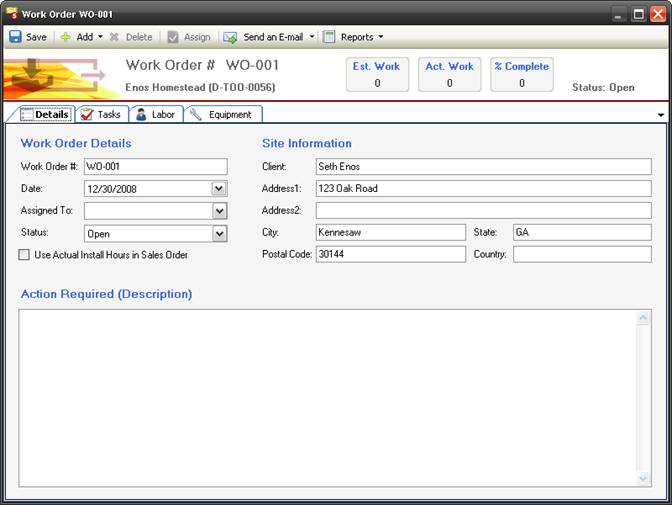
The “Site Information” section will populate with the client and address information from the Project. The “Work Order Details” section displays the Work Order #, Date, Assigned to, and Status (all editable). The “Assigned to” dropdown populates with the Resources that you have created. The “Action Required (Description)” field can be used to add a description to the Work Order by Location report.
Adding Items vs. Adding Tasks
Adding Items to a Work Order is the “older” methodology within SI 5 for handling Work Order assignments. The newer methodology is Task based. Work Orders that are assigned Tasks will display on the Project Schedule. Both methods are described below. Choose the one that works best for you.
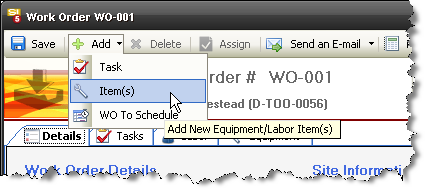
To add Items to the Work Order, click the [Add] button and then select Item(s):
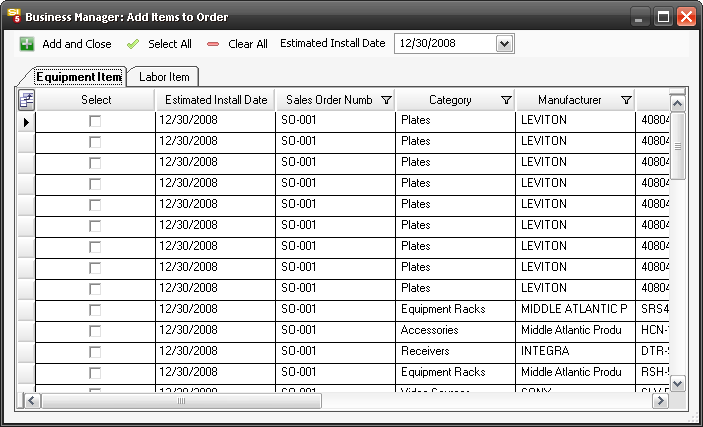
The Add Items to Order form will open:
![]() To change what columns display, click the
To change what columns display, click the ![]() button. To Filter any column, click the
button. To Filter any column, click the ![]() button in the column of choice.
button in the column of choice.
![]() Once a Product is added to a Work Order, the Product is “flagged” so it will no longer be available to add to another Work Order. This saves you the worry of duplicating your work. Once you delete a Product from an existing Work Order, the flag is removed so that you can add the Product to another Work Order if required.
Once a Product is added to a Work Order, the Product is “flagged” so it will no longer be available to add to another Work Order. This saves you the worry of duplicating your work. Once you delete a Product from an existing Work Order, the flag is removed so that you can add the Product to another Work Order if required.
All Estimated Install Date of the products will default to today’s date. You can use the [Select All] button or you can check off the Products individually. To change the date for the selected products, use the Estimated Install Date drop down:

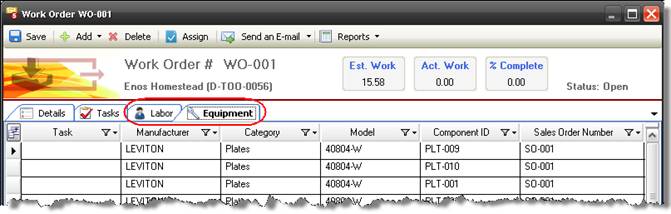
Equipment and Labor are separated on the tabs. You can filter a column by clicking the ![]() button in the column of choice. Once you have selected the Products that you want to add to the Sales Order, click [Add and Close]. The products then display on the Labor and Equipment tabs on the Work Order form:
button in the column of choice. Once you have selected the Products that you want to add to the Sales Order, click [Add and Close]. The products then display on the Labor and Equipment tabs on the Work Order form:
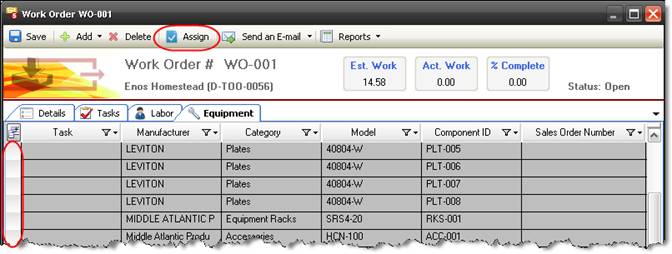
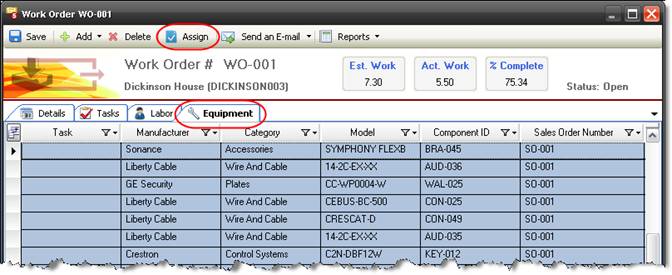
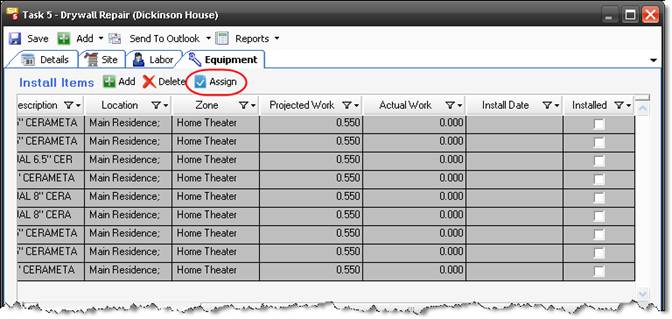
You may wish to select products from the list now and assign a resource, or, if you haven’t already, select an Expected Install Date. To select products click the box next them. Use [Ctrl] or [Shift] to select multiple products. When selected, products display in gray. Click the [Assign] button:
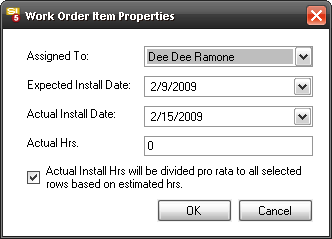
The Work Order Item Properties form opens:
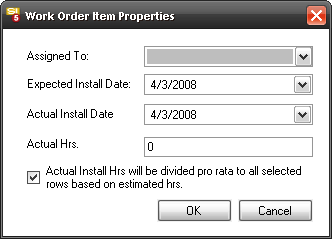
This form also allows you to assign the Actual Install Date and Actual Hours to the selected products in Work Order once the work has been done. If you are just assigning the Assigned To and Expected Install Date, make sure you clear out the Actual Install Date and Actual Hrs. fields and uncheck the “Actual Install Hrs…” checkbox.
When you are finished creating the Work Order, click [Save]:
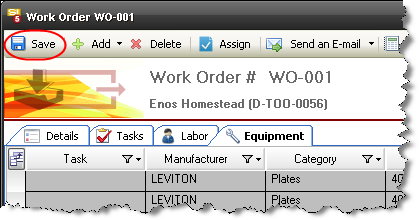
The Work Order you created now displays in the grid and you have the option to run reports:

You can also reopen the Work Order form once it has been saved and add Tasks:
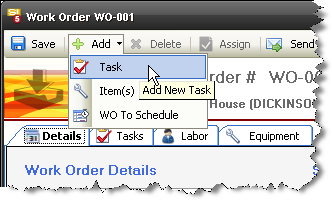
Using Tasks with Work Orders is the preferred method over adding Items as you will have much more control over entering your actual hours and costs. A Work Order that has been assigned at least one Task will display in the Project Schedule for Scheduling purposes. Add->Task will open the New Task form:
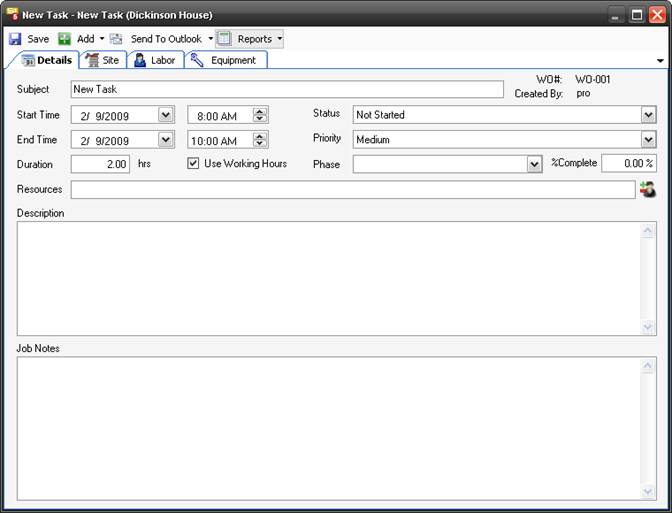
See Tasks for full details.
The Work Order form allows you to Send an Email of any of the Work Order Reports (see below):
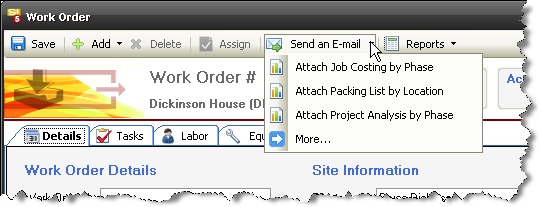
Also on this form you can generate any of the Work Order Reports for viewing and printing.
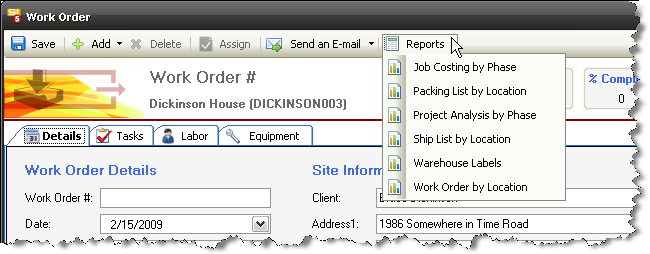
The reports available to you are: Job Costing by Phase, Packing List by Location, Project Analysis by Phase, Ship List by Location, Warehouse Labels, and Work Order by Location. Two of the reports require that you enter Actual Hours to the Items and/or Tasks in order to provide you data: Job Costing by Phase and Project Analysis by Phase.
Save the Work Order when you are finished adding Items and/or Tasks.
When a Work Order is selected you have that option of running

![]() The reports that could be run at this point are: Work Order by Location, Packing List by Location, Ship List by Location, and Warehouse Labels. The Job Costing by Phase and Project Analysis by Phase reports require that “Actual Hours” be entered for the Work Order. See “Closing out a Work Order” on below for details on adding Actual Hours.
The reports that could be run at this point are: Work Order by Location, Packing List by Location, Ship List by Location, and Warehouse Labels. The Job Costing by Phase and Project Analysis by Phase reports require that “Actual Hours” be entered for the Work Order. See “Closing out a Work Order” on below for details on adding Actual Hours.
When a Work Order is selected, you have the options to Edit or Delete the Work Order:

Closing out a Work Order
Once the work is complete, you can add your actual hours to the Work Order Items or to the Items assigned to the Tasks associated with Work Order. Once actual hours are entered you can run the two comparison reports: Job Costing by Phase and Project Analysis by Phase.
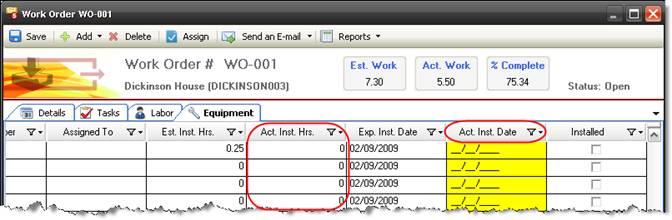
Open the Work Order for edit and enter Actual Hours for Equipment Items added directly to the Work Order and/or for the Items assigned to Tasks.
For Equipment Items you can enter individual values in the “Act. Inst. Hrs.” column or you can select multiple products (use Ctrl and/or Shift keys) and click [Assign]:
The [Assign] button will open the following form and allow you to enter the data across multiple products:
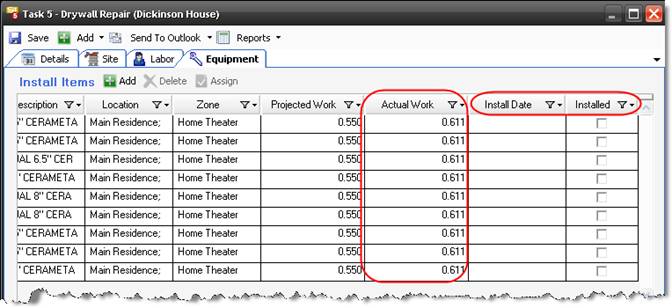
For Items assigned to Tasks, open the Task from within the Work Order tab and select either the Labor or Equipment tabs. You can enter individual values in the “Actual Work” column or you can select multiple products (use Ctrl and/or Shift keys) and click [Assign]:
The following form will open:

You can fill in the Install Date fields if you desire:
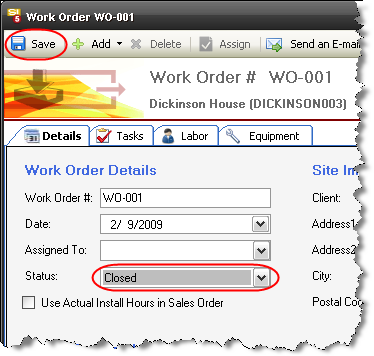
Change that Status of the Work Order to Closed if desired and when you are finished, click [Save].
- © Copyright 2024 D-Tools