Home > SI5 Documentation > User Guide > Visio Interface > Tips Tricks > Creating Half-Rack Width Shapes
Creating Half-Rack Width Shapes
Creating Half-Rack Width Shapes
Table of contents
Customizing SI5 Elevation Shapes for Half-Rack Products
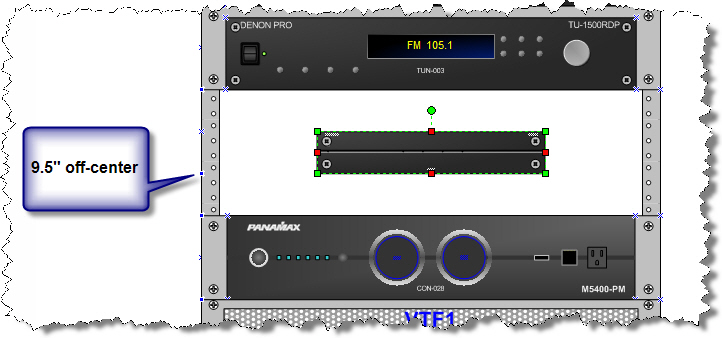
It is fairly easy to create customized Visio shapes based on the SI5 library of shapes that will represent products whose width is half-rack, or 9.5 inches, that snap-to the rack shapes. By default, all SI5 elevation shapes have a connection point 9.5 inches off-center. This allows you to accurately see what equipment will fit in a rack with or without additional components like shelves or ears, based on the width field.

This means that by default, all SI5 elevation shapes will look like this when snapped into a rack, since the offset of the connection point is 9.5 inches (9.5625 to be exact):
To represent two of these components side-by-side in a rack, you could of course just drag the shapes into position and not snap them to the rack.
But if you want to create custom shapes for these components that snap to the rack, here’s how:
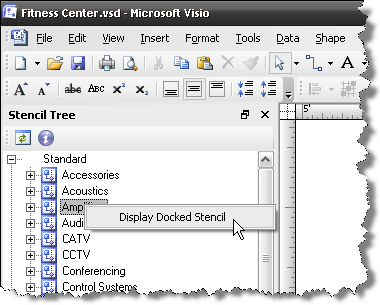
- Right-click the stencil in the Stencil Tree that has the shape you wish to edit and select “Display Docked Stencil”:
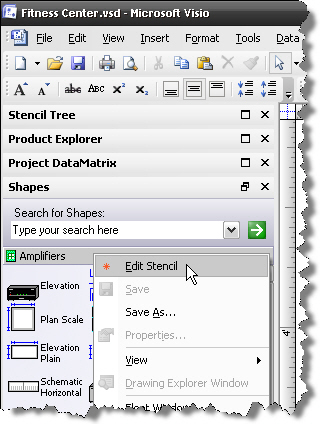
- The stencil will dock in the Shapes window. Right-click the stencil name and choose Edit:
- Select the shape you wish to base your shapes on and make two copies of it within the docked stencil. Use Ctrl+c to copy and Ctrl+v to paste, or for you mousies you can use the right-click menu.
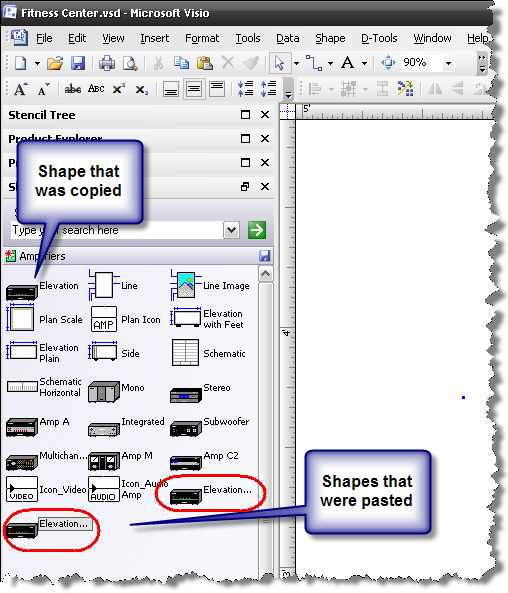
Note: The shapes you just created will automatically be named the same as the original shape but with a dot followed by number added to the name. Feel free to rename them. In this example, the shapes were named “Left Half-Rack” and “Right Half-Rack”.
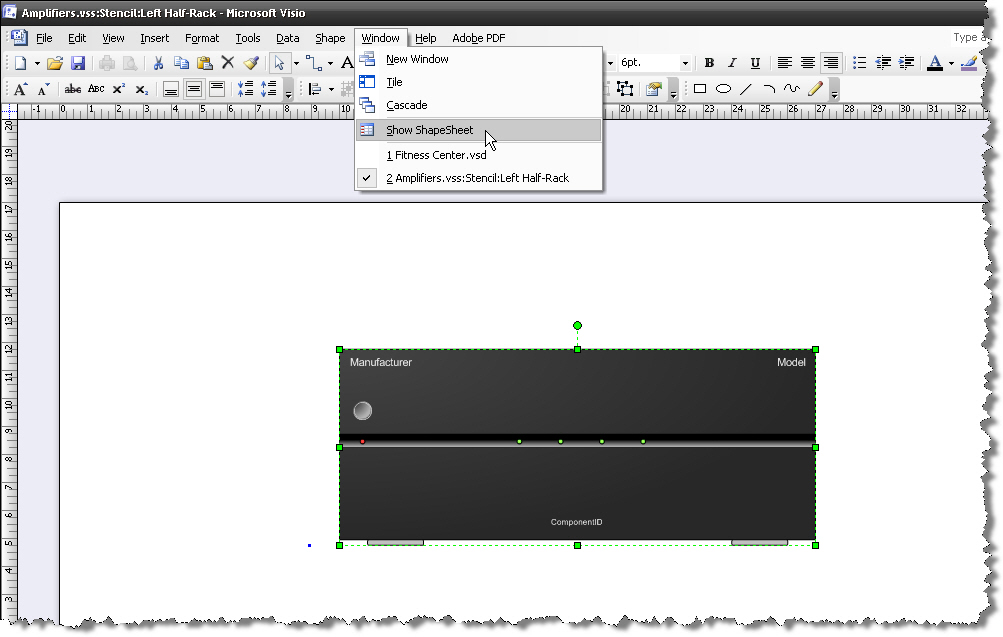
- Double-click the “Left Half-Rack” shape and it will open in it’s own window. Click on the shape to select it so that a green dotted border appears. Then select Window->Show ShapeSheet:
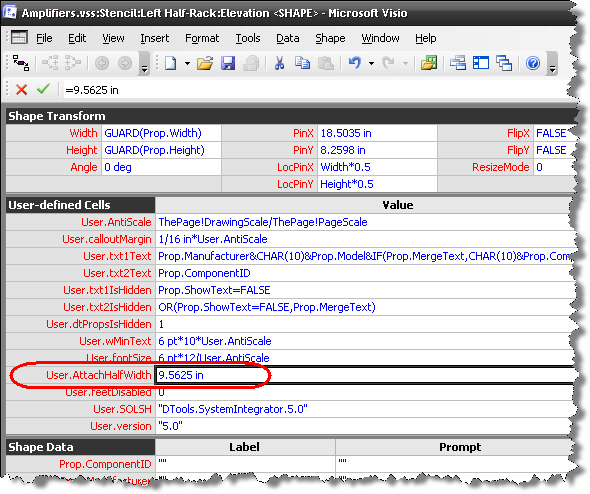
- The ShapeSheet will open in its own window. In the User-defined Cells section, change the User.AttachHalfWidth properties value to 4.75 instead of the default 9.5625:
- Close the ShapeSheet window then close the shape window, you will be prompted to save the shape, choose [Yes]:

- Repeat steps 4-6 for the “Right Half-Rack” shape, except in step 5 change the value from 9.5625” to 14.35".
- Save the Stencil and then right-click the stencil name and select Edit to take the stencil out of edit mode:

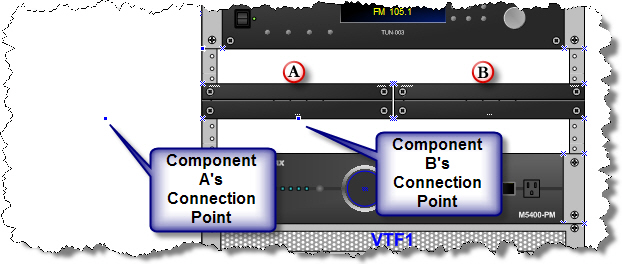
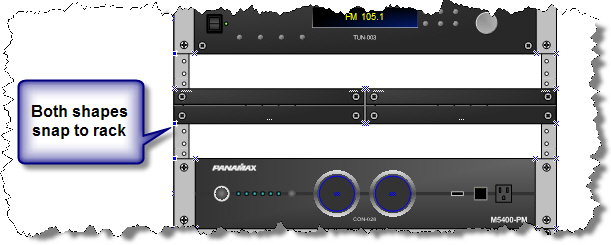
- Now you can use these shapes to represent half-rack components that snap to the SI5 rack shapes for both the left and right-hand side of the racks:
- © Copyright 2024 D-Tools