QuickBooks Estimates
You can create QuickBooks Estimates directly from SI Projects. This saves you time by not having to manually re-create a Project's BOM over in QuickBooks. Once transferred to QuickBooks you can do whatever functions in QuickBooks you would normally do from an Estimate, e.g. create invoices, sales orders, etc.
- Open QuickBooks and login to your company (.QBW) file. This is not required but speed is greatly improved when QuickBooks is open.
- Open the Project Editor for the Project that you want to export to QuickBooks as an Estimate.
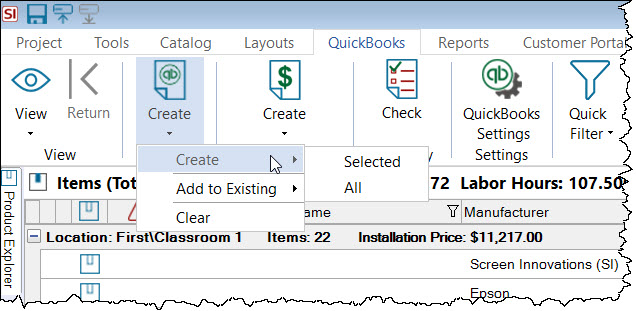
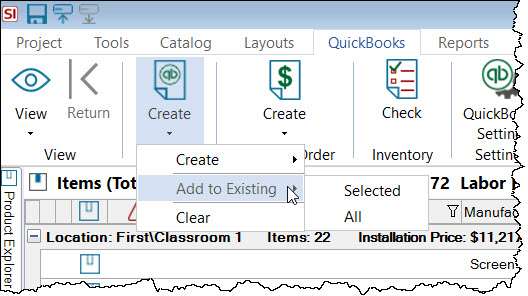
- Click the QuickBooks tab then click the Create button. You can choose to create an Estimate for just the selected Items or you can choose all Items in the Project.
The Create Estimate form will open.
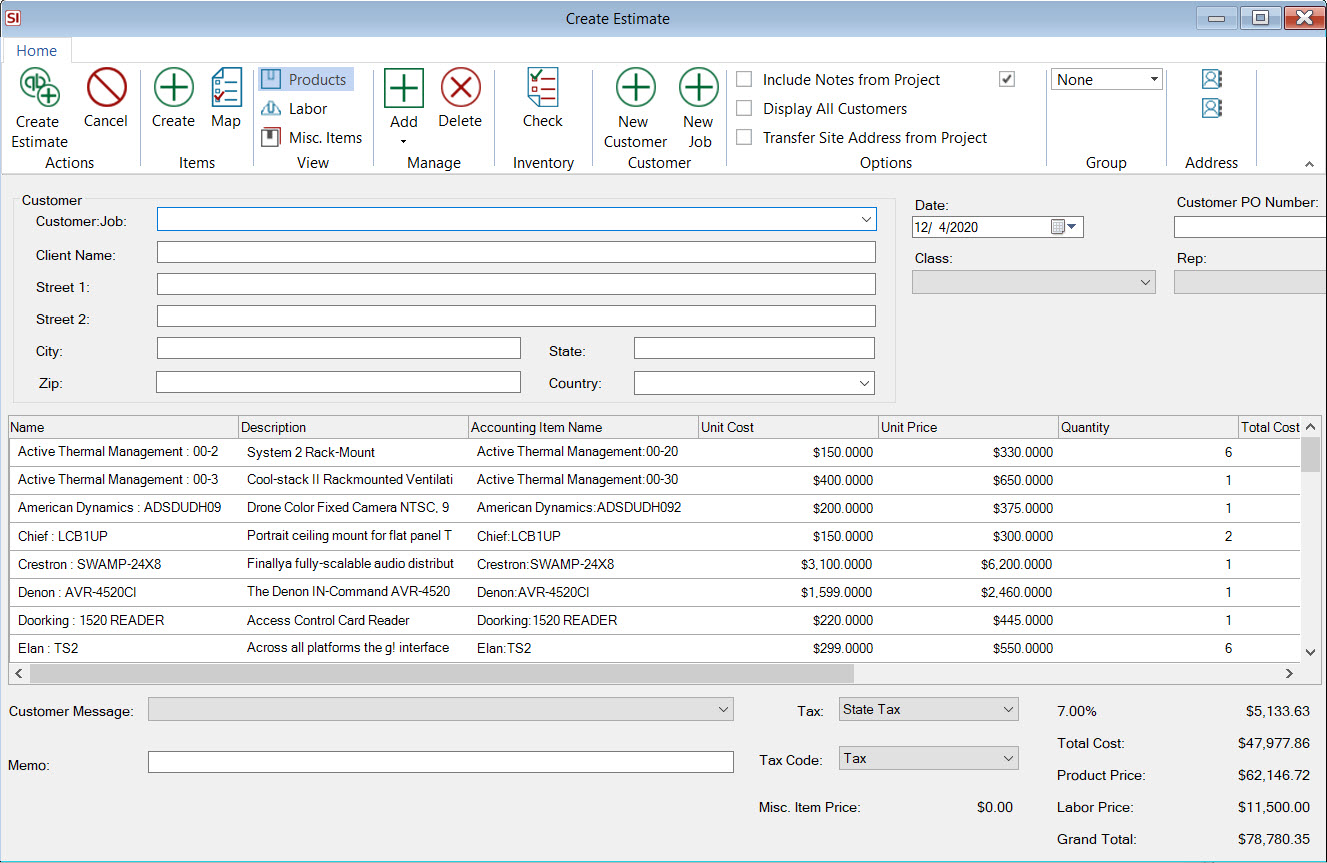
Select/Create Customer:Job
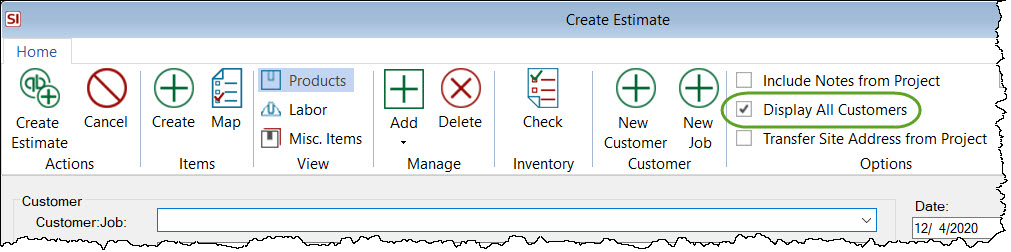
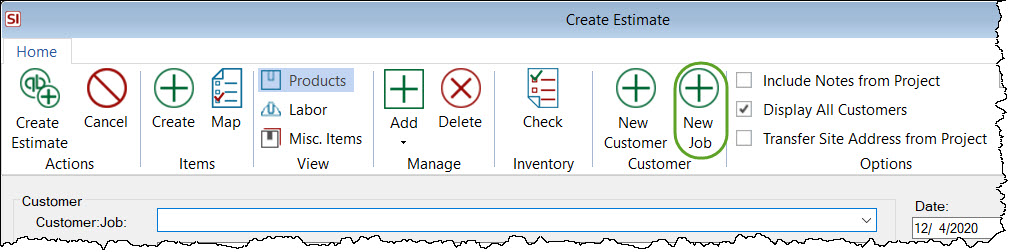
- You can select an existing Customer or Customer:Job from QuickBooks if they already exist. By default only Customer:Jobs display but you can view all your QuickBooks Customers by checking the following option:
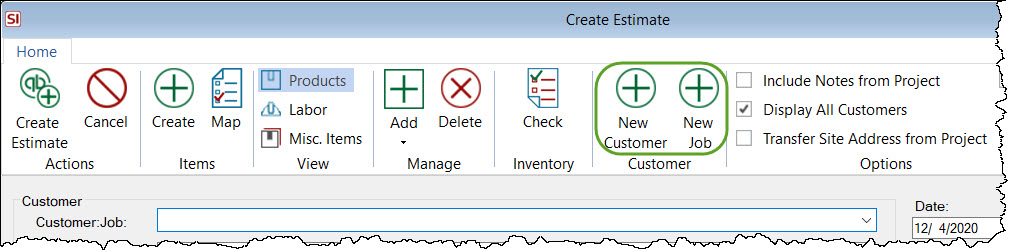
You can also create a new Customer:Job or just a new Job (if the Customer already exists in QuickBooks) via the New Customer and New Job buttons:
New Customer
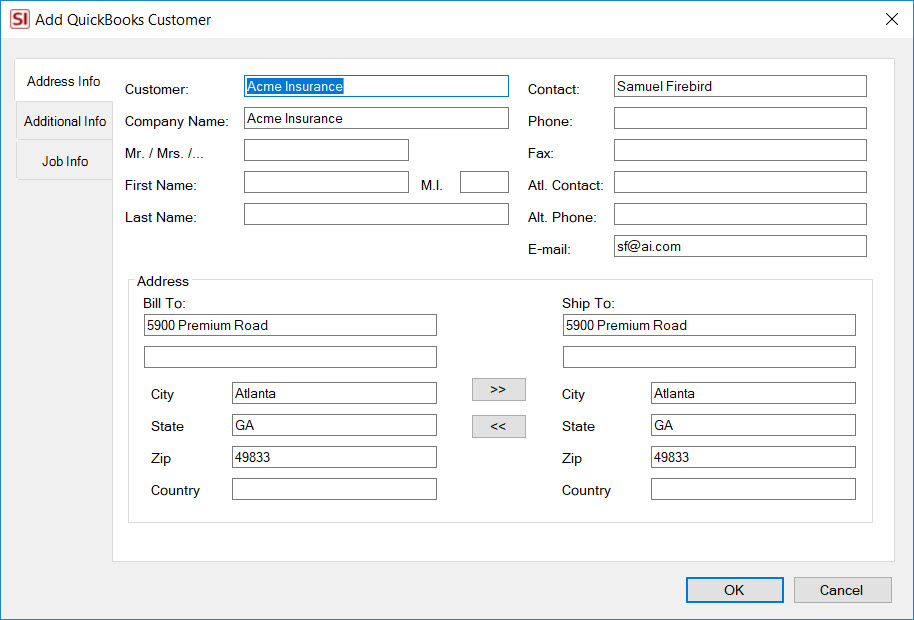
The New Customer button will open the Add QuickBooks Customer form. This will be pre-populated with information from the Project but you can edit this if needed.
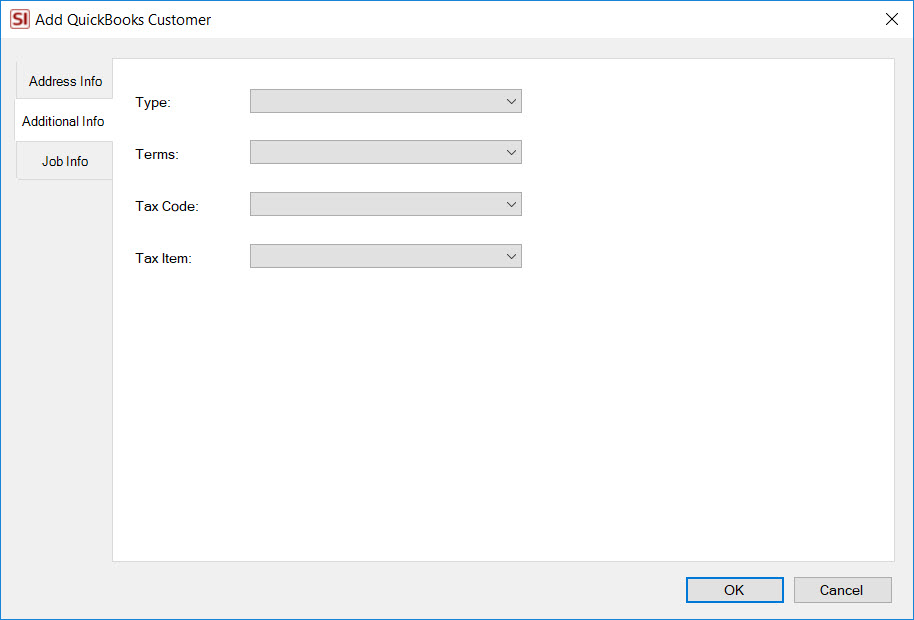
The "Additional Info" tab has QuickBooks drop downs that you can set if desired:
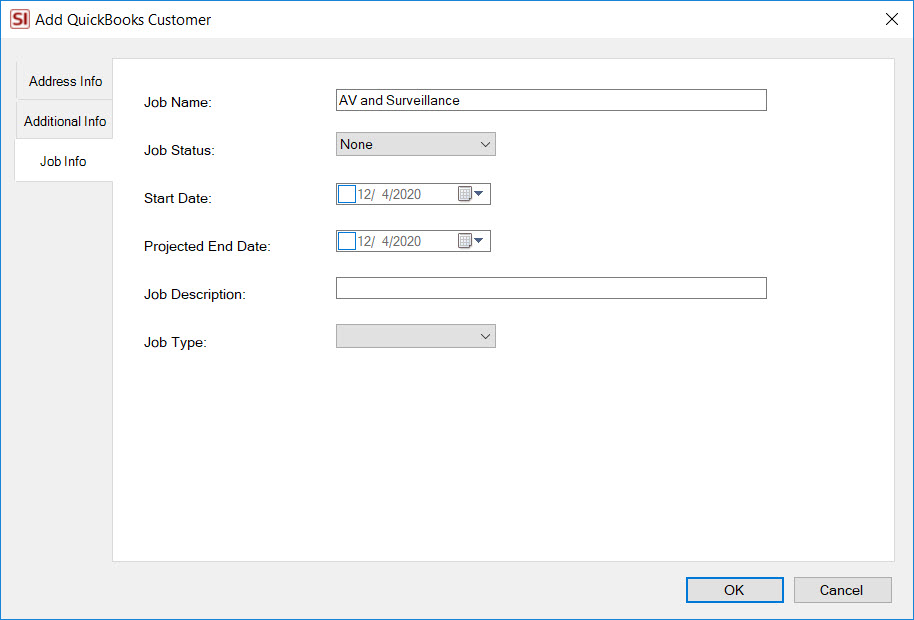
The "Job Info" tab will populate with the SI Project name.
New Job
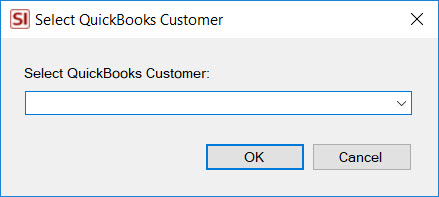
Use the New Job feature to assign a new Job to an existing Customer in QuickBooks.
The Select QuickBooks Customer form will open, choose the Customer from the drop down list:
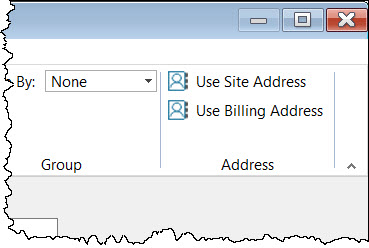
Note: The address will default to the Billing Address for the Project. You can choose whether to use the Site Address (or toggle back to the Billing Address) via these options:
On this dialog you can also choose to enter a Class, Customer Message, or add a Memo. The dropdown fields come directly from QuickBooks. There are also Customer PO Number and Rep fields here.
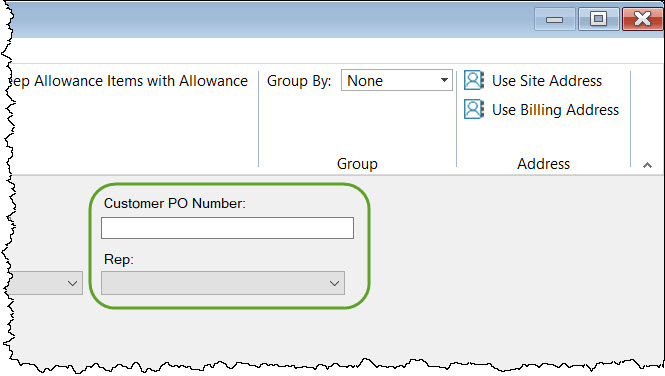
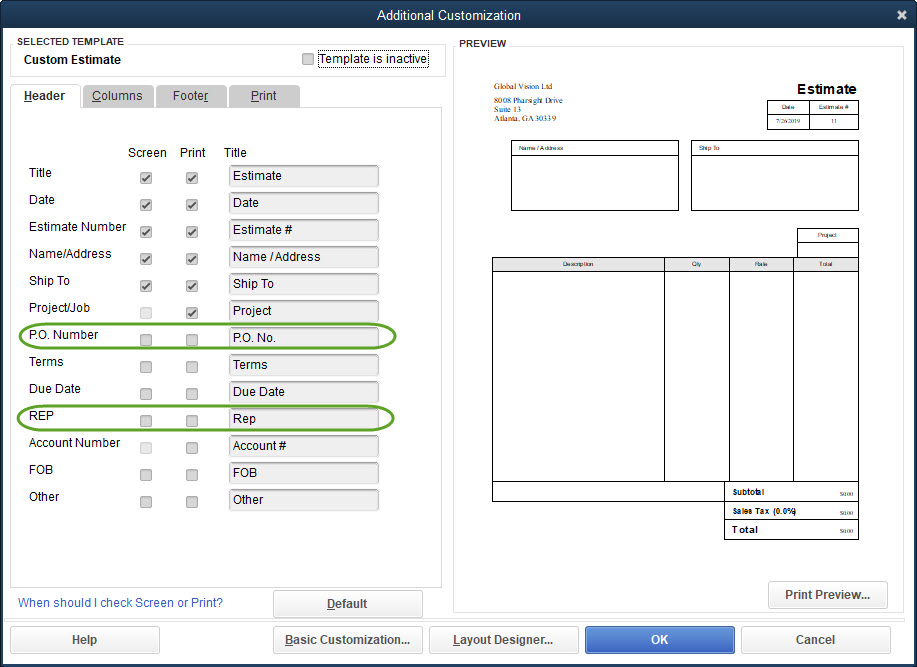
The Customer PO Number will populate if the Client PO Number has been entered for the Project, but you can manually enter it here as well and it will sync back to the Project. The Rep dropdown list populates from your "Sales Rep" list in QuickBooks. These correspond to the "P.O. Number" and "REP" fields you can customize your QuickBooks Estimate with:
Assign QuickBooks Item Numbers
Your QuickBooks Settings determine how your QuickBooks Items will be created.
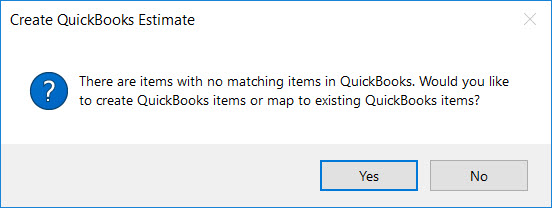
If there are any Items in the Estimate that are not assigned to QuickBooks Items, you must do this before the Estimate will transfer to QuickBooks. If you click the Create Estimate button prior to doing this, you will be prompted to create new QuickBooks Items for all of the necessary Items. If you would rather map the Items to existing QuickBooks Items, click the Map button.
- Click the Create Estimate button:
If not all Items have been assigned QuickBooks Item numbers, you will get the following prompt. You must create/map all Items prior to pushing the Estimate to QuickBooks.
This will open a form that will list all of the Items to create in QuickBooks:
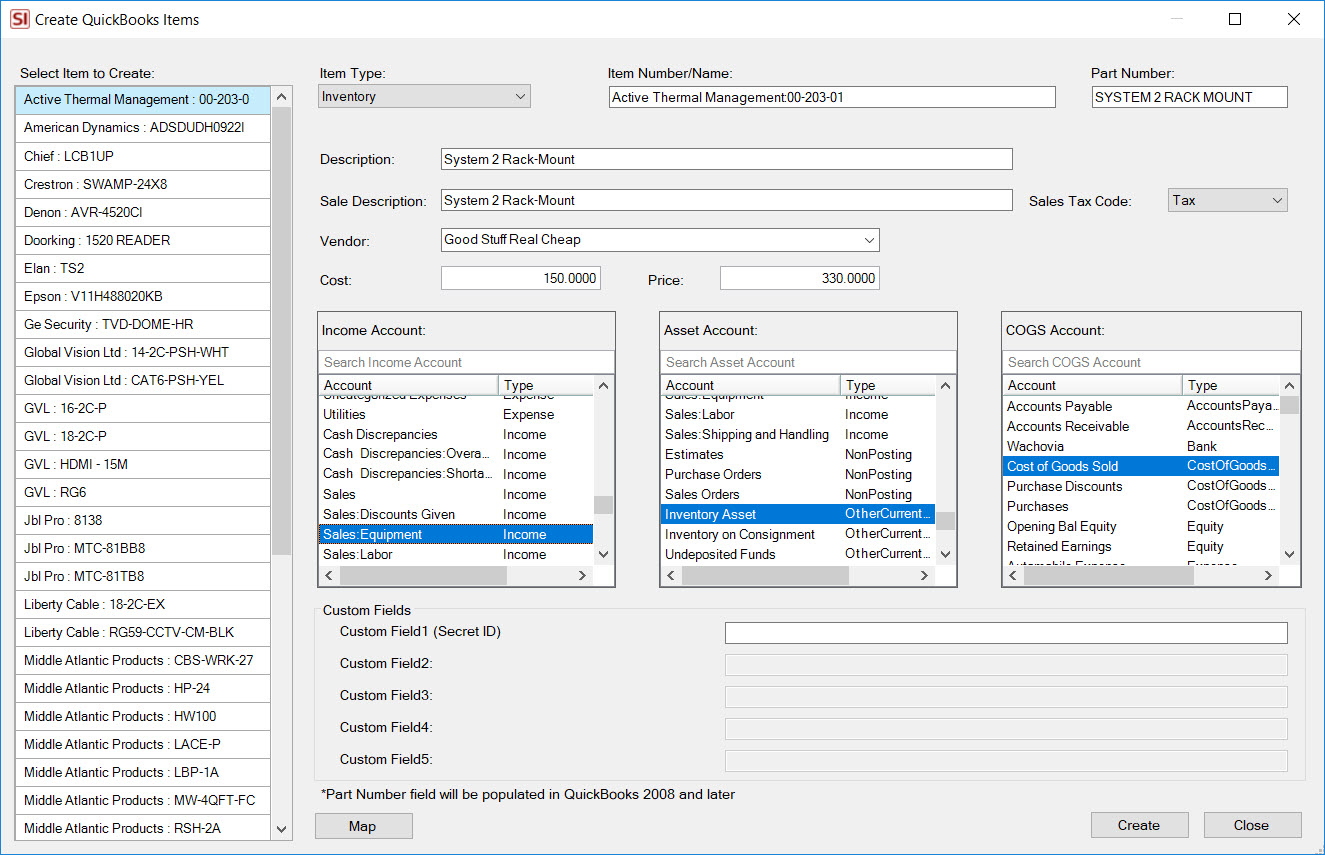
- Choose your Item Type, Vendor, Accounts, etc and then click Create. Repeat for all Items in the list. The form will close when everything has been assigned.
Fields
Aside from the Accounting Item Number that will be created in QuickBooks (based on your QuickBooks Settings), the SI fields that transfer to QuickBooks are: Vendor, Tax Code (taxable or non-taxable), Short Description, Long Description, Item Number, and Custom Fields.
| SI Fields | QuickBooks Field |
|---|---|
| Vendor | Preferred Vendor |
| Tax Code | Tax Code |
| Short Description |
Purchase Description |
| Long Description | Sales Description |
| Item Number | Manufacturer's Part Number |
| *Custom Fields (any) | *Custom Fields (1-5) |
*Some fields in SI can be mapped to any of the five available Custom Fields in QuickBooks. Click here for details.
- Once all Items have been created, the Estimate will transfer to QuickBooks.
- You'll then be prompted to save the project. You should do this.
Adding to Existing Estimate
You also have the option of adding any items to an existing QuickBooks Estimate vs. creating a new QuickBooks Estimate if the need arises.
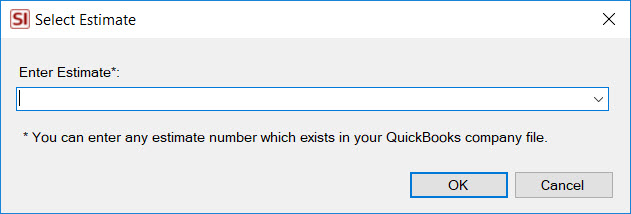
This will open a form that will allow you to enter any existing Estimate in QuickBooks:
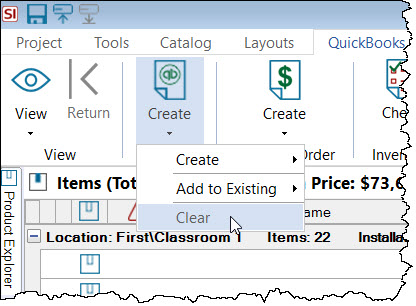
Clear
The Clear button will allow you to clear existing Estimate numbers from a SI project. You may want to do this if you wish to modify the Project and then push over a new Estimate to QuickBooks.
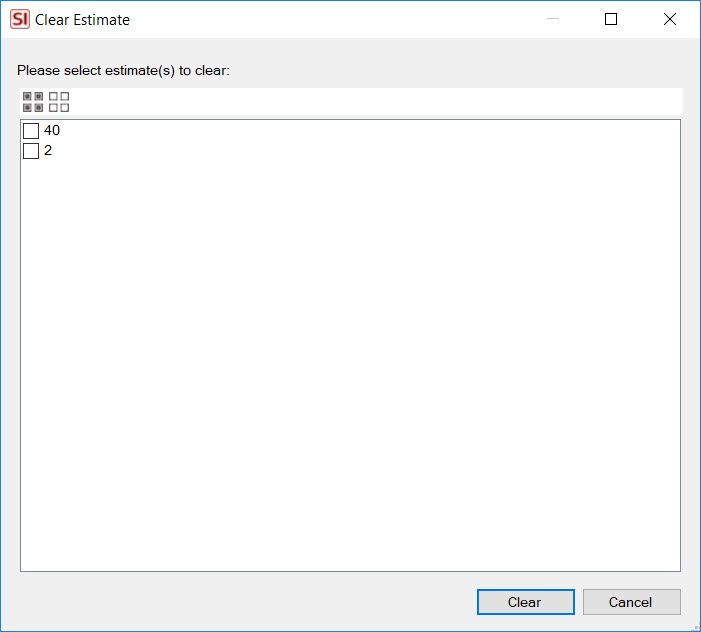
Select the Estimate(s) you wish to clear and click the Clear button:
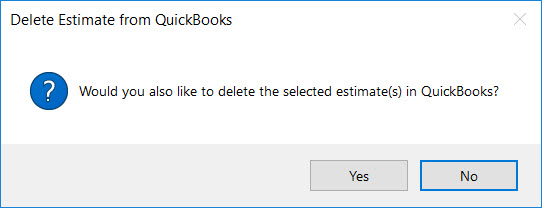
You will then be prompted whether to delete the Estimate(s) from QuickBooks as well:
- © Copyright 2024 D-Tools