Gantt View
Details
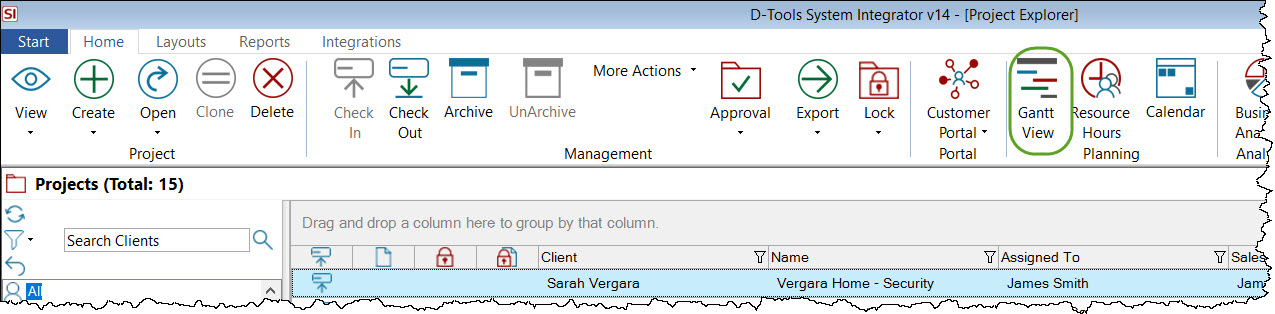
You can access the Gantt view for a Project via the button on the ribbon within the Project Explorer:
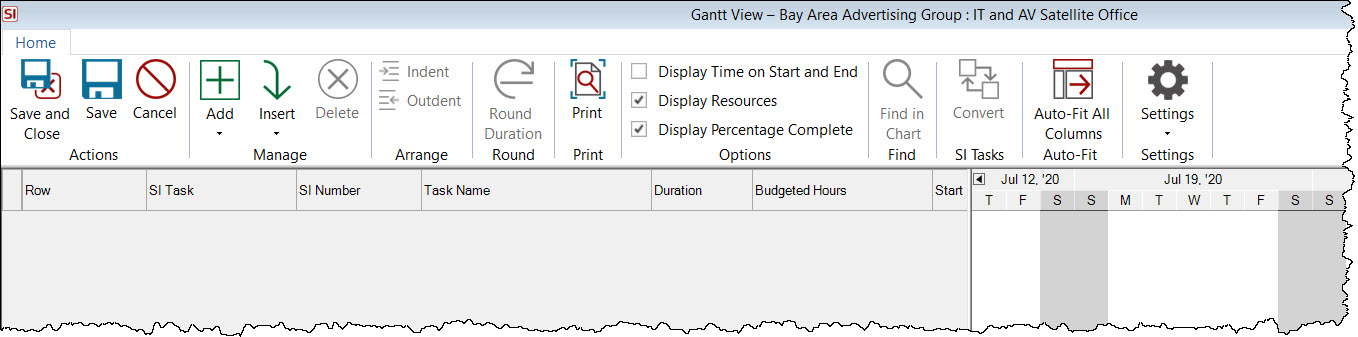
This will open the Gantt View interface in its own window:
Any Task initially added to a Gantt Chart is considered a "Planning Task" and is not the same as a Task in SI used for scheduling, but SI Tasks can be created from "Planning Tasks", keep reading.
Adding/Inserting Tasks
Both of these functions have similar options, with Add having an additional option to add a Subtask:
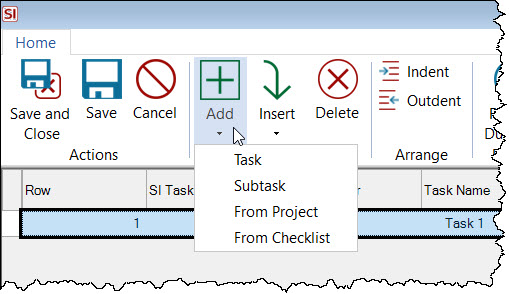
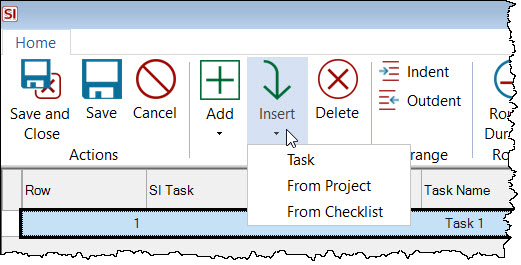
The Add function will add the Task(s) at the end of the existing list of Tasks. The Insert function will add the Task(s) beneath the selected Task in the list. The examples below will show the Add function.
Note: Once a Task has been added to the list in the Gantt view, you cannot move them up or down in the list.
Adding a Task
When you add or insert a Task to the Gantt view, its name will default to "Task [X]" where "X" is the next available number in the list.

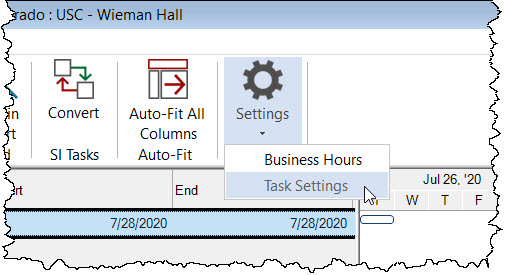
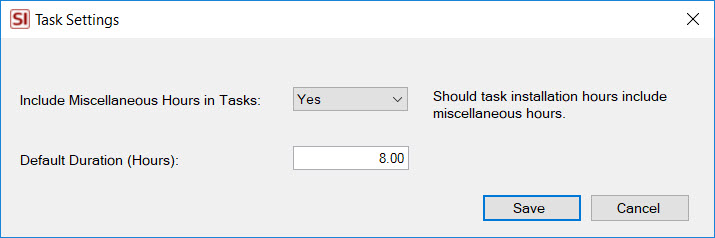
In the example above, you can see that the duration came in at 8 hrs as that is the default value. To change this setting, click Settings->Task Settings:
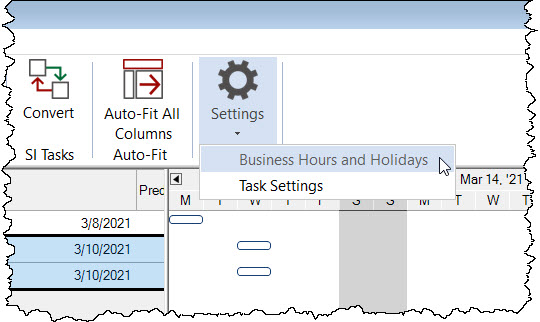
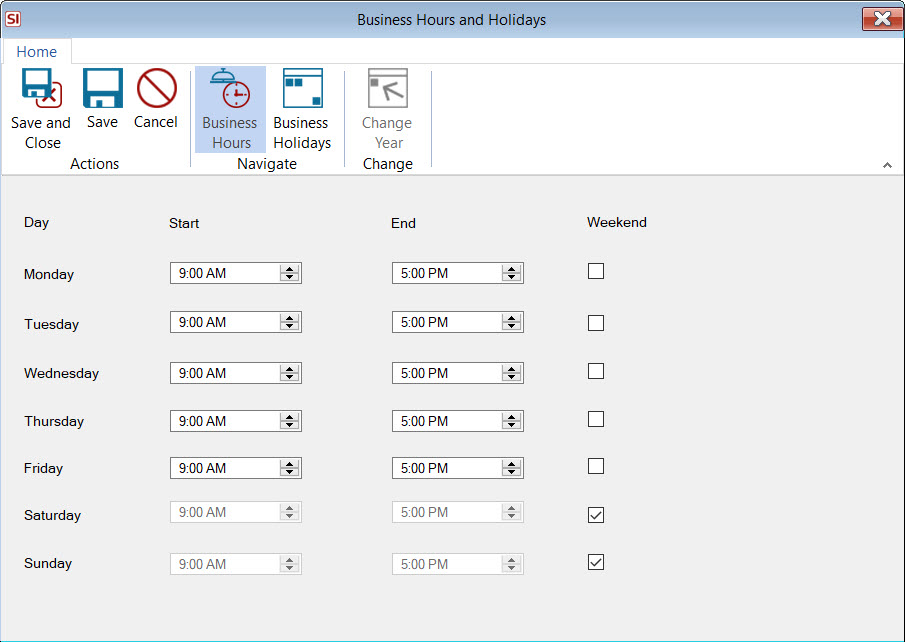
You can of course manually edit the Duration field and Start/End Dates directly in the Gantt View grid. You can enter your duration in hours or days. Tasks durations also respect your Business Hours and will span on the chart accordingly based on what you have marked as working days vs. weekends, as well as account for any holidays you've added:
Summary Tasks
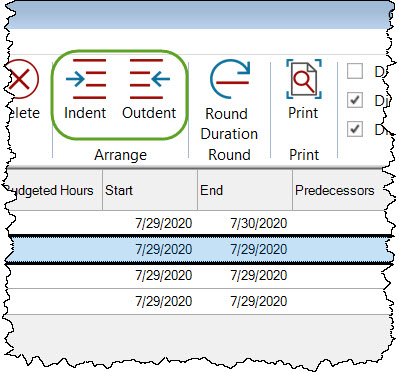
You can use the Indent button to create Summary Tasks. A Summary Task is any task with at least one other Task indented beneath it (a Subtask) in the grid.
Note: Summary Tasks cannot be converted to an SI Task.
The Duration for a Summary Task is a combination of the duration of all of its subtasks (the ones indented beneath it) but is also dependent on the Start Dates of its subtasks. Also factored in here are the Business Hours settings.
Example:
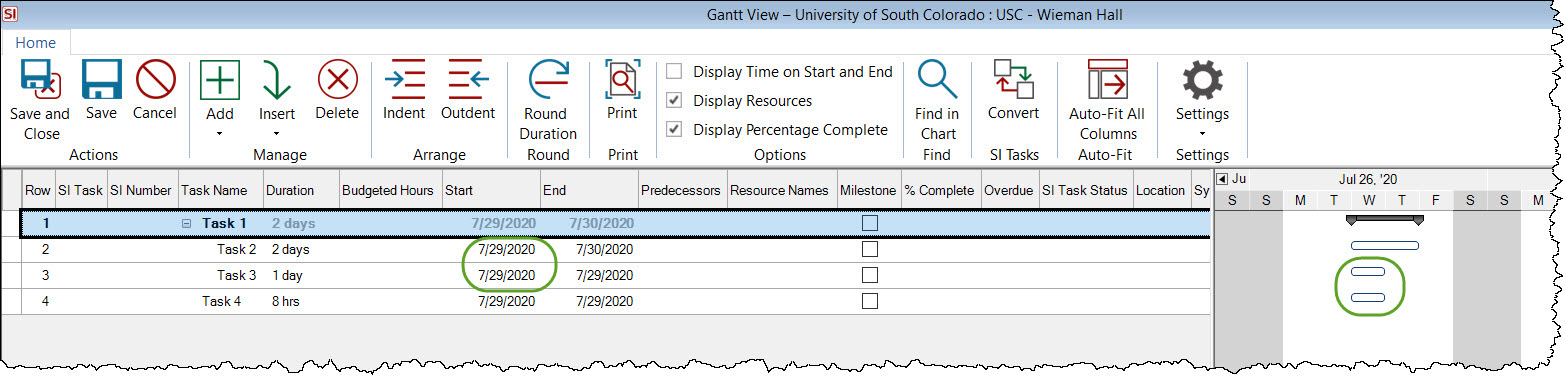
In the example below, Task 2 with a duration of 2 days and Task 3 with a duration of 1 day were indented and now Task 1 is a Summary Task. Notice that the duration for the Summary Task is 2 days.

This is because the Start Date for the subtasks has not yet been set and each subtask is set to start on the same day:
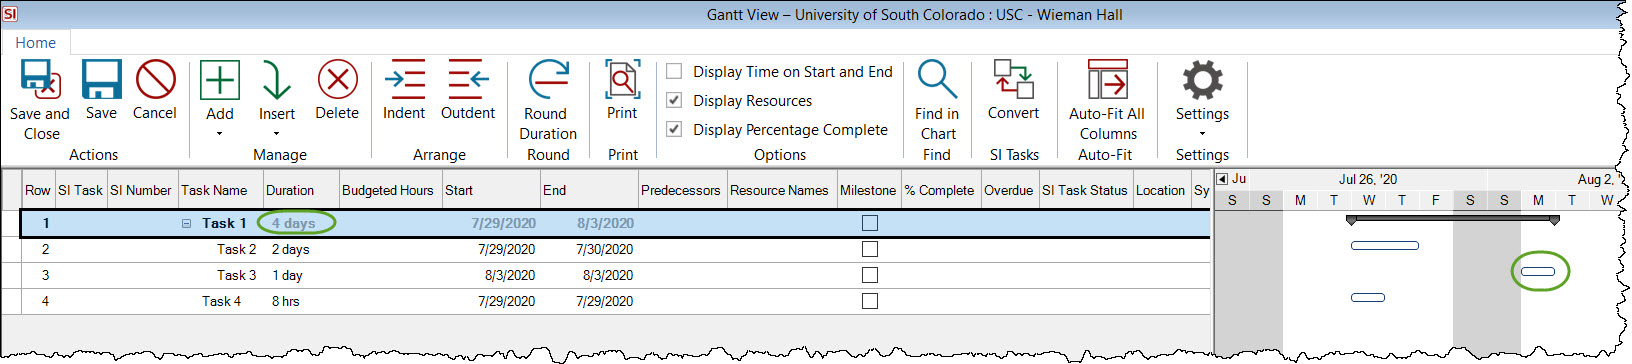
In the screen shot below, Task 3 was dragged to next week and now the duration of the Summary Task is 4 days. This because of the Start Date of Task 3 and because weekends are not working days in my Business Hours settings so they are ignored.
Predecessors
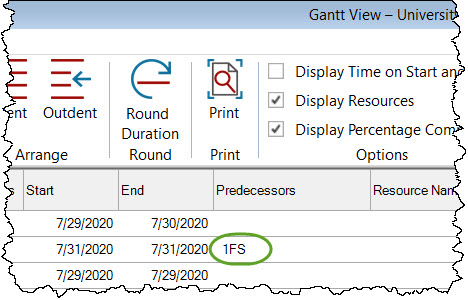
You can manually type the row number(s) of any other Tasks that are predecessors of a Task. Separate multiple entries with a comma.
In the example below I typed "1" (no quotes) and hit Enter. Notice that it displays as "1FS":
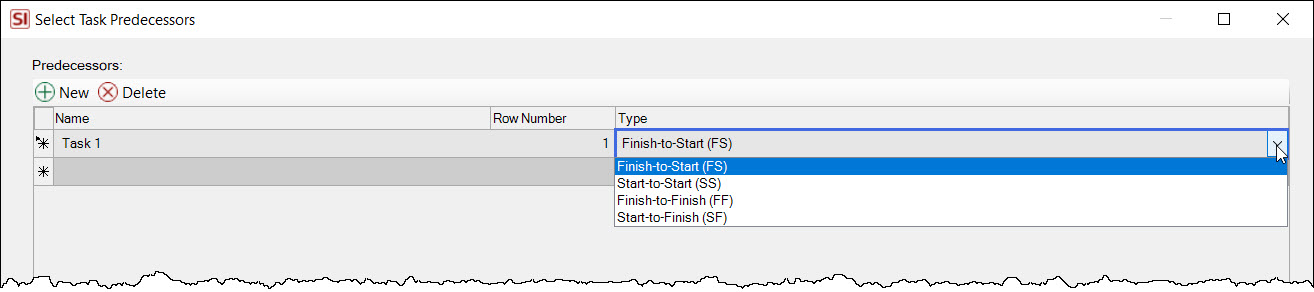
The "FS" is the default Predecessor Type but you can modify it to of the following values to override this default.
FS = Finish-to-Start
SS = Start-to-Start
FF = Finish-to-Finish
FS = Finish-to-Start
If you don't know what these mean then you probably shouldn't be mucking about with them and just leave the default of "FS", or don't use predecessors at all until you are comfortable.
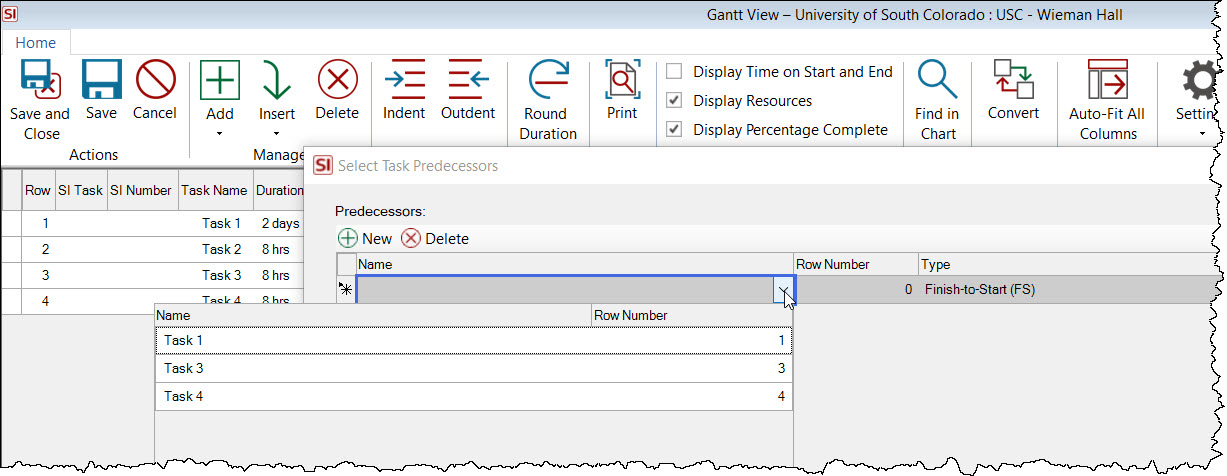
You can also add Predecessors by clicking in the cell and then clicking the gray button on the right side:
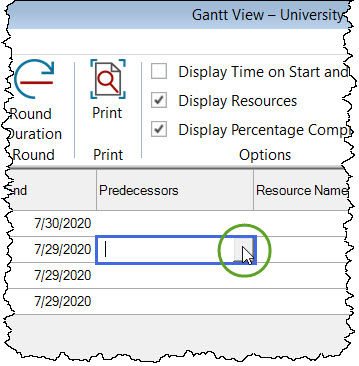
This will open a dialog where you can select your rows and set their type:
Milestones
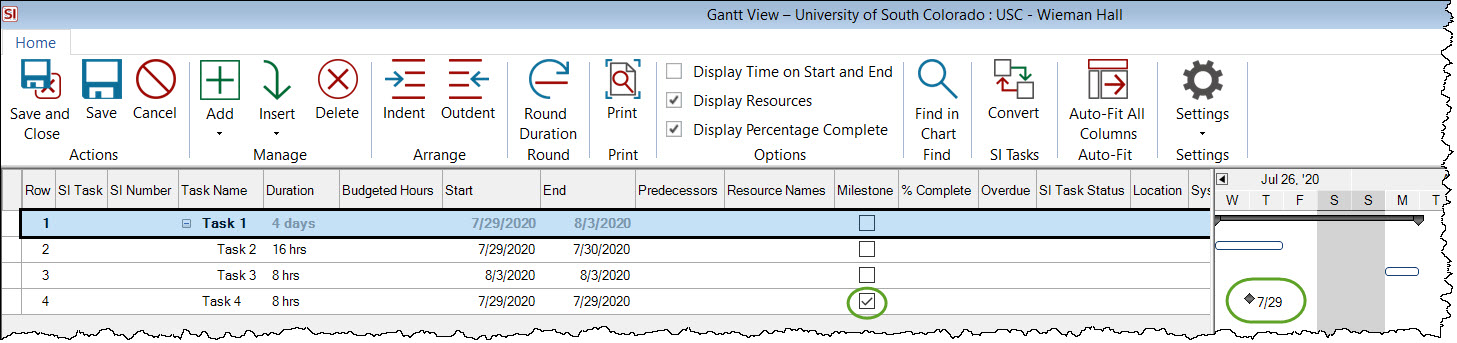
Any Task can be marked as a Milestone by checking the box in the grid. A milestone can be useful to mark achievements.
Milestones technically don't have a duration and are denoted by a diamond shape on the Gantt chart. When you check the box to make a Task a Milestone, the duration will not change its existing value but you can manually set it to zero if that matters to you.
Note: Milestones cannot be converted to an SI Task.
Resources
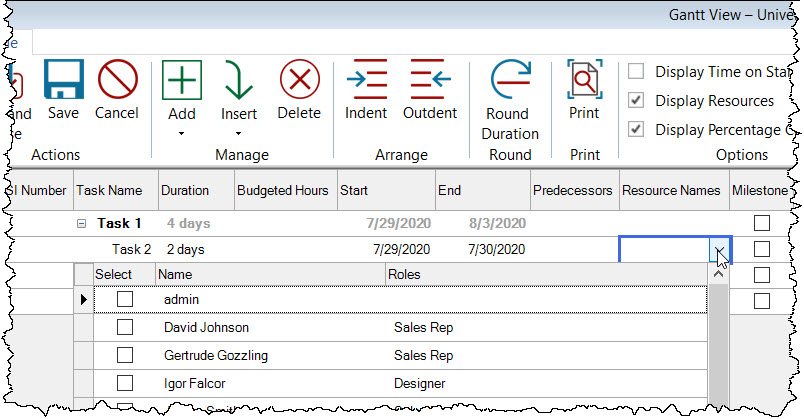
You can assign Resources to Tasks in the Gantt view. This pulls from your Users list in SI:
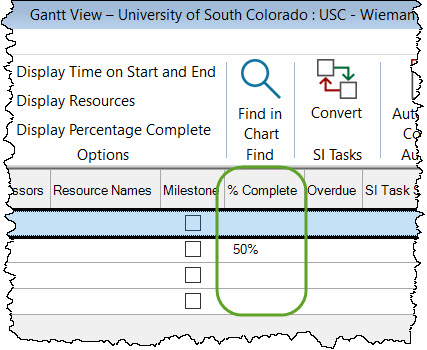
% Complete
This is the last of the manually editable fields in the Gantt view. This field synchronizes to/from planning tasks that are converted to SI Tasks.
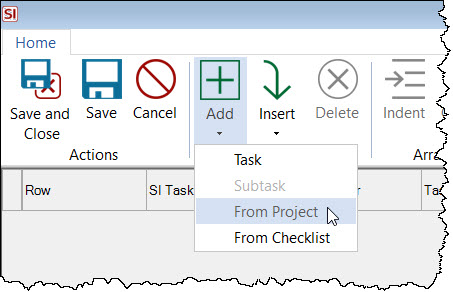
Tasks from Projects
You have the option to add or insert Tasks to the Gantt View from a Project's list of Phases, Systems, and Locations.

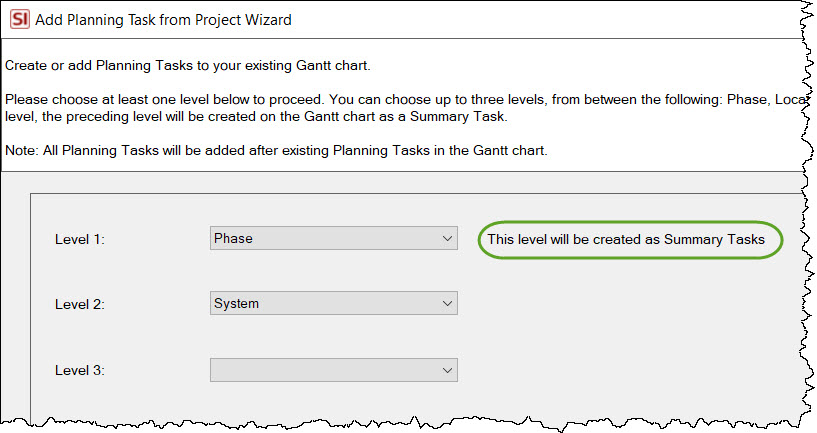
You can add up to three levels but you may only choose one:
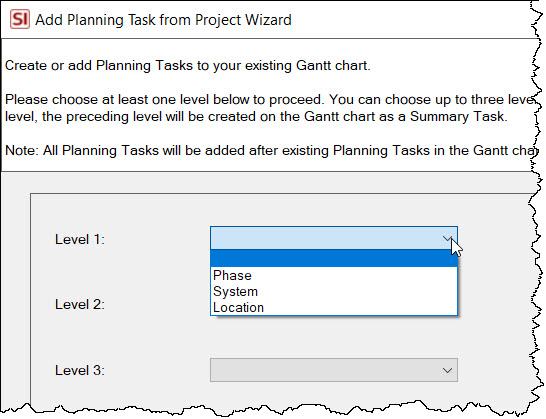
When you add more than one selection, the previous level will created as Summary Tasks. You can always change this via the Indent/Outdent functionality once they have been added to the Gantt View interface.
On the next step, you then choose which items from your levels you want to add to the Gantt view, and you can position them in any order you choose using the Move Up/Down arrows. This is very important because once added to the Gantt View, they cannot be moved up and down in the list of Tasks.
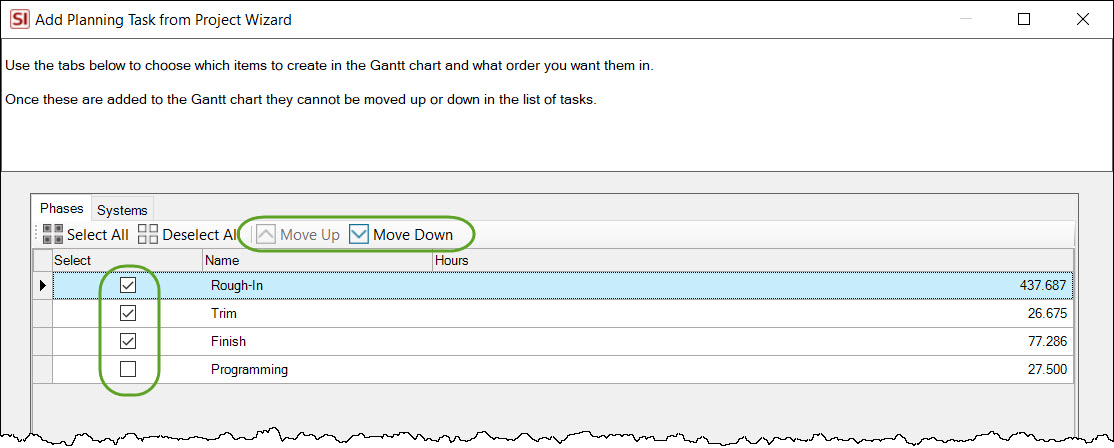
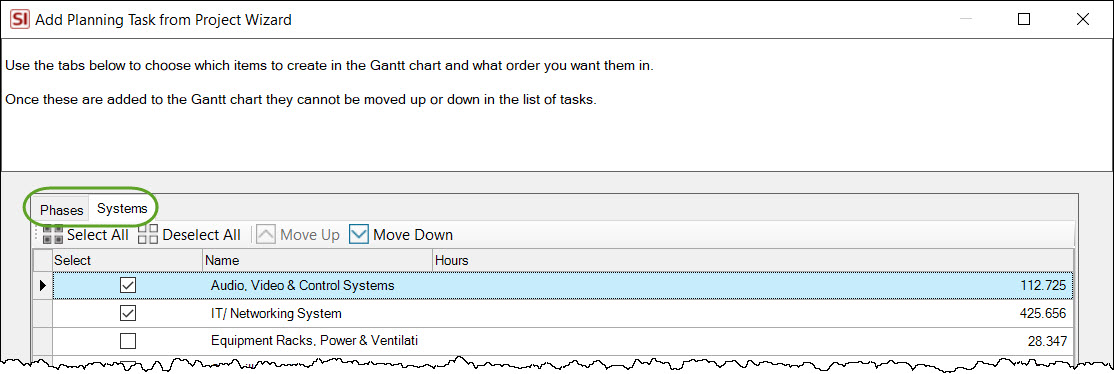
Notice that the hours for each item list. If you have chosen more than one level, three will be multiple tabs for you to make your selections:
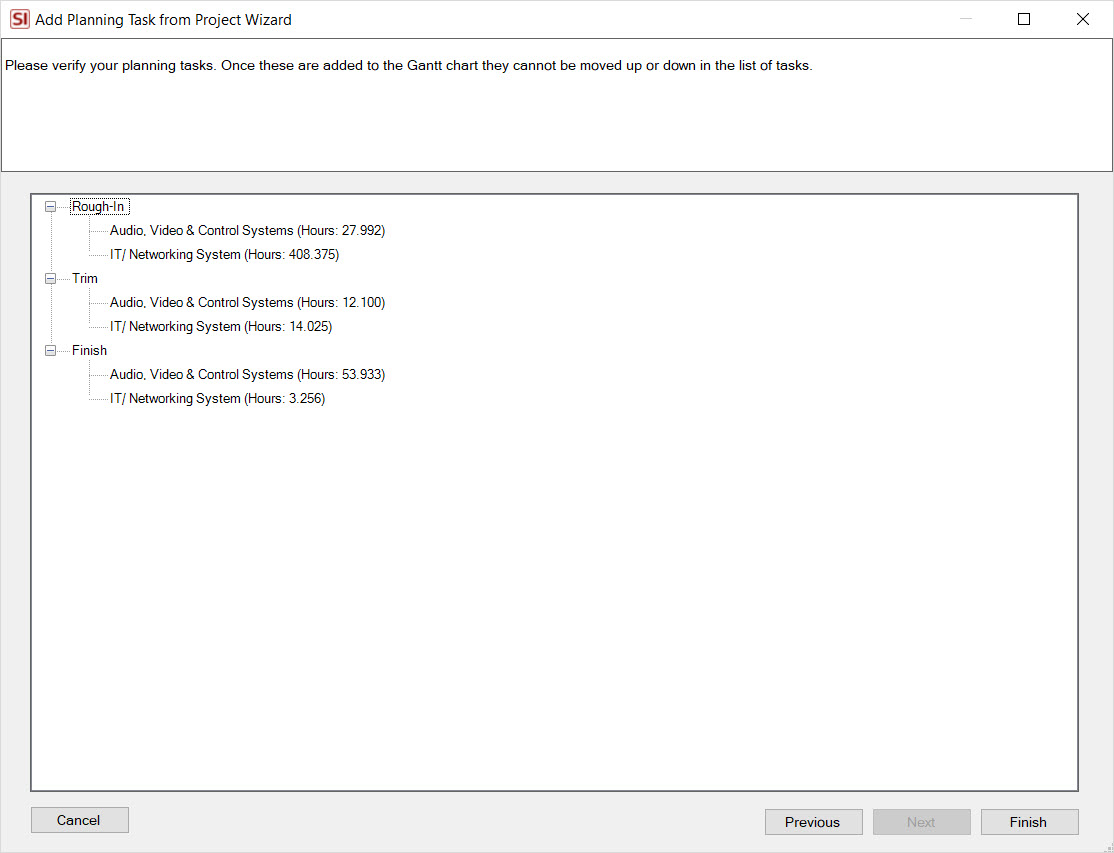
The final step is verification of your selections:
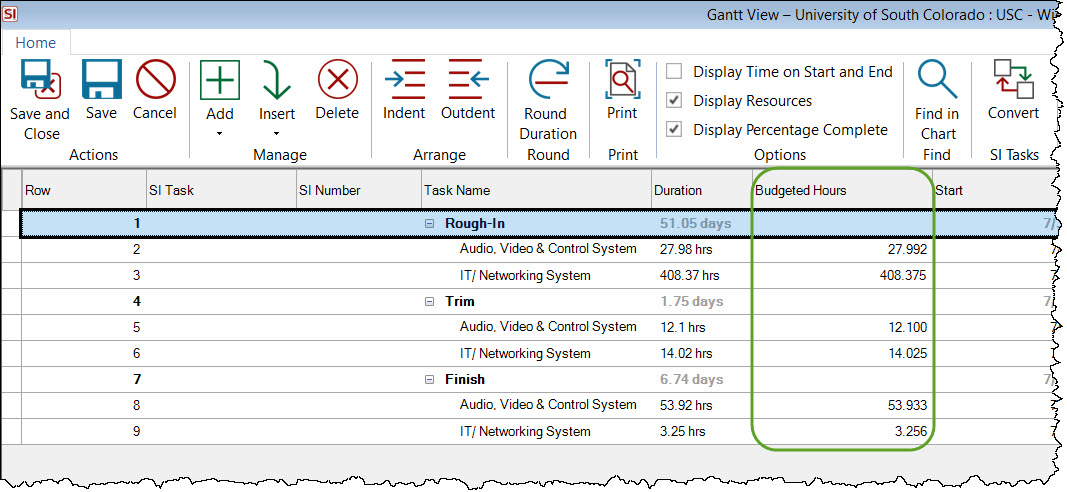
Budgeted Hours
When these are added to the Gantt view, notice that the Budgeted Hours column is populated with the hours from the Project. This field is read-only and can be used for reference when adjusting your Duration.
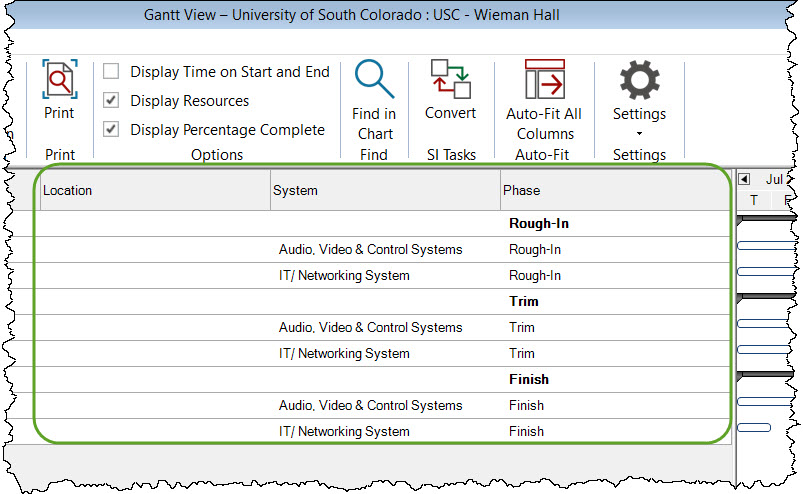
Phase/System/Location
These columns are read-only and are also for reference that the Tasks were created from Project data in the event that you rename the Tasks.
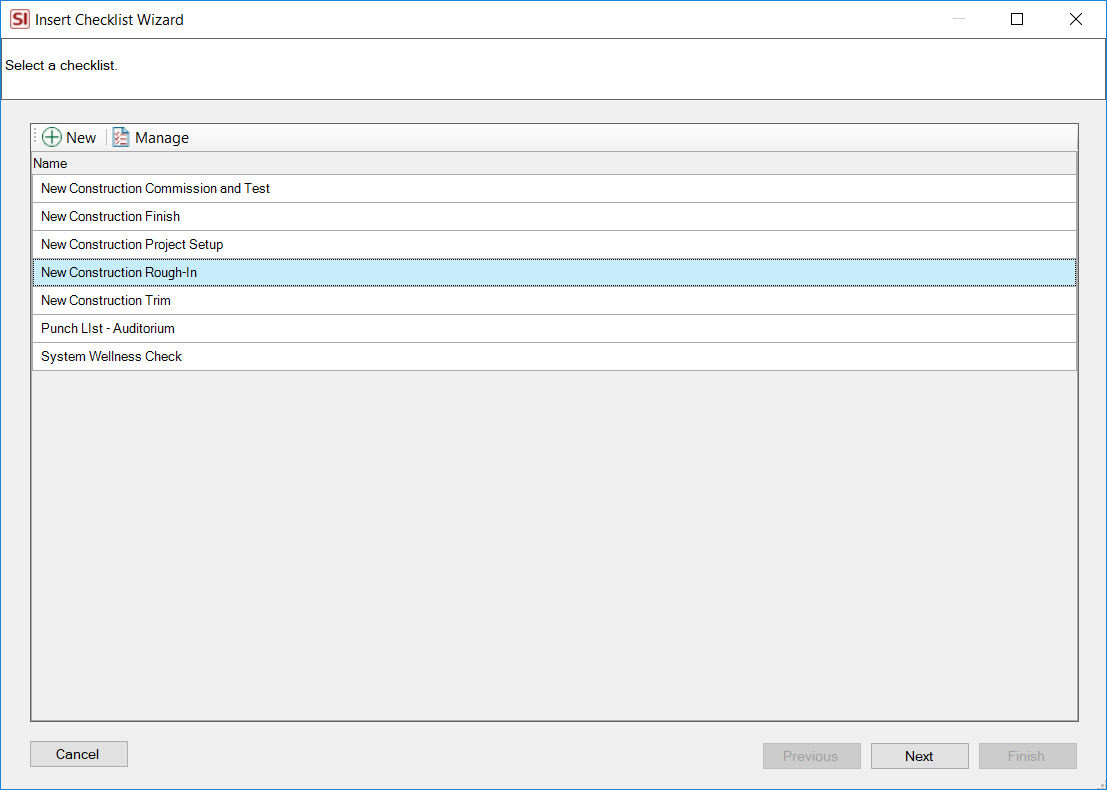
Tasks from Checklists
A powerful feature of the Gantt View interface is the ability to use your own custom Checklists to add/insert a list of Tasks:
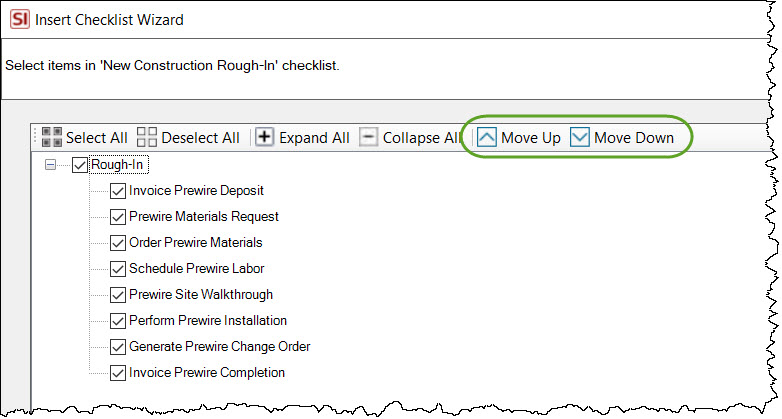
On the next step you can choose the items you want to add to the Gantt View and move them up/down in the list. Remember, once a Task has been added to the grid in the Gantt View it cannot be moved up or down.
Click the Finish button when ready and your selections from the Checklist will be added/inserted to the Gantt View list of Tasks. Notice that in this example, the hierarchy of the checklist was respected and the "Rough-In" Task was created as a Summary Task:
Converting Gantt Tasks to SI Tasks
You have the option of converting any "planning Task" in the Gantt View interface to an "SI Task" used for scheduling work to be completed. Summary Tasks and Milestones cannot be converted to SI Tasks.
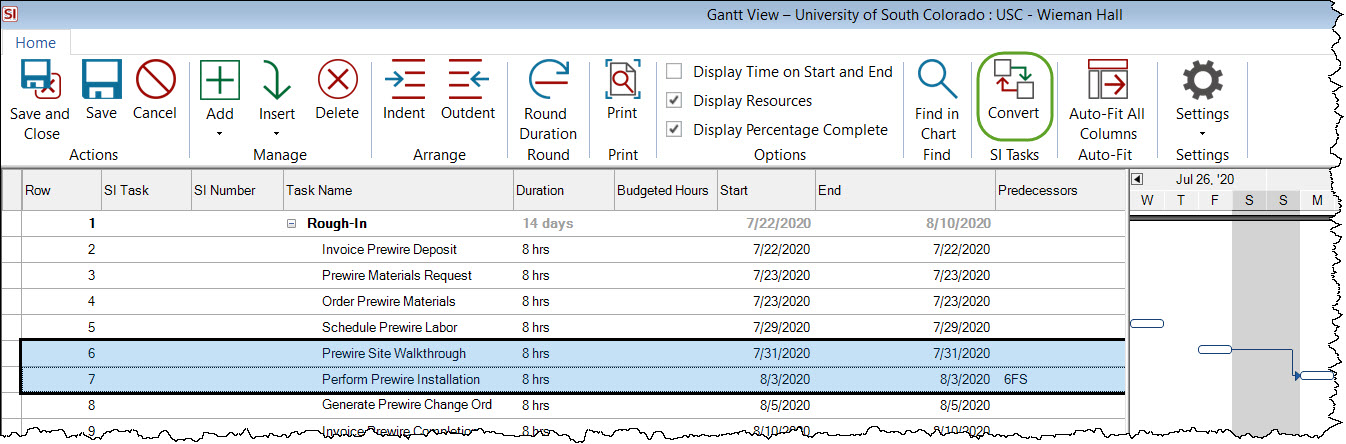
Select the Task(s) you want to convert and click the Convert button:
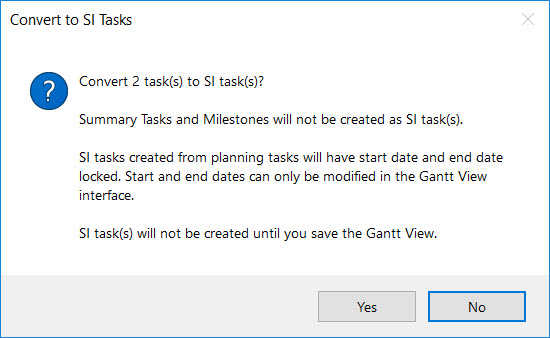
You will see a message similar to the one shown below letting you know what will happen. Once you save the Gantt View the Tasks will be created as "SI Tasks". Because these are linked to "planning Tasks" in the Gantt View and can have Predecessors, you cannot edit the Start/End Dates on the SI Task and must come back to the Gantt View to make adjustments. If Resources have been assigned to the Task, these assignments will sync to the SI Task.
Note: If you attempt to convert a "planning Task" that has Predecessors associated with it but have not chosen the predecessor Tasks to be converted, you will be notified that the Predecessors Tasks will also be converted to an SI Task.
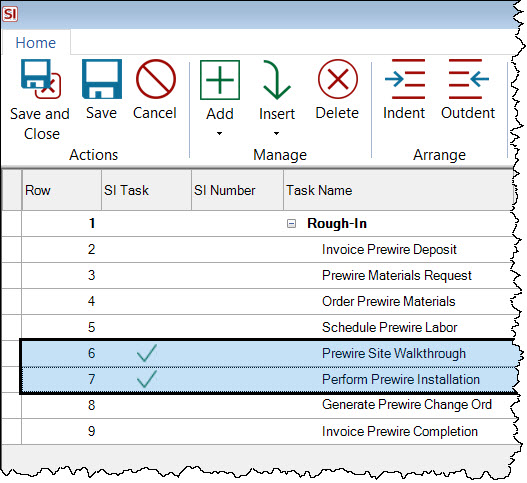
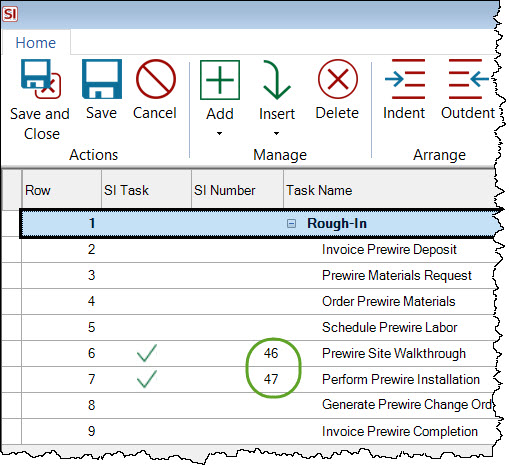
When you click Yes on the message above, the selected Tasks now display with a checkmark in the SI Task column, but they do not yet exist in SI and won't be created until you save the Gantt View:
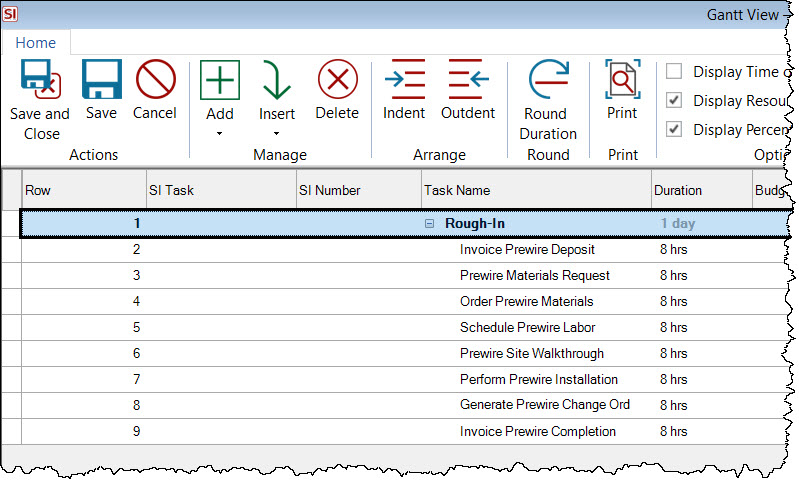
Once you save the Gantt view, the "planning Tasks" will be created as "SI Tasks" and the SI Number column will display the SI Task Number:
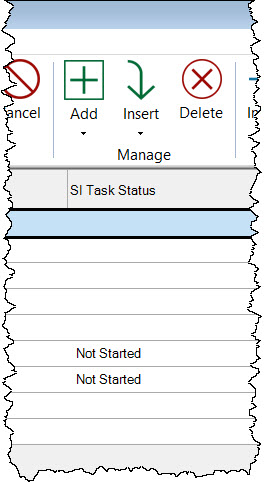
The SI Task Status field will also populate. This is a read-only field that syncs from the SI Task to the Gantt View.
One additional feature exists when you are converting "planning Tasks" to "SI Tasks" from "planning Tasks" that were added from the Project. Since these are Tasks are comprised of stand-alone or combined groupings (Phase/System/Location), you will be prompted whether or not you want all of the corresponding items from the Project to automatically be added to the SI Tasks.
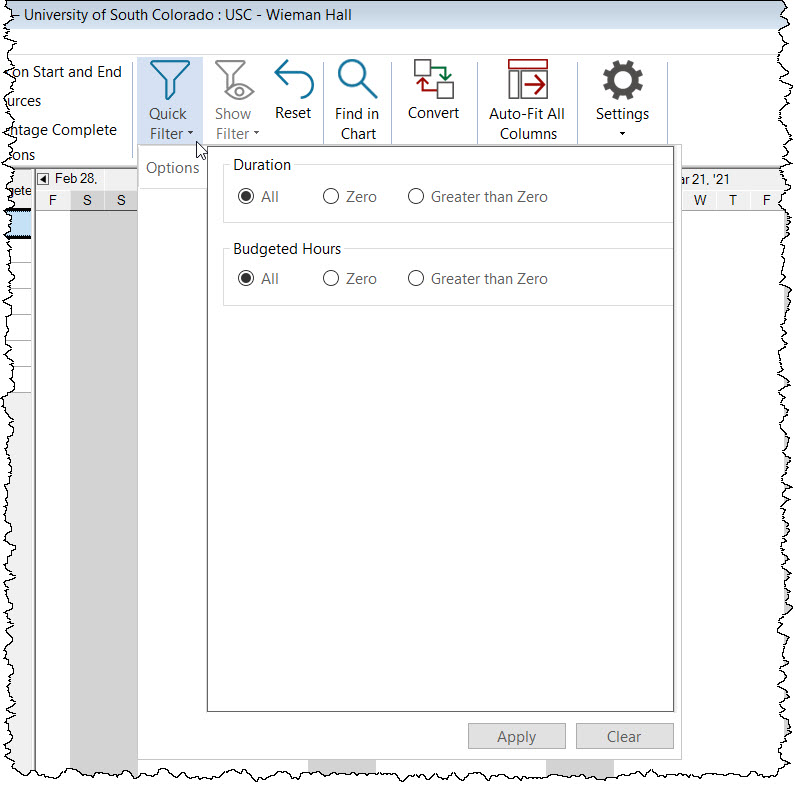
Quick Filter
There is a Quick Filter feature to allow you filter planning tasks by Duration or Budgeted Hours.
- © Copyright 2024 D-Tools