Creating Service Plans
Details
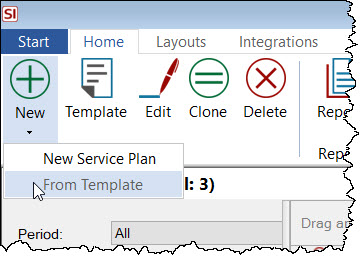
You created Service Plans from the Service Plan Explorer:
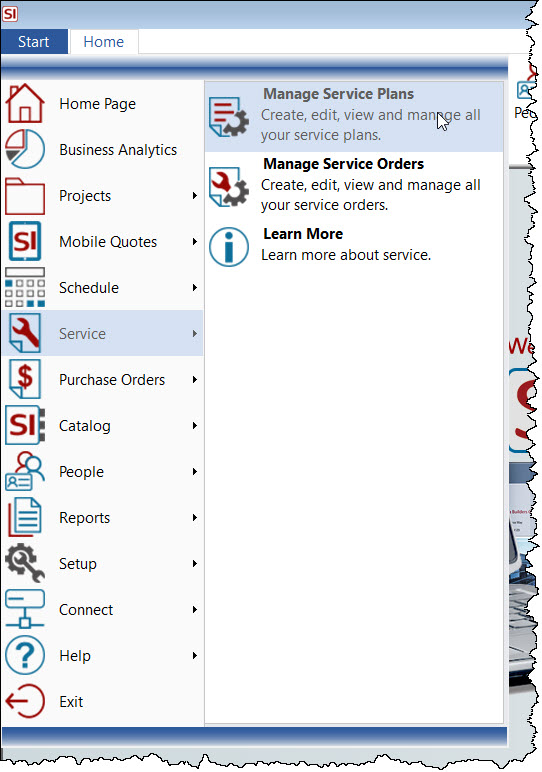
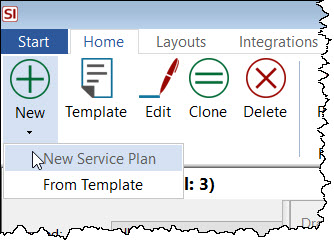
Click New->New Service Plan:
Or you can also do this from the Service Plan tab in the Project Explorer:

This will open the New Service Plan interface:
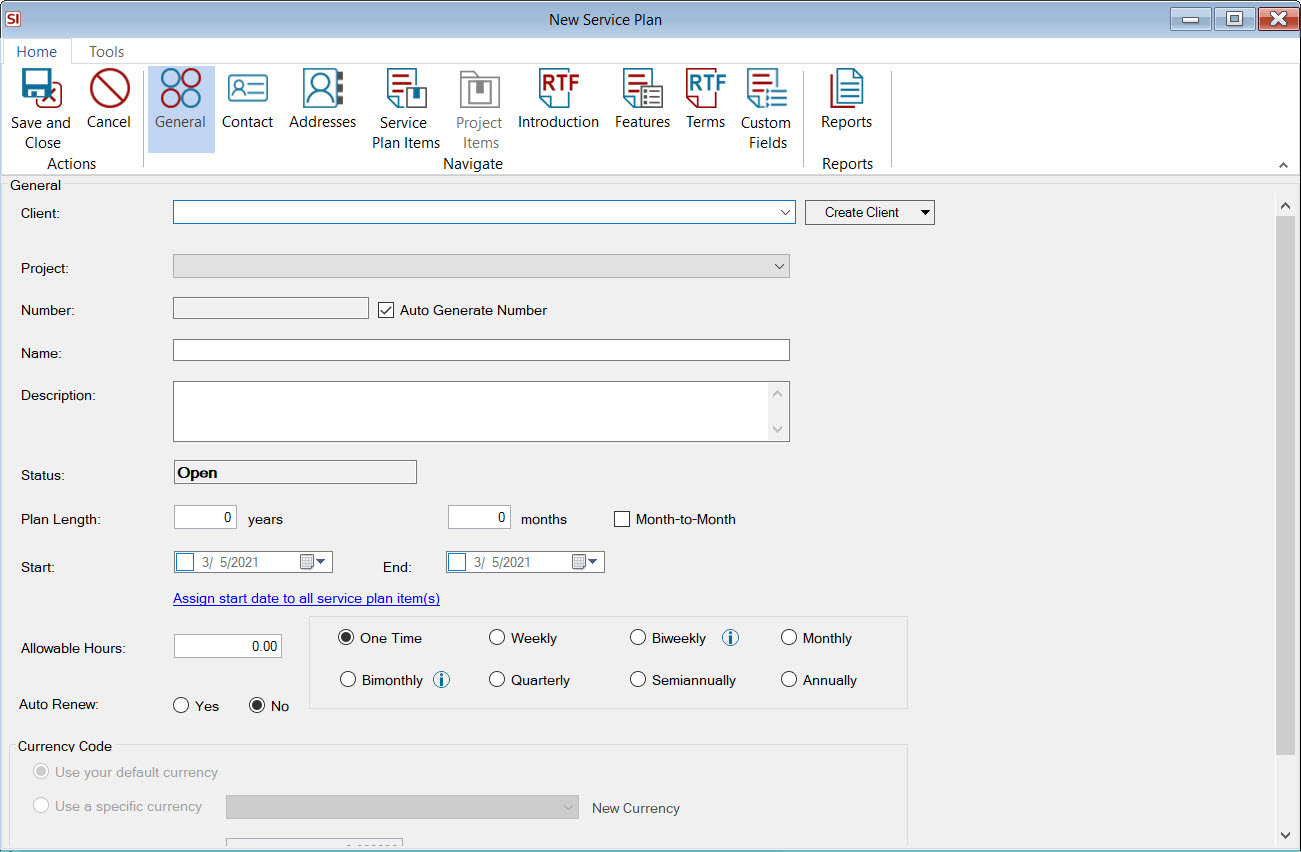
General
Here you will enter the basic information for the Service Plan.
Client
This is a required field. When you choose a Client, the primary Contact associated with the Client will be added to the Contact tab and the Address tab will populate with the Site and Billing Addresses associated with the Client.
Project
This is optional but you can assign a Project to the Service Plan. When you do this, the primary Contact associated with the Project will be added to the Contact tab and the Address tab will populate with the Site and Billing Addresses from the Project. Selecting a Project will also allow you to add Project Items to the Service Plan which adds additional functionality. See below for details on Project Items.
Number
This is a required field. It will be auto-generated based on your Service Plan Number Format when you save the Service Plan but you can also manually enter text here if you wish.
Name
This is a required field. Name the Service Plan to identify it, e.g. Super Awesome Deluxe Service Plan.
Description
This is an optional field where you can describe the Service Plan for your reference. This field is not used on the default Service Plan Report.
Status
This is a fixed list consisting of: Open, Approved, Rejected, and Expired. You cannot manually edit this field. The "Approved" and "Rejected" Status are triggered by the the Approve/Reject functions. The "Expired" Status is set when th End Date is exceeded.
Plan Length
Here you can enter the number of years and/or months for the length of the Service Plan, or you can choose the "Month to Month" option. When you choose "Month to Month", the Years and Months fields will gray out, so will the End Date field.
Start/End Dates
When you set the Start Date, if a Plan Length is already entered the End Date will populate automatically.
Allowable Hours
This is an optional field where you set the Allowable Hours for Service Order associated with the Service Plan. You can choose between One Time, Weekly, Biweekly, Monthly, Bimonthly, Quarterly, Semiannually, or Annually for the number of Allowable Hours. These Allowable Hours will be compared to the Actual Hours on the Service Orders associated with the Service Plan. No pricing comes from Allowable Hours.
Auto Renew
This is a required field and will let you determine if the the Service Plan will auto-renew when the End Date is reached or if it will not. This field displays on the default Service Plan Report. This field can also be used to set Workflow Rules/Notifications for Service Plans.
If using multiple currencies, you can choose a currency for the Service Plan.
Contact and Address
You can edit the information on both of these tabs. The default functionality is described above in the General section.
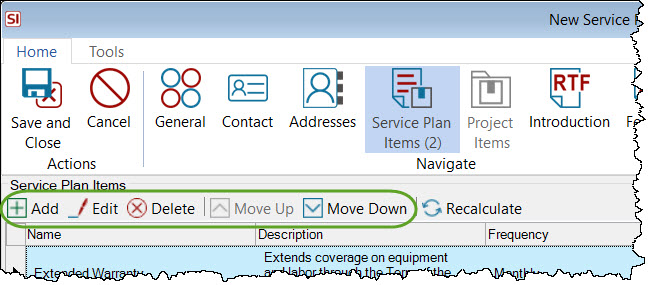
Service Plan Items
Service Plan Items determine the pricing of the Service Plan. Service Plan Items are a global list and can be used on any Service Plan. For full details on these click here.
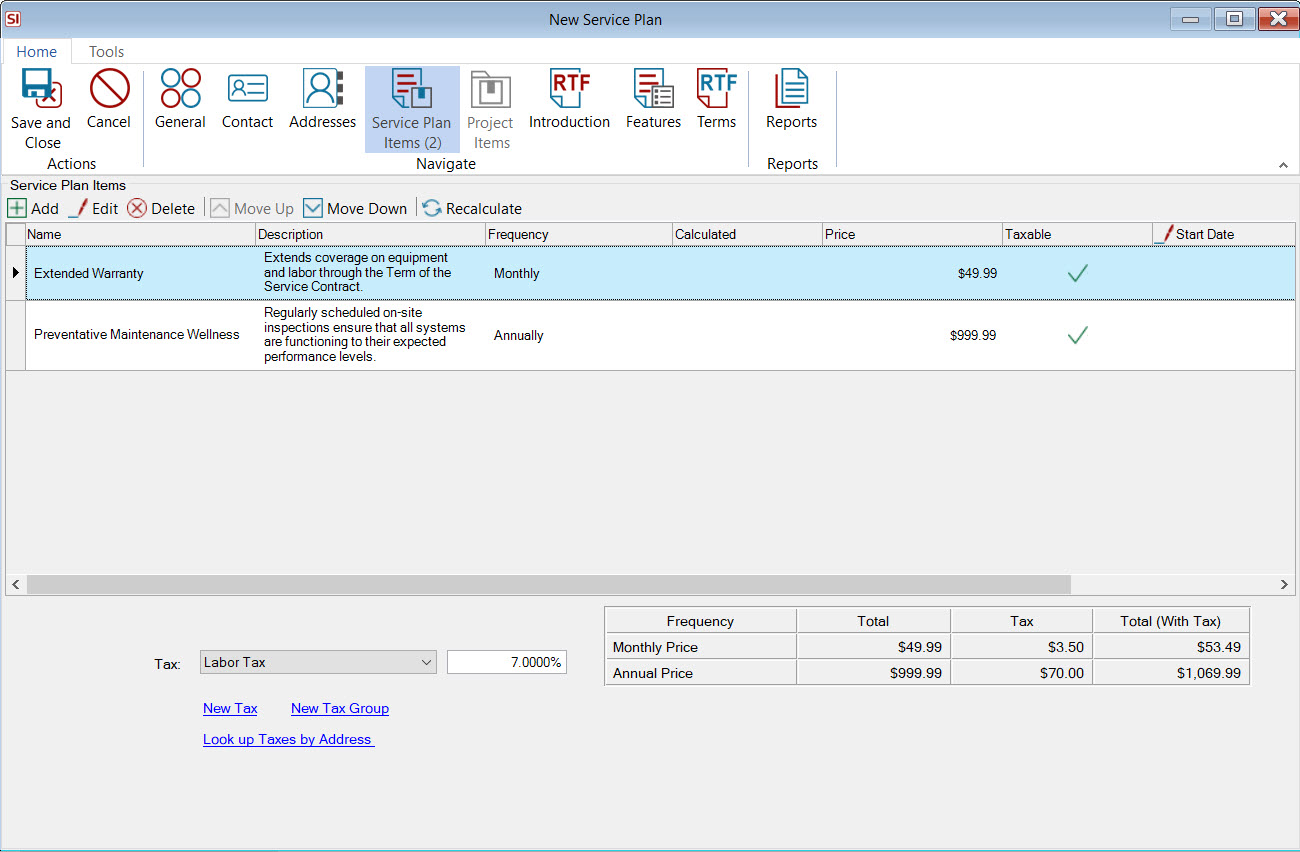
On this tab you can Add/Edit/Delete Service Plan Items to the Service Plan. You can also move them up and down in the list.
When adding an existing Service Plan Item, you also have the option to create new Service Plan Items that will become part of your global list or edit/clone/delete Service Plan Items from your global list.
Once a Service Plan Item has been added to the Service Plan, you can choose to edit it specifically for the Service Plan i.e. changes will not be global and will apply just to this Service Plan. You can also move the Service Plan Items up and down in the list to choose the display order on the Service Plan Report.
There are also additional fields for Service Plan Items once they have been added to a Service Plan: Start Date and Number of Payments:
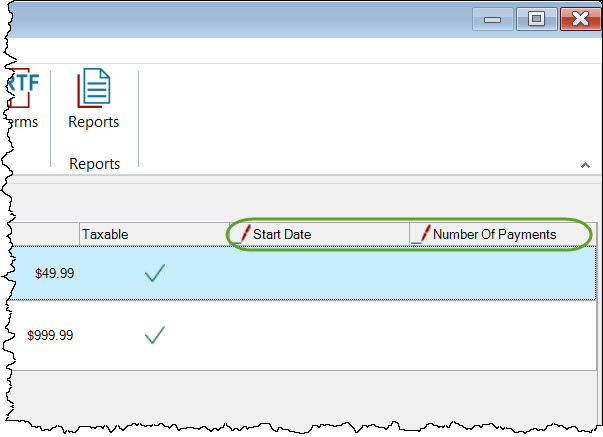
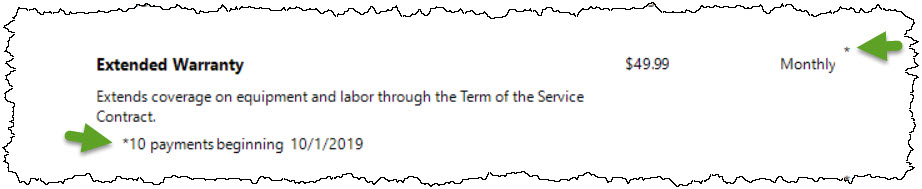
By default, the Start Date of a Service Plan is null and is assumed to be the same as the Start Date set in the General tab of the Service Plan. If you want to set a different Start Date for a Service Plan Item than the Start Date of the Service Plan, this is where you would do that, and you can also set a Number of Payments if desired. An example for this is that you want to include the first two months of a monitoring service at no charge to the client. If a Start Date and/or a Number of Payments has been set for a Service Plan Item, the Service Order Report will reflect this:
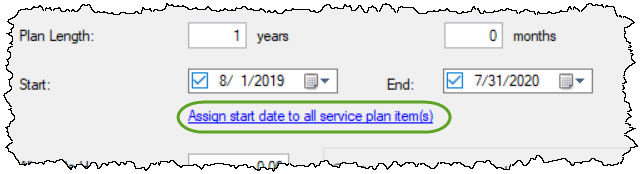
On the General tab there is a link to "Assign start date to all service plan item(s) but you likely won't use this unless you want each Service Plan Item to display that payments begin on the Service Plan Start Date.
Project Items
If you have associated a Project with the Service Plan, you have the option of adding some of the items in the Project to the Service Plan for reporting and/or calculated values for Service Plan Items.
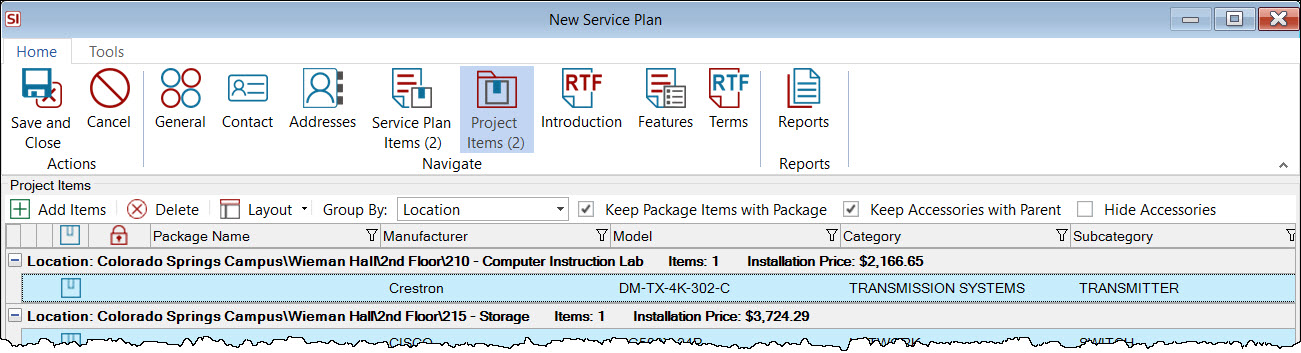
No pricing comes directly from Project Items added to a Service Plan, but these pricing from these Project Items can be used to calculate the price of a Service Plan Item.
You can Add or Delete Items from the Project here. A example for adding Project Items to a Service Plan is if one of your Service Plan Items is "Extended Warranty" and you want to display the items in the Project covered by this warranty on the Service Plan report, and/or wish to calculate the price of the "Extended Warranty" Service Plan Item based of the items covered by the warranty.
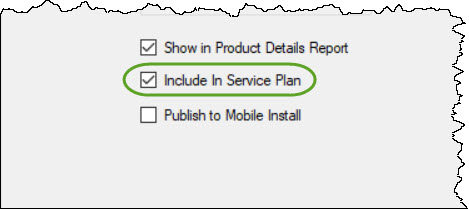
There is a setting on Products and Labor Items in your Catalog for "Include in Service Plan" as shown below:
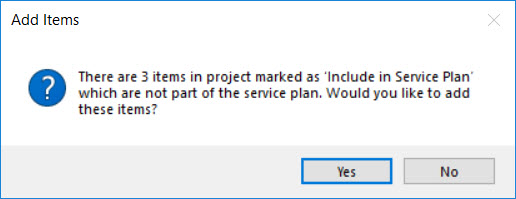
When you assign a Project to a Service Plan, you will see the following prompt asking if you would like to automatically add the items in the Project that have this setting checked to the Service Plan.
Introduction
This tab where you can create an Rich Text File for displaying on the default Service Plan Report. This is optional but can be used to add a message to your Service Plan introducing the services you will be providing.
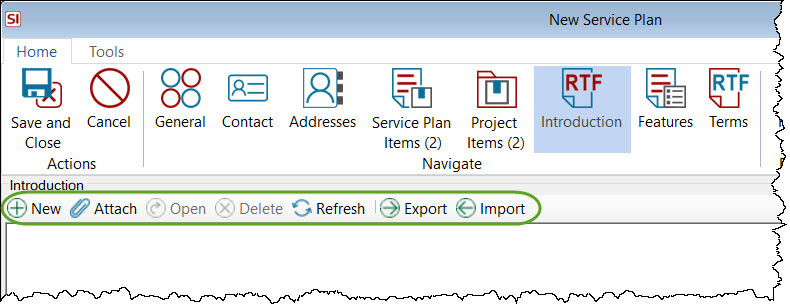
When you click the New button, Wordpad will open for you to enter your text. You can also choose to attach an existing RTF file if you wish. Use the Open button to edit an existing RTF file that you've already associated with the Service Plan.
There are also Export/Import options if you would like to save some default or template RTF files for your introduction. These are saved/imported from your SI Server and are available to all users.
Features
Service Plan Features are optional have no effect on the pricing of a Service Plan, all pricing comes from Service Plan Items. Service Plan Features are a global list and can be used on any Service Plan and display as a bullet point list on the Service Plan Report. For full details on Service Plan Features click here.
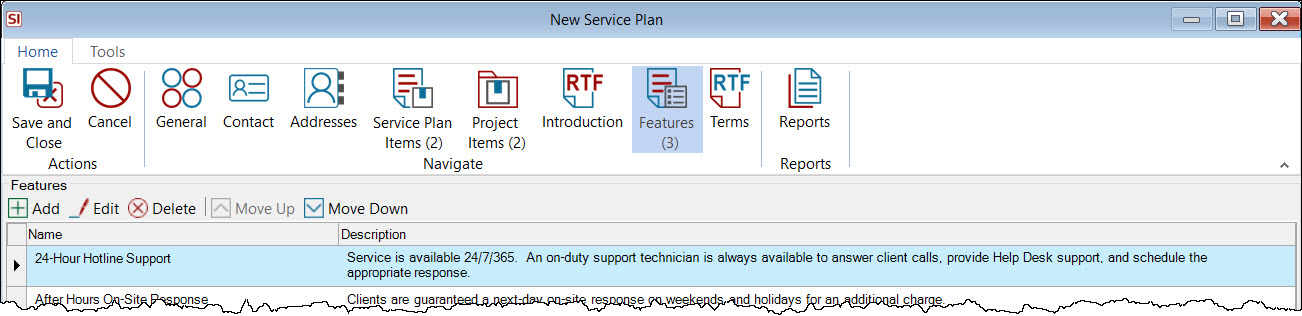
Once a Service Plan Feature has been added to the Service Plan, you can choose to edit it specifically for the Service Plan i.e. changes will not be global and will apply just to this Service Plan. You can also move the Service Plan Features up and down in the list to choose the display order on the Service Plan Report.
Terms
This tab where you can create an Rich Text File for displaying on the default Service Plan Report. This is optional but can be used to add your terms and conditions and/or exclusion for your Service Plan.

When you click the New button, Wordpad will open for you to enter your text. You can also choose to attach an existing RTF file if you wish. Use the Open button to edit an existing RTF file that you've already associated with the Service Plan.
There are also Export/Import options if you would like to save some default or template RTF files for your introduction. These are saved/imported from your SI Server and are available to all users.
Service Plans from Templates
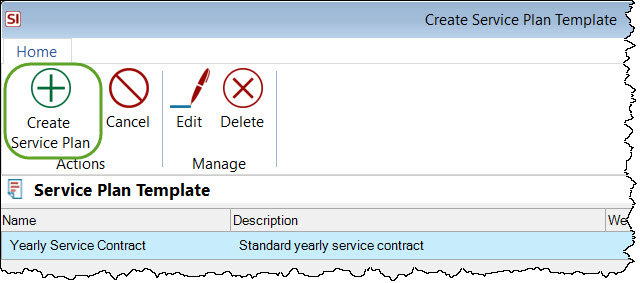
If you have created a Service Plan Template, you can create new Service Plans based on one of your Templates:
Once you select the Template, click the Create Service Plan Button.
- © Copyright 2024 D-Tools