Home > SI5 Documentation > User Guide > Reports > Designer > Customization Examples > Creating a Combined Report
Creating a Combined Report
Creating a Combined Report
Table of contents
Creating a Combined Report
This post will show how to create a combined report in SI5. While you can create Groups for reports that will generate all reports in the Group at once, they are still separate reports that must be printed/exported separately and each report has its own pagination. In order to combine multiple reports in SI5 you must use the Report Designer. In this example we will be combining the “Scope of Work Document” (SOW), “Contract”, and “Proposal With Images” reports into one document.
The first thing to do is to create a subreport based off of the Contract report.
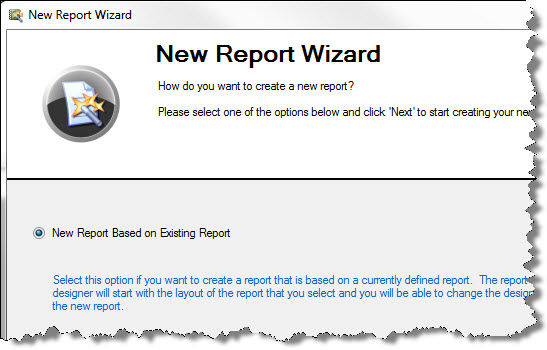
- Open the Report Designer (Tools->Report Designer->Standard Reports) and choose to create a “New Report Based on Existing Report:
- Select the contract report you wish to modify and click Next. In this example I am using the stock “Contract” report but you have most likely created your own custom contract report.
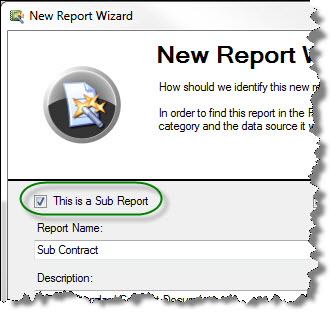
- Name your report on the next step and check the “This is a Sub Report” box. In this example, I put the word “Sub” in the Report Name field to easily identify this as a subreport in my list of custom reports.
- Click Next through all the rest of the steps of this wizard until you get to the last step, then click Finish.
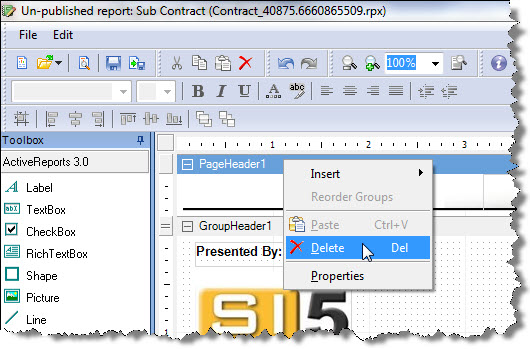
- Although the PageHeader and PageFooter sections do not display for a bound subreport, we might as well get rid of them by right-clicking and selecting “Delete” (deleting the PageHeader1 section automatically removes the PageFooter1 section).
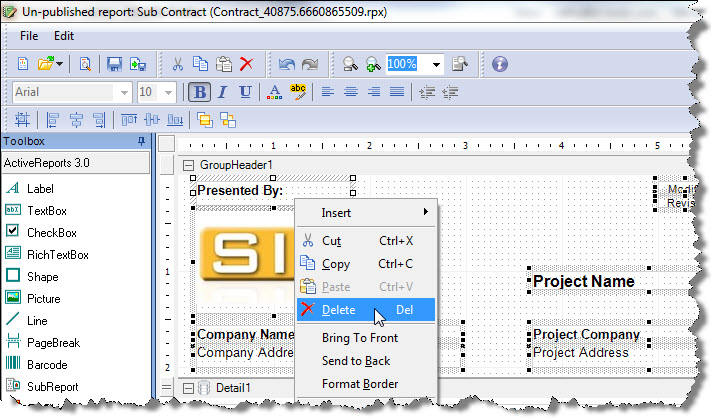
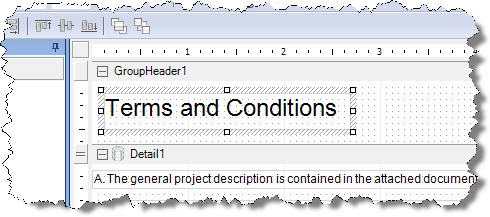
- Select all of the fields in the GroupHeader1 section and delete them. You can use Ctrl to select multiple objects at once or left mouse click and drag to select multiple objects. We do not want to delete the GroupHeader1 section from the report as we will use this for a label.
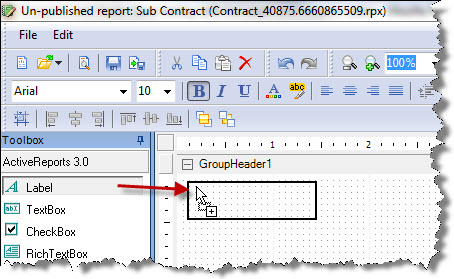
- Drag over a Label control from the Toolbox to the GroupHeader1 section:
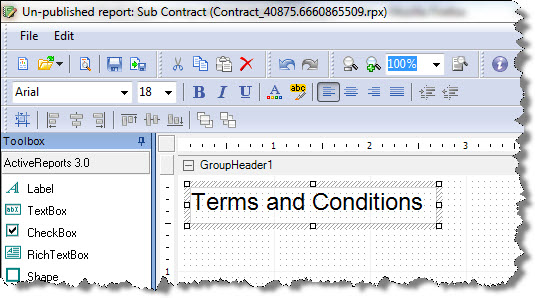
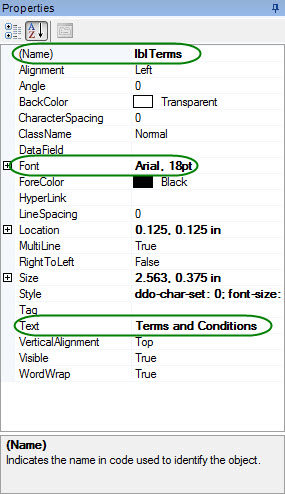
- In the Properties window, fill in the Text field for what you want this label to display and make any other adjustments to font as desired. Re-size the label control if necessary. In this example the text displays “Terms and Conditions” and the font size has been adjusted:
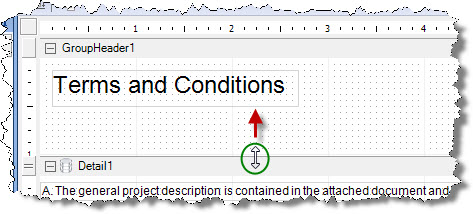
- Adjust the height of the GroupHeader1 section to get rid of the “blank space” beneath the label. You can do this by mousing over the top edge of the Detail1 section until you get a double white arrow, then left click and drag up.
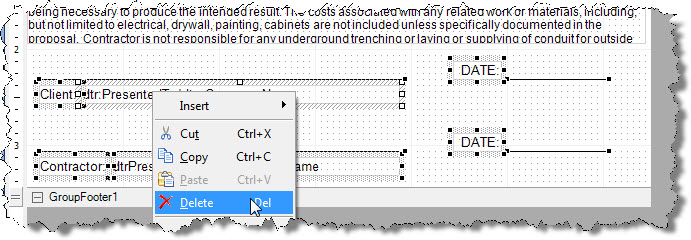
- Select the signature lines and fields on the report, right-click and select Delete:
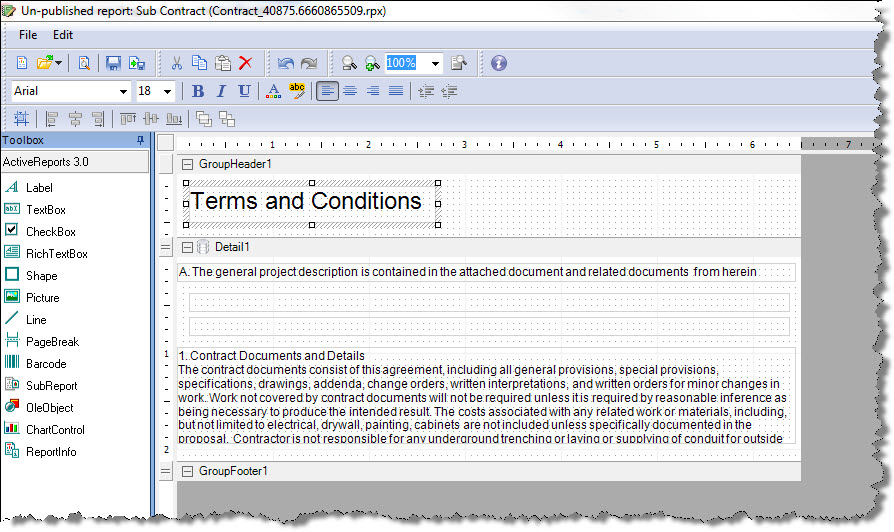
- Resize the Detail1 section to get rid of the space left behind from the deleted signature lines. Your report will look similar to below:
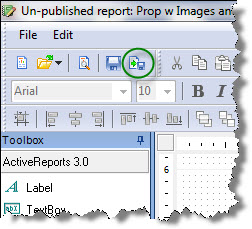
- Publish the report and choose “No” when prompted to leave the Report Designer.
- Once again, choose to create a “New Report Based on Existing Report” and this time select the proposal you want to base your combined report off of. In this example, I chose the “Proposal With Images” report. Click Next.
- Click Next through all the rest of the steps of this wizard until you get to the last step, then click Finish. The report “canvas” will open.
The ReportHeader and ReportFooter sections only print once per report so this section is ideal for adding the Scope of Work field and Contract subreport. That is assuming that you want your contract to print before the actual body of the proposal. In this example we will only be putting the Scope of Work field in this section and will add the contract towards the end of the report, after the main body of the proposal.
- Make some space in the ReportHeader1 section of the report by dragging down the PageHeader1 section:
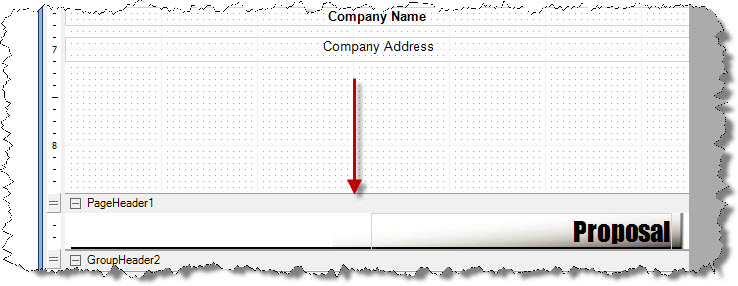
- Drag over a PageBreak control from the Toolbox and place right beneath the Company Address field:

- Drag a Label control over and place beneath the page break. In the Properties window, change the Text field to something like “Scope of Work” and adjust the font as desired. Resize the label control if necessary.
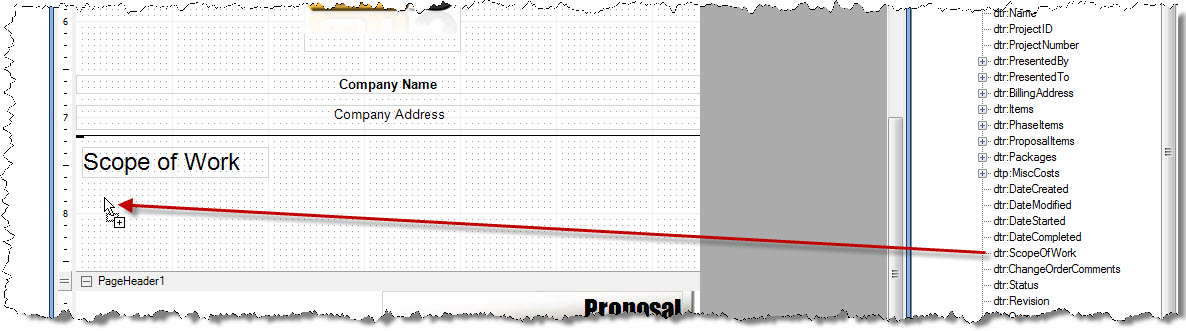
- From the Data Explorer, drag over the dtr:ScopeofWork field and place beneath your label
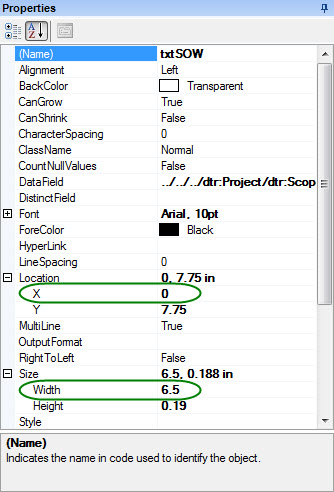
- Resize the SOW textbox to fit the width of the page and then resize the ReportHeader1 section to get rid of any extra space following the SOW field. The easiest way to resize the textbox is to enter the following values in the Properties window:
Location.X = 0 (position it on the left edge of the report canvas)
Size.Width = 6.5 (our default reports have 1” borders so 6.5 is the available canvas area width)
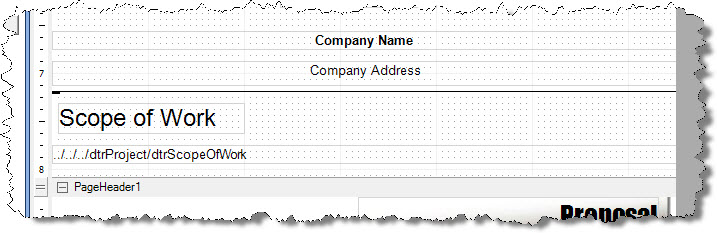
Your report should now look similar to this:
Now we will add the contract report towards the end of the report.
- Scroll down and make some room in the grpSummaryDetail section by dragging down the PageFooter1 section.
- Then select all the signature line fields and drag them down on the canvas:
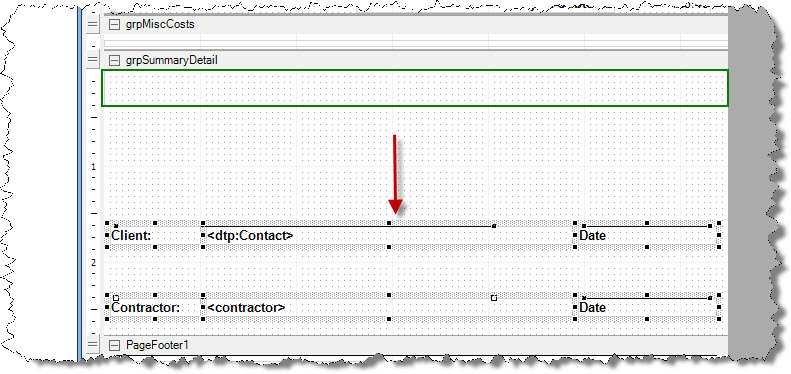
Keep in mind that there is already a subreport in this section, the Project Summary Detail, as shown in green above.
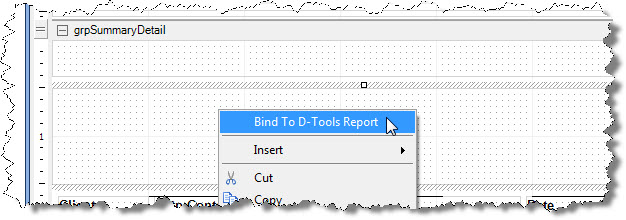
- Drag over a SubReport control from the Toolbox and place between the Project Summary Detail subreport and the signature lines. Resize to fit the width of the canvas:

- Right-click the SubReport control and select “Bind to D-Tools Report” and then select the contract sub report you created earlier:
- Publish the report and then run against a project file that has a Scope of Work entered to see your results.
- © Copyright 2024 D-Tools