List of Reports
Reports List
This section lists all of the "Standard" reports available to you. There are additional reports that can be run from the "Orders and Accounting" and "Scheduling" functions.
Detailed List
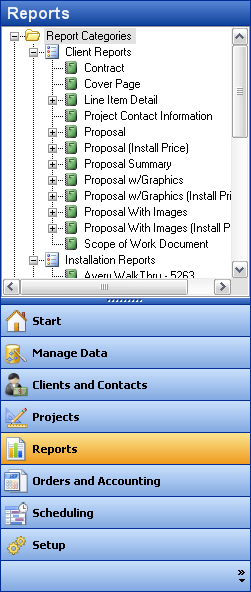
Report Categories
Report Categories allow you to organize your reports for quick access. Standard reports are initially organized into three categories: Client Reports, Installation Reports, and Management Reports.
Click on the ![]() symbol next to the report category name to see which reports can be found.
symbol next to the report category name to see which reports can be found.
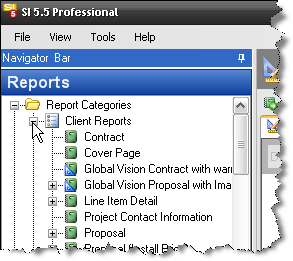
![]() Standard reports are noted by a green icon
Standard reports are noted by a green icon
![]() Custom reports you have created or imported have a blue triangle on the icon
Custom reports you have created or imported have a blue triangle on the icon
To create a new report category, right-click anywhere in the report list and select New -> Report Category. You can then drag and drop reports into your new category.
Running a Report with Filters
If you want to filter the project data before running a report, right-click on the report name and select Run Report with Filters. The Filter Report dialog will appear.
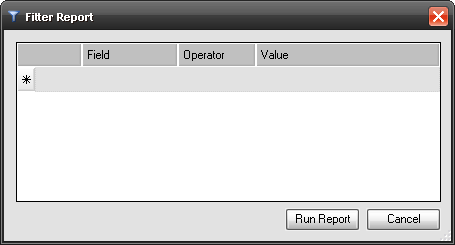
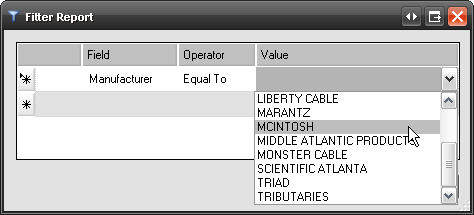
On the row with an asterisk, click on the field column to select which data field you wish to filter by. The filterable fields are properties on the items in the project. Some examples are Manufacturer, Model, Phase, Category, etc. Similarly, click on the Operator and Value fields to determine how this data field will be filtered.
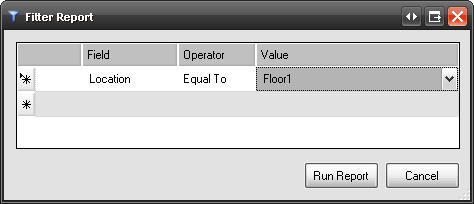
When possible, a list of valid values will be presented to the user to select from. For instance, when a user wants to only show all items that from a specific manufacturer and the Operator is “Equal To”, a drop-down list of all manufacturers in the project will be accessible
Choosing the Correct "Join"
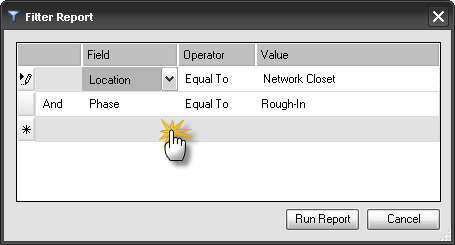
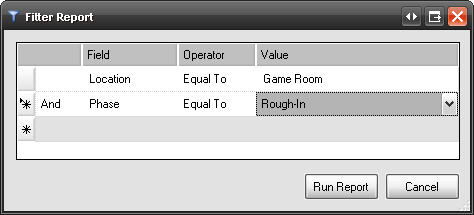
You can select multiple fields for your filter. Each row of the filter is joined by either an AND or an OR statement, called a Join, selected in the column on the far left. The example below will filter by Location = Game Room AND Phase = Rough-In.
It is very common to confuse the "AND" join for the "OR" join, consider the example below:
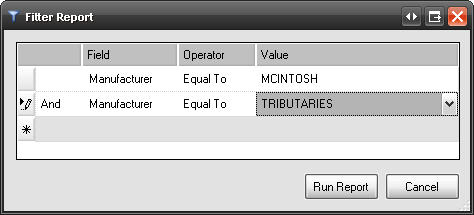
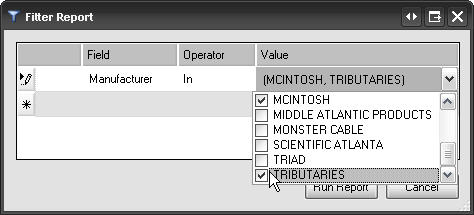
Example: You want to run a Proposal and only show the products that are manufactured by McIntosh and Tributaries. The wording in the last sentence might lead you to create a filter as shown below:
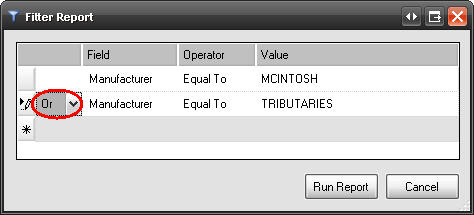
From a search perspective, what needs to take place is that the items must be either manufactured by McIntosh OR Tributaries:
The "In" Operator
The most common operators used in filters are "Equal To" and "Not Equal To". While these filters will often give you the results you are after, depending on the fields in your filter you might find it more useful to use the "In" operator.
The "In" operator is also useful when filtering by Location. Locations within an SI project are represented hierarchically (up to five levels). Each project has one or more top level locations and each of these may have child locations which in turn have child locations, etc. Items can be associated with any location at any level. Because of this, using the “Equal To” may not return the results expected.
Example: The project in questions has the following hierarchy (two levels) and there are products assigned at all three levels (Locations are bold, items are in red):
Floor1
Item1
Item2
Room1
Item3
Item4
Room2
Item5
Item6
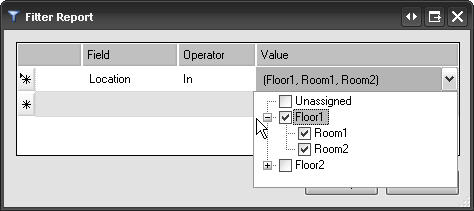
The better approach for filtering reports based on locations is, once again, to use the “In” operator. When you create a filter for location in values, they are presented with a multi-select view of the locations in the project. When a parent location is selected, all child locations are selected by default but you could choose to uncheck any sub-levels if you wish.
Report Definitions
Many reports have the ability to be run with custom grouping, sorting and parameter options that you can define and save. These stored options are called Report Definitions.
If a report supports report definitions, you can see them by clicking on the ![]() symbol next to the report name.
symbol next to the report name.
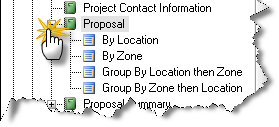
To create your own report definition, right-click on the report name and select New -> Report Definition. The Report Definition dialog will appear.
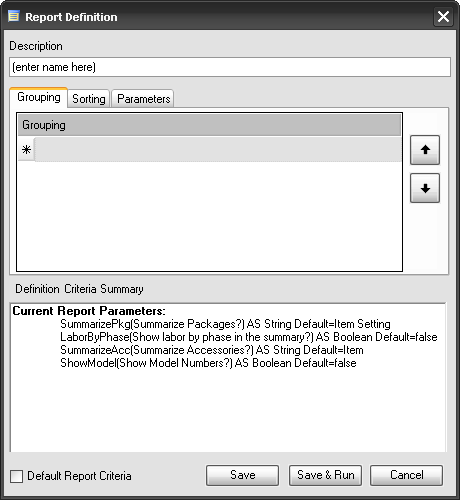
Description is the name of the definition that will appear in the report list.
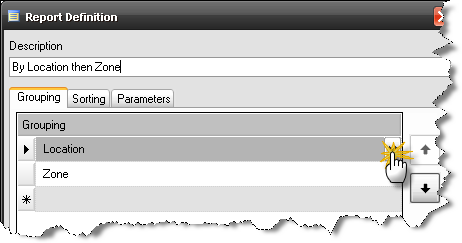
To create your own grouping order for this report definition, select the [Grouping] tab and click on the grey area next to the asterisk. Some reports (like Line Item Reports) support up to three levels of groupings; others support none, one or two levels.
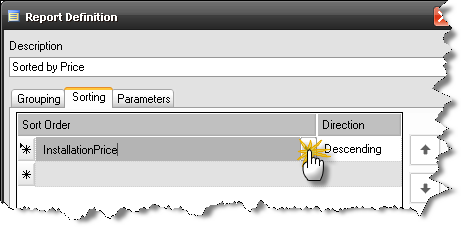
To sort the individual items within groups, click on the [Sorting] tab and select the fields you wish to sort by and how they are to be sorted. Note that not all reports can be sorted in this fashion.
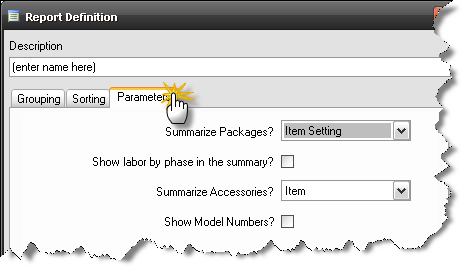
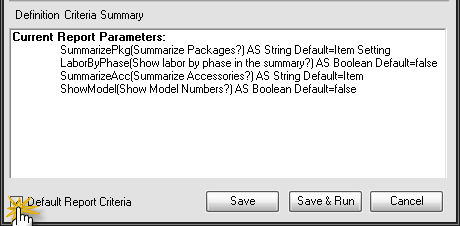
Report Parameters
Some reports have parameters that affect the way the report runs. To see which options exist for a particular report, go to the [Parameters] tab of the Report Definition dialog. Here you can modify the report parameters for this report definition. See Report Parameters page for more details.
Making a Report Definition the Default Definition
If you would like your report definition to run by default when you double-click on the report name, just check the Default Report Criteria box before you save your report definition.
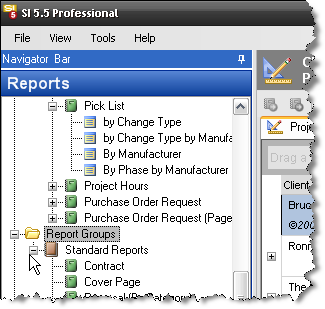
Report Groups
Report Groups are a way for you to define a collection of reports that will run together. Report groups are shown at the bottom of the reports list. Click the [+] symbol next to the group name to see which reports are included.
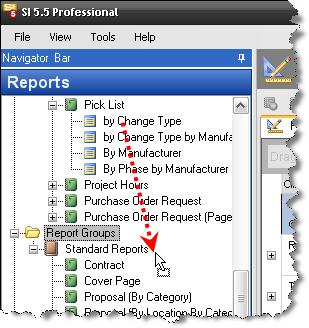
![]() To add reports to a report group, drag a report from the top section (Report Categories) to the group header.
To add reports to a report group, drag a report from the top section (Report Categories) to the group header.
To define a new report group, right-click in the Report List area and select New -> Report Group.
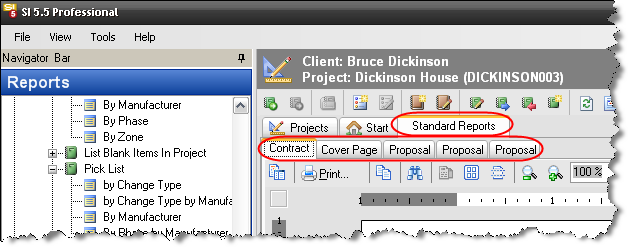
To run a report group, just double-click on the group name. The results will appear in the Projects and Reports area. Individual reports appear in sub-tabs and can be printed or exported separately.
- © Copyright 2024 D-Tools