Locations
Table of contents
Here you can add/edit/delete your default Location list.

Locations are used in Projects. They help you to organize your items to show what is going where.
The Manage Locations form allows you to create a global list of Locations for use within Projects. You can organize your Location list by assigning them Location Groups if you wish.
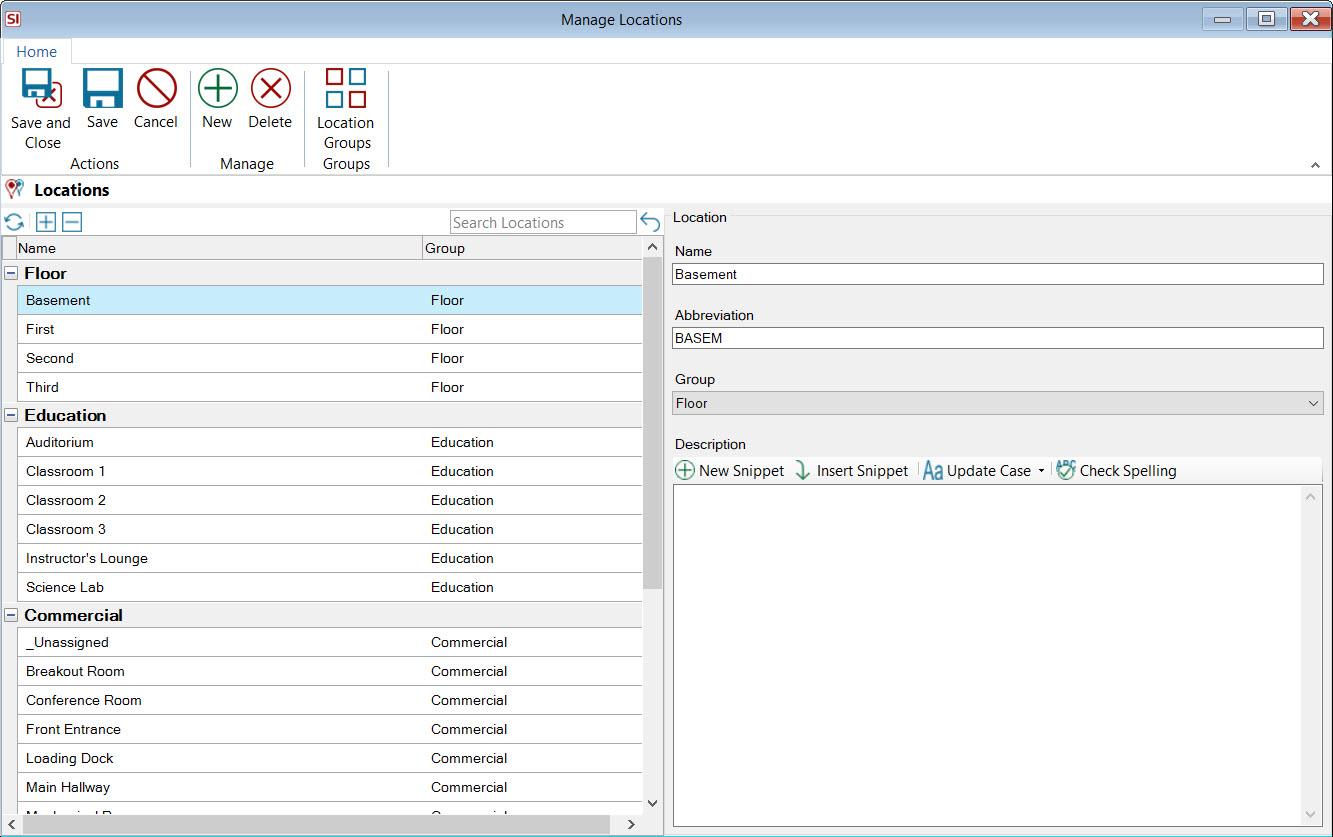
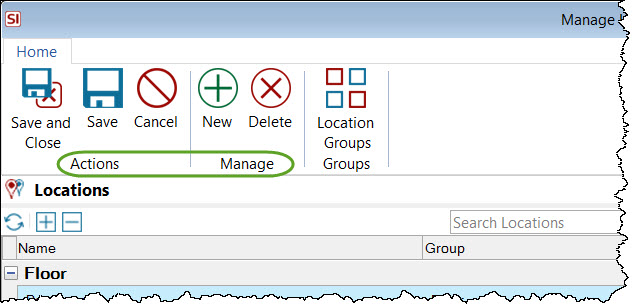
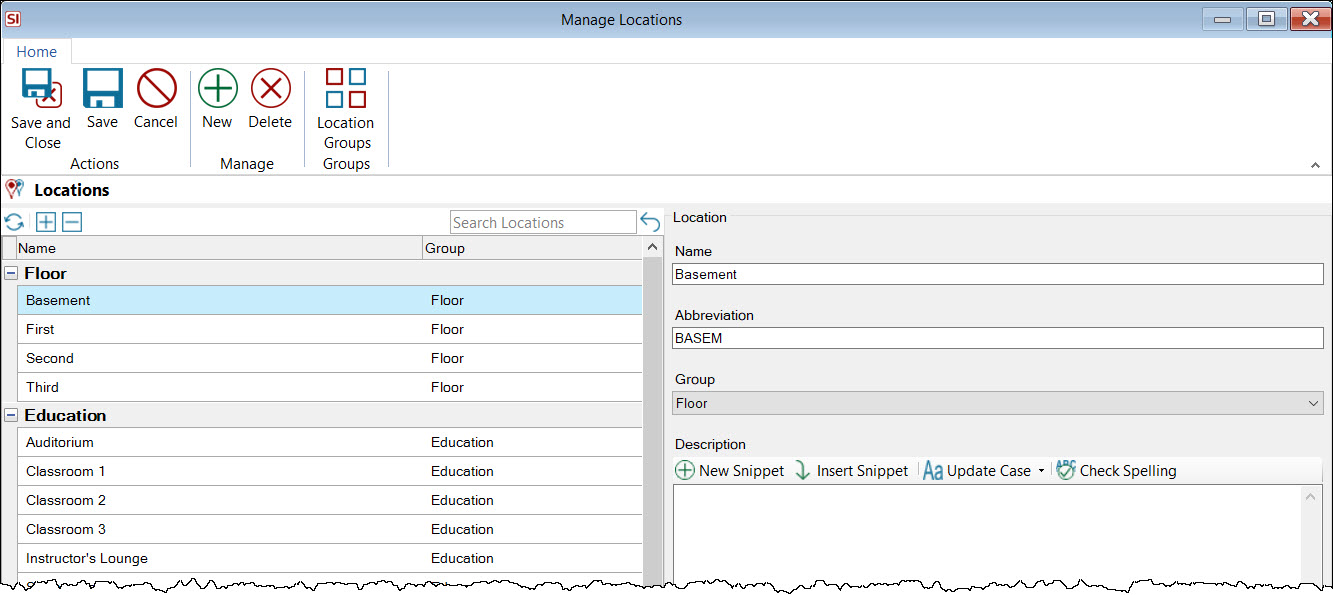
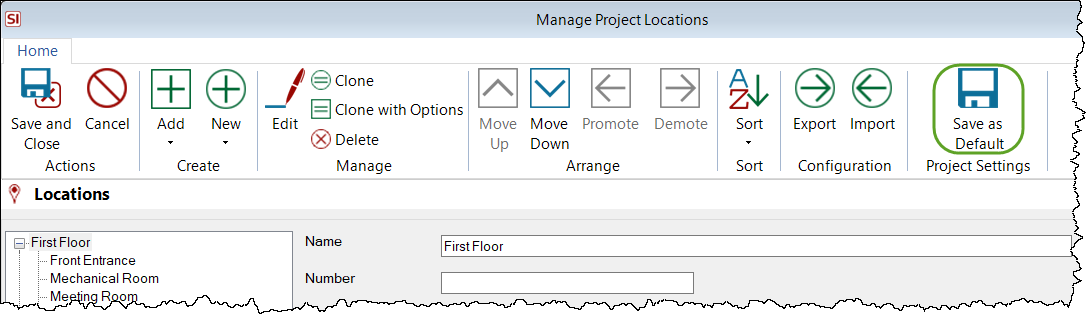
You can use the buttons to add new locations or delete locations from your list. Building this list will save you time by allowing to choose from a list vs. typing these out on every project. To edit a Location, select it in the list and then make the changes desired in the fields section of the form:
The Abbreviation field defaults to the first five characters of the Location Name but can be changed.
The Description field will likely not be filled in out here in the Control Panel but can be used to add a "mini Scope of Work" if desired for Locations within a Project. This field prints on most client reports when grouped "By Location".
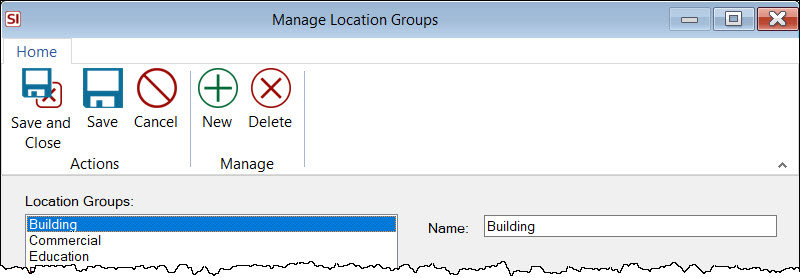
Location Groups
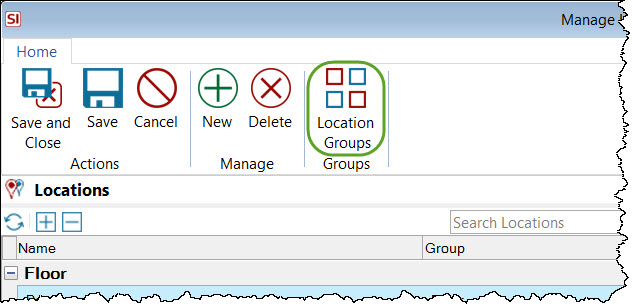
If you wish to have a list of more than one "level" or "type" of Location, use Location Groups to stay organized. For example, you might like to have a list of Floors and Rooms in your Location list and want to keep them organized. Clicking this button will open the Manage Location Groups form where you can add/edit/delete your Location Groups:
Location within Projects
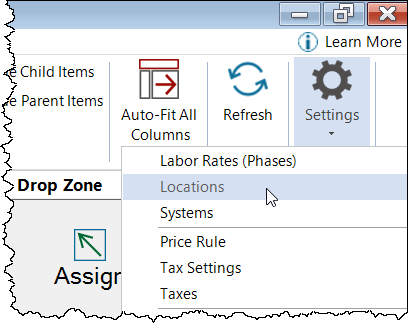
When you are creating a Project via the New Project Wizard, one of the steps is setting up the Locations for the Project. After the Project is created, you can manage a Project's Locations via the Settings button:
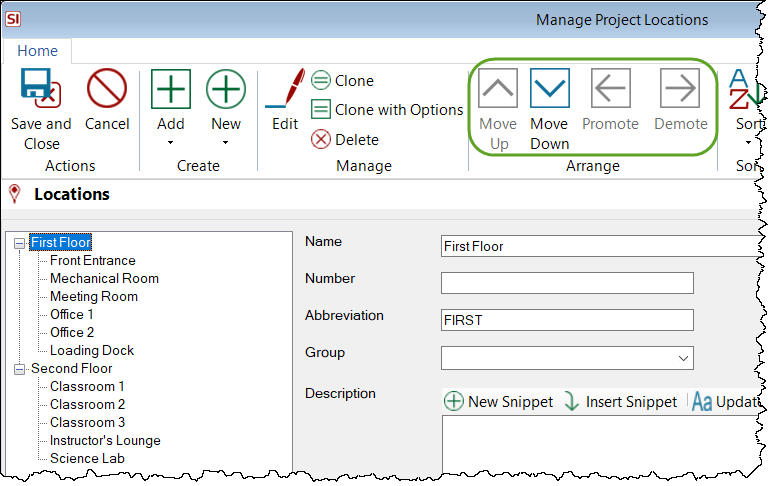
You can have up to five levels of Locations using Sublocations. These levels will display as a hierarchy and should make sense from top to bottom. You do not have to use all five levels. Many users only use one level to identify just "rooms" for a Project.
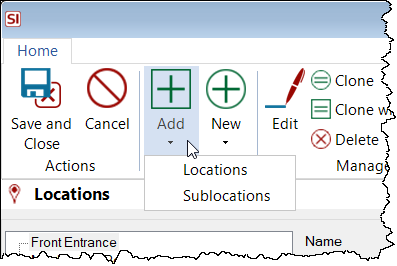
You can use the Add dropdown to add Locations and Sublocaitons from your global list, or you can use the New button to add Locations not in your global list.
You can use Move Up/Down buttons position in the list and Promote and Demote buttons to change a Location's position in the hierarchy. Shown below is an example with two levels of Locations:
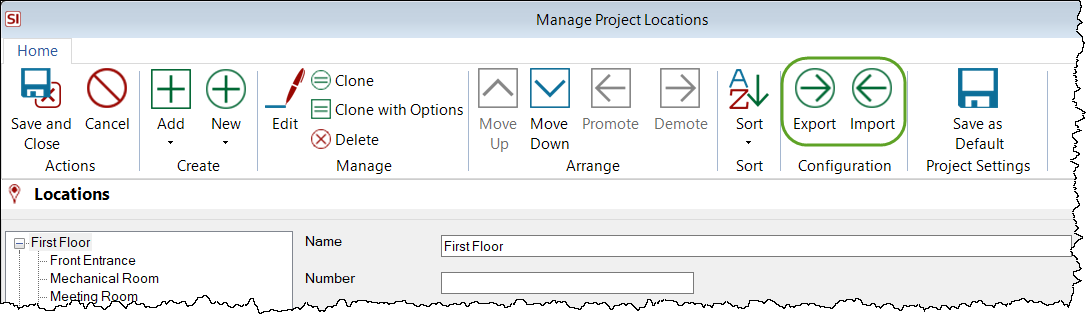
You can also choose to Import/Export Configurations. Export any configuration that you think will save you time by importing into projects, e.g. common location lists for residential houses of different sizes. It is often quicker to add a baseline location list and modify to vs. creating one from scratch. When you export a configuration you will be prompted to name the configuration and it will then be saved and made available for all other users.
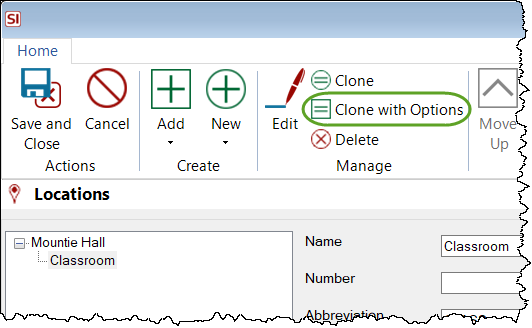
The Clone with Options feature allows you to create a quick list of sequentially numbered rooms.
Example: You have a project with ten classrooms all numbered sequentially starting at 100. Below I have created a room named just "Classroom" and then clicked the Clone with Options button.
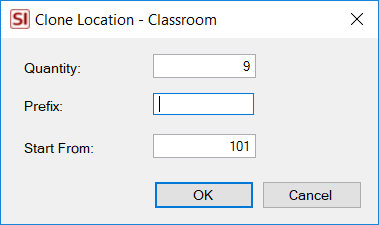
The following for opens where you can choose your options.
Quantity: How many more locations you want to add to the project.
Prefix: Here you can add any text or a space to display before the number displays.
Start From: Choose what number to start with.
In this example I want nine more locations, starting with 101, and I want a space before the number.
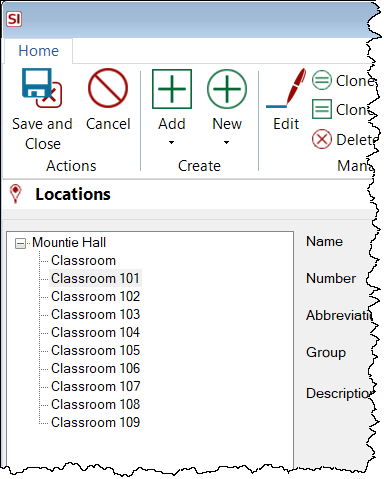
Below are the results. You can then add the number "100" to the first location name.
If you add a new location a project that is not in your global list, or if you have made changes to any of the fields for a location, and you would like to add it to or update your global list, select the location and click the Save as Default button:
Locations within Projects have two additional fields.
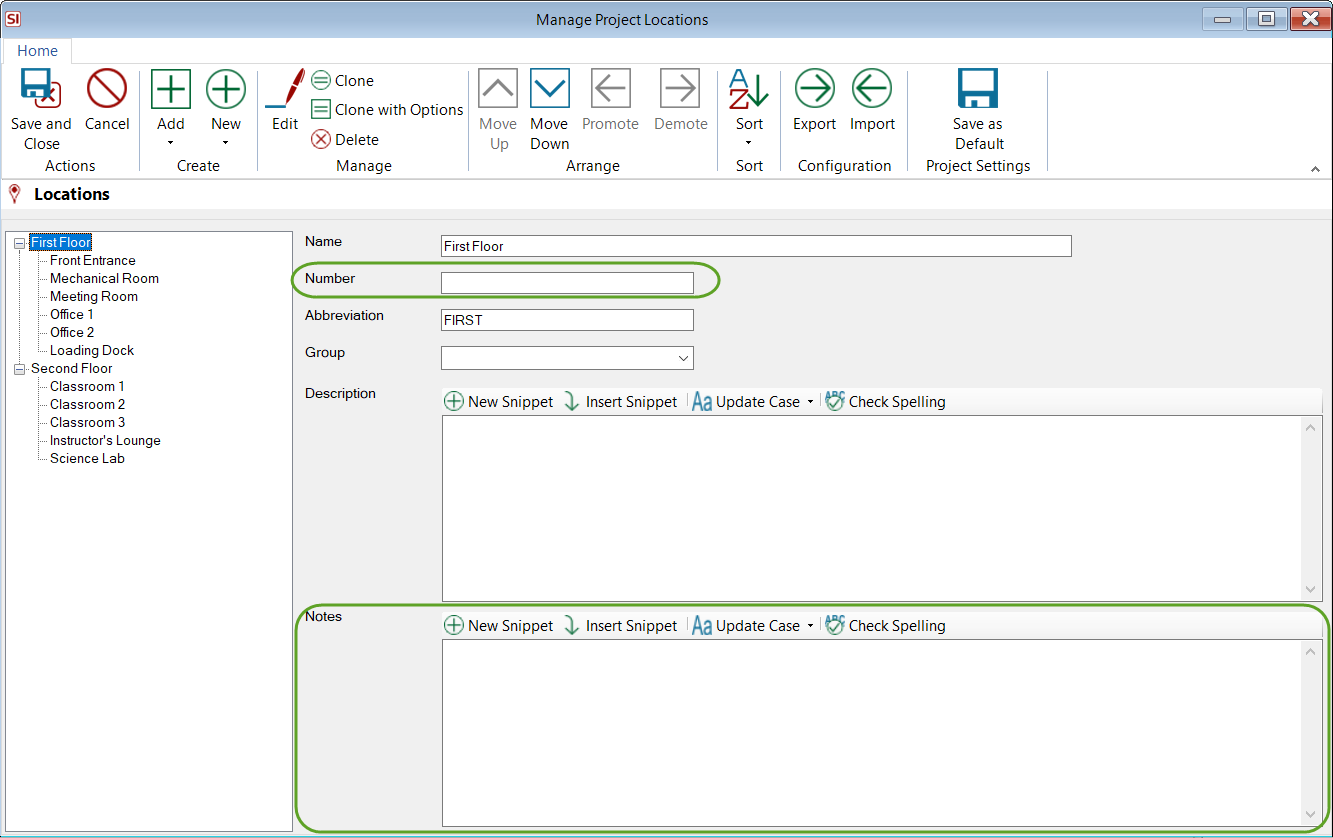
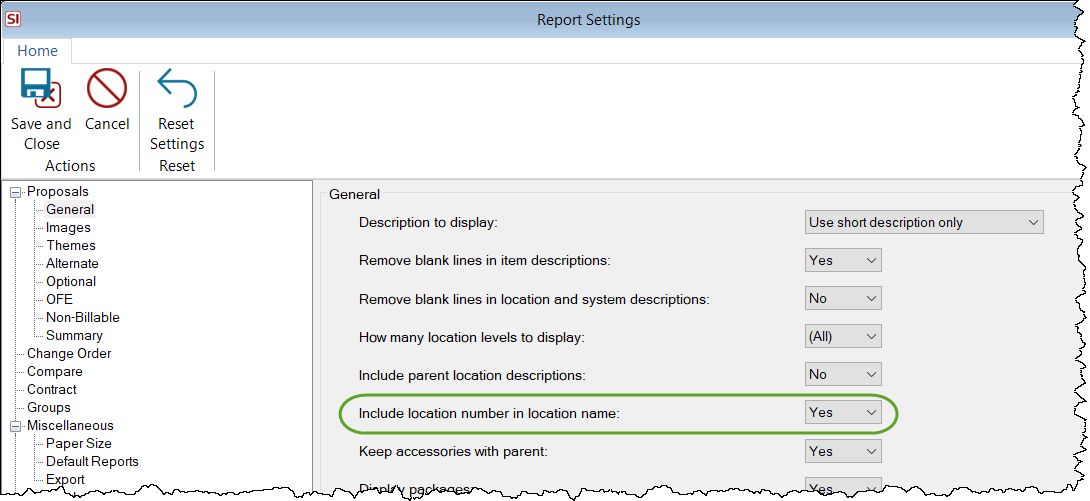
Number allows you to add a location number, primarily for use with rooms to identify the room number. The Location Number will display throughout SI wherever Locations are displayed, in front of the Location Name followed by a dash. There is a Report Setting for whether or not to display the Location Number on reports:
There is also a Notes field for adding internal notes.
- © Copyright 2024 D-Tools