Creating Service Orders

Details
Service Orders allow you to assign Items and Resources to work to be done for a Project. Service Orders are created and managed in the Service Order Explorer. Service Orders can be integrated for use with the optional product Mobile Install.
Note: you will want to check in the Project prior to creating a Service Order. The Items available to add to a Service Order will pull from the "server" copy of a Project. If you have a Project checked out to you and make add/remove items, those changes will not be available in the Service Order until you check in the Project.
Steps
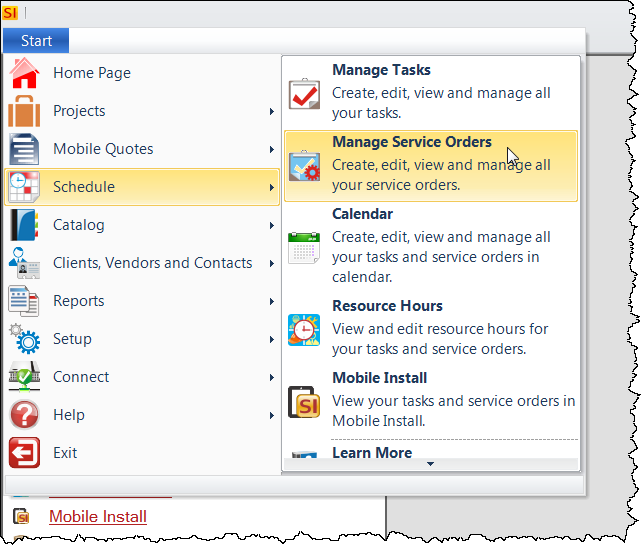
Click Start->Scheduling->Manage Service Orders:
This will open the Service Order Explorer interface. Click the [New] button:
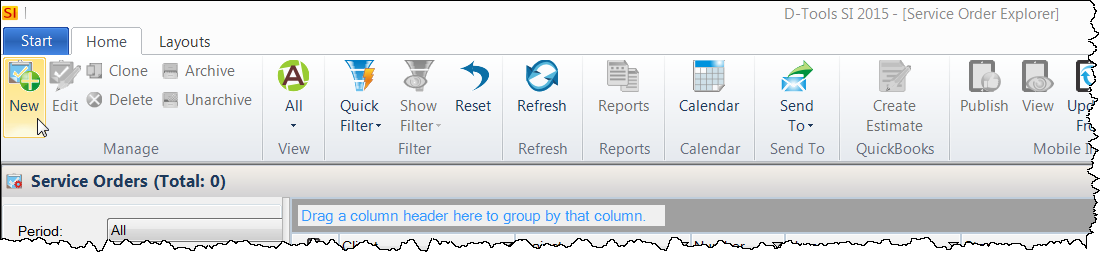
This will open the New Service Order form.
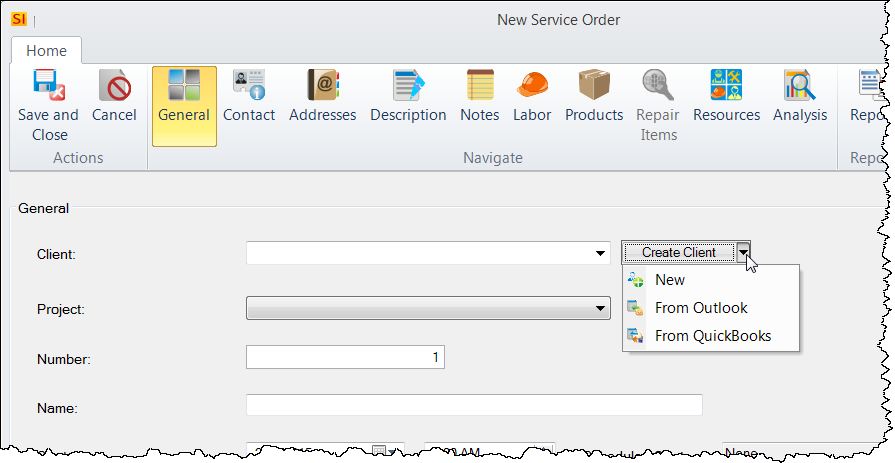
General Tab
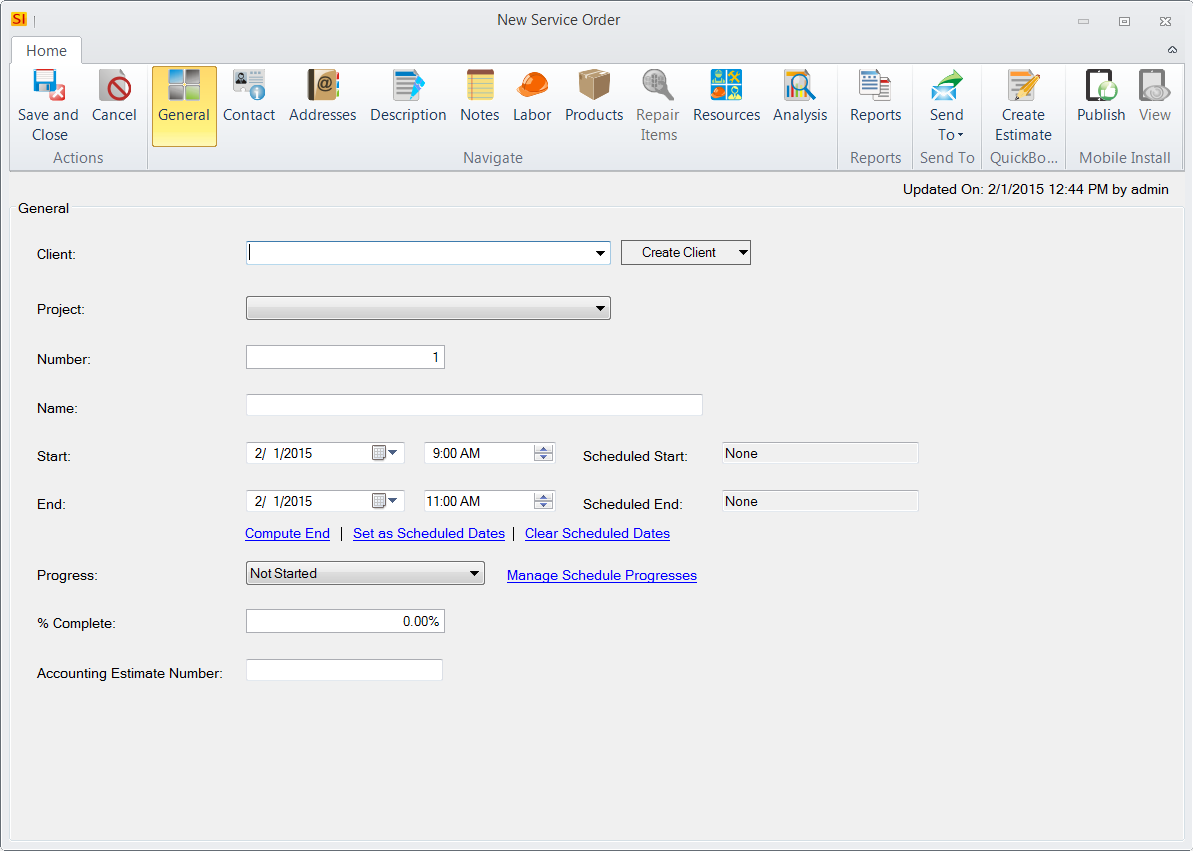
Here will select an existing Client or create a new one, or import from Outlook or QuickBooks:
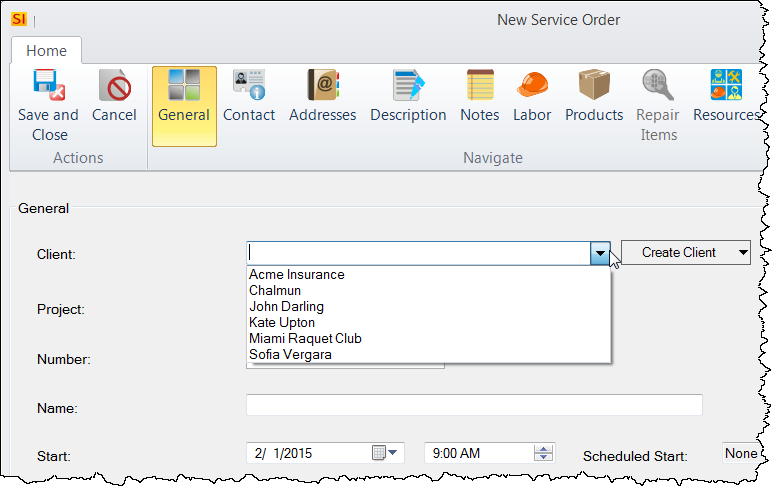
If you select an existing Client that has Projects associated with them, you can choose a Project if you wish:
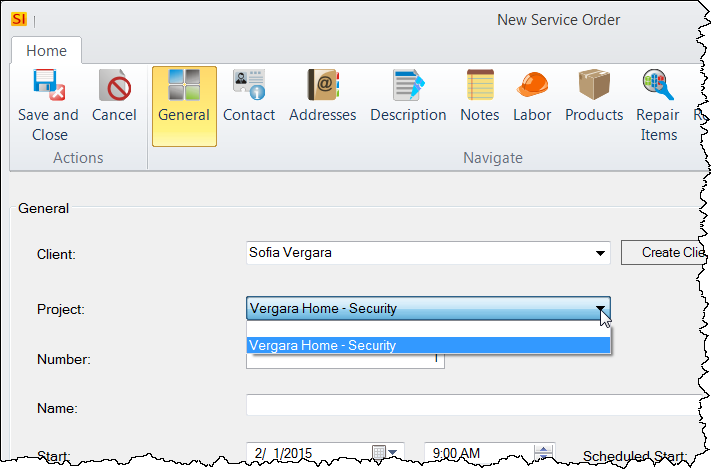
On the General tab you must enter a Name. You can also set your Start/End date/times and adjust the Progress.
Contact Tab
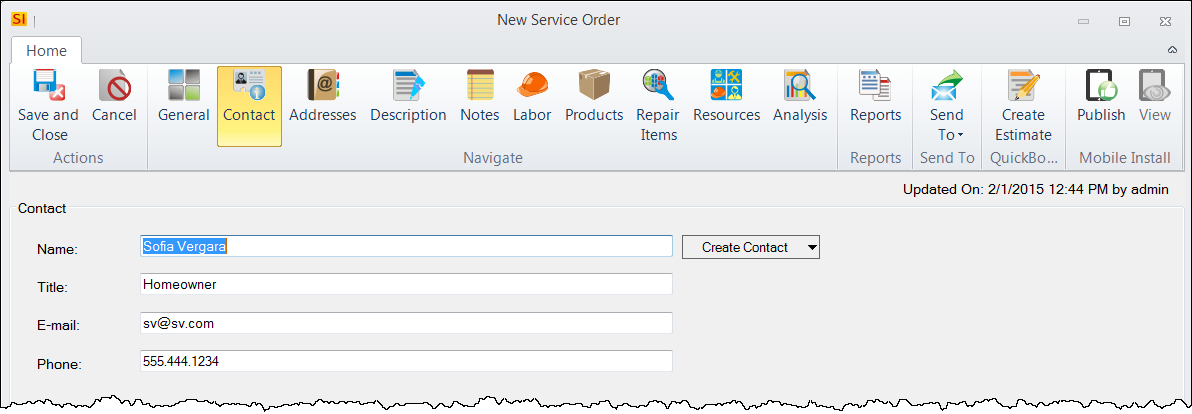
Here you can enter contact information for the Service Order. This will automatically populate with the Primary Contact from the Project when a Project is selected.
Addresses Tab
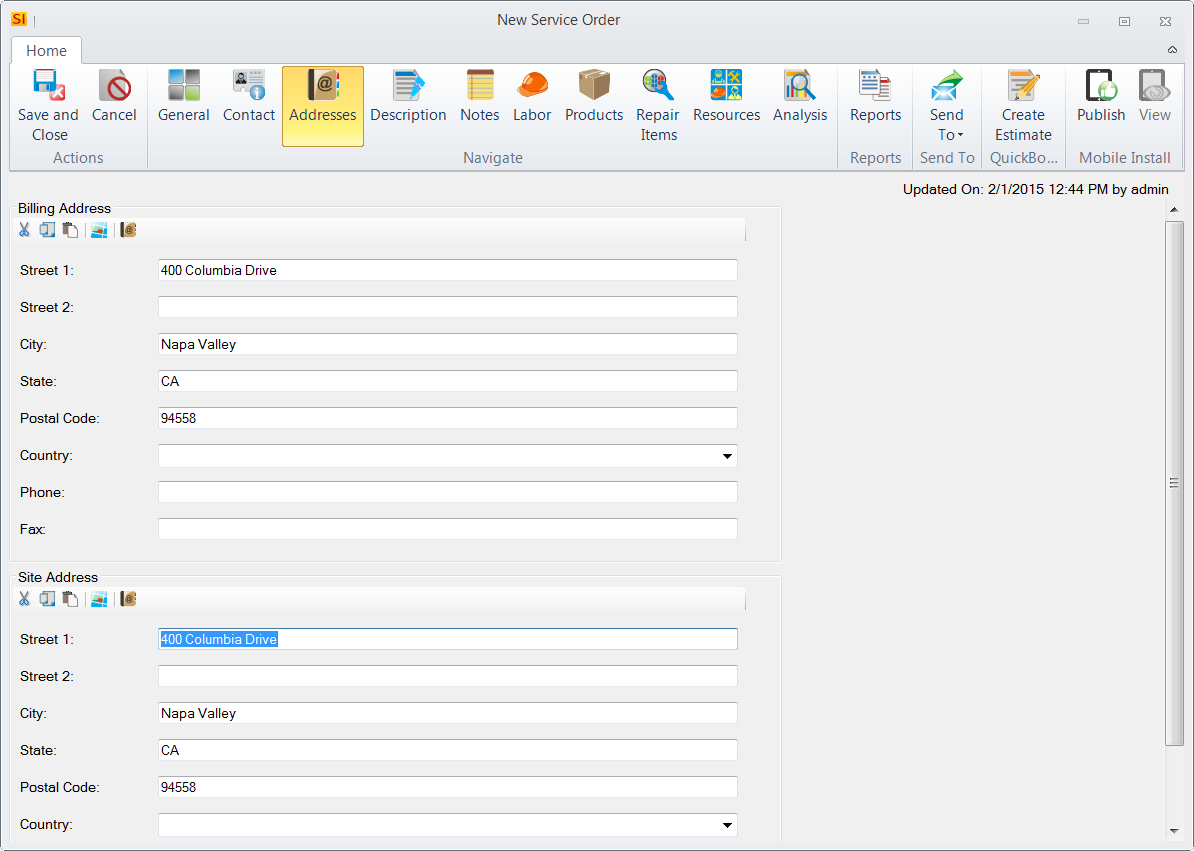
Here you can enter a Billing and Site address for the Service Order. This will automatically populate with the addresses from the Project when a Project is selected.
Description Tab
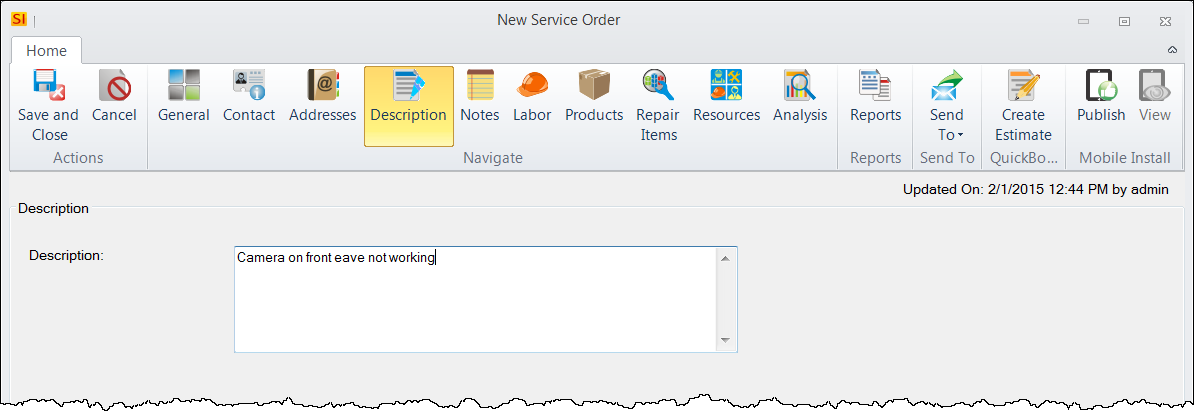
Here you can enter a description of the work to be done.
Notes Tab
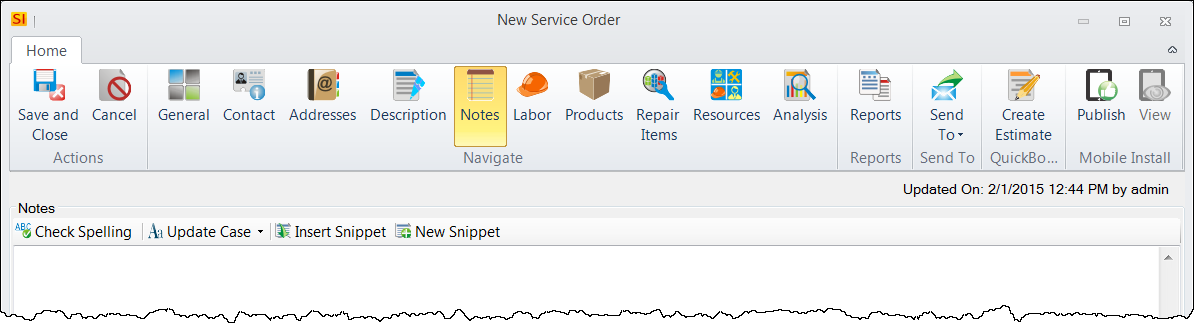
You can enter notes here if you wish but this field is intended for notes from the Resources on the work that was done.
Labor and Product Tabs
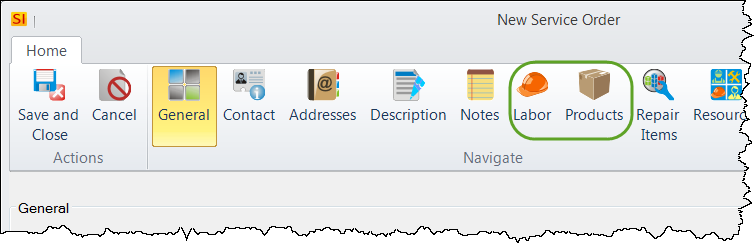
Here you can add Labor Items and Products from your Catalog to the Service Order. Often prior to the work being completed you may not want to enter anything at this point until you get the notes from Resource/installer/technician. See Managing Service Orders.
Repair Items
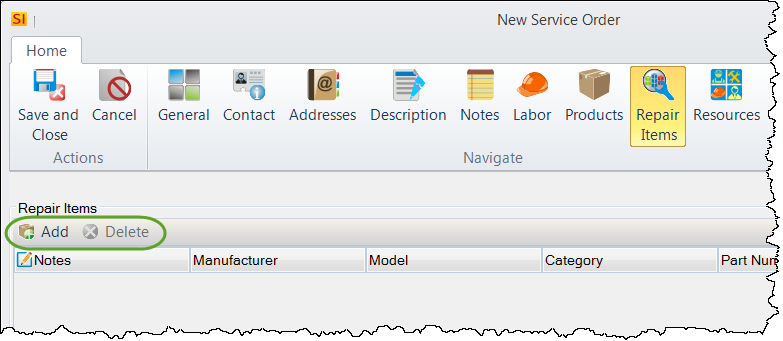
If you have assigned a Project to the Service Order, the Repair Items tab is available. Here you can add/delete repair items from the Project.
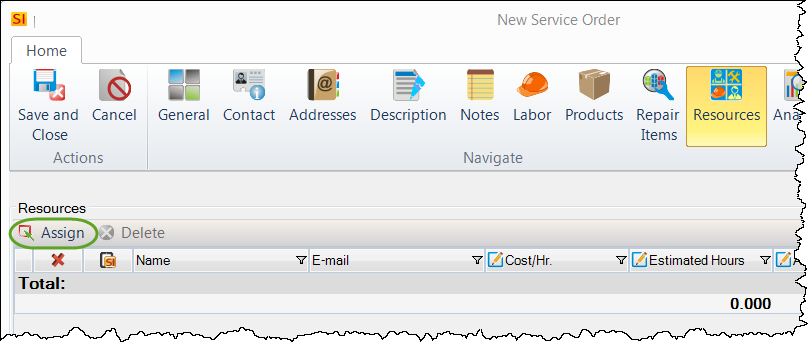
Resources Tab
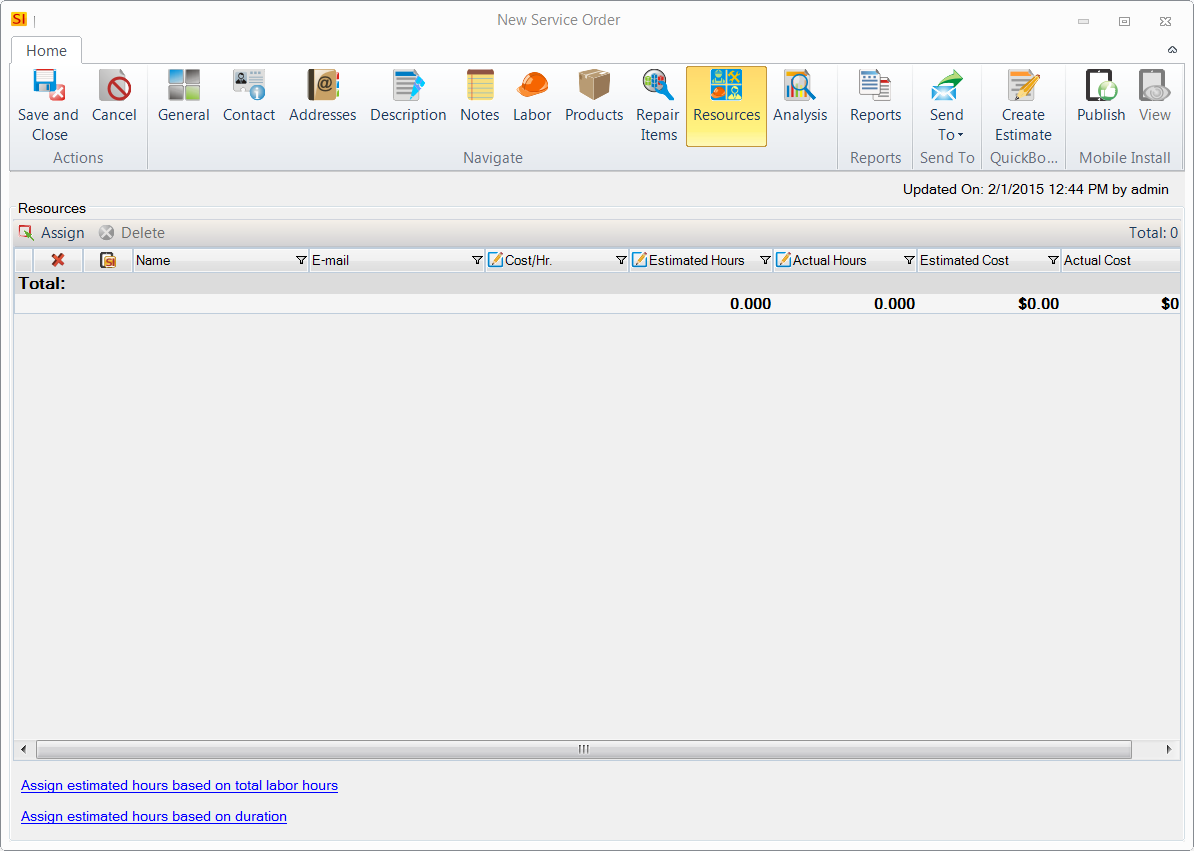
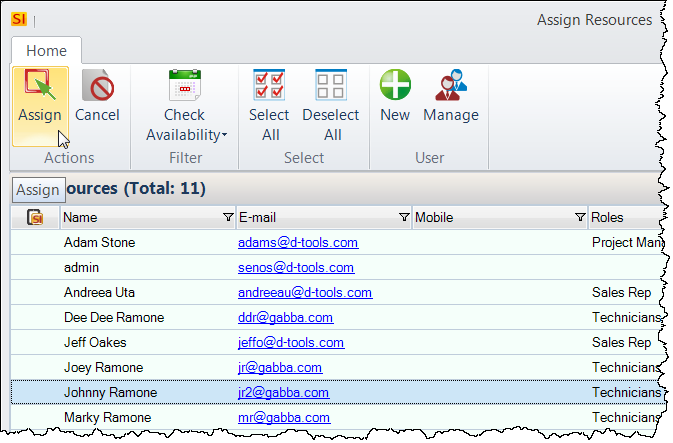
When you click the [Assign] button, you can then choose who to assign to this Service Order from your Resources/Users:
Use [Ctrl] or [Shift] to select multiple Resources and then click the [Assign] button.
Assigned Resources will automatically be assigned an hour in the Estimated Hours fields. You can manually change this as you see fit. You can also choose to "Assign estimated hours based on total labor hours" or "Assign estimated hours based on duration".
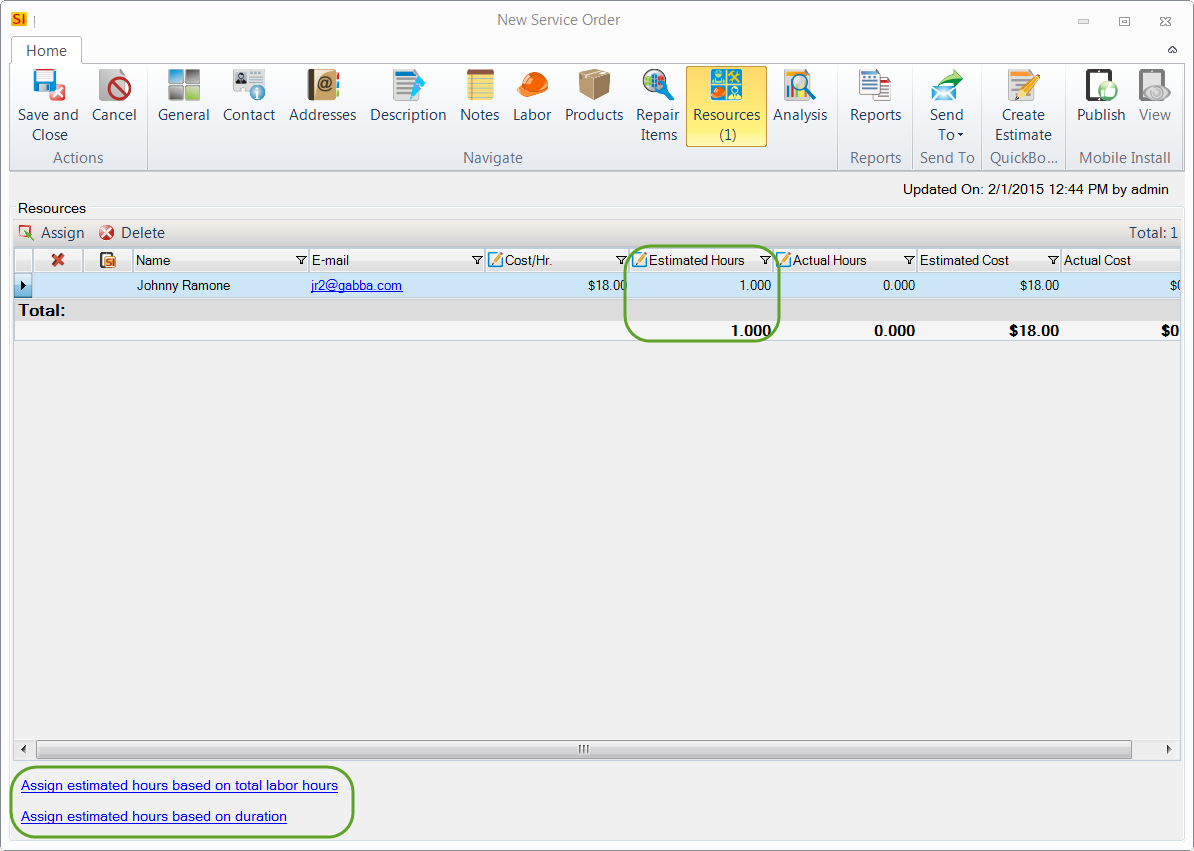
Assign estimated hours based on total labor hours
This option will split the total labor hours evenly amongst your assigned Resources. The total labor hours value is the sum of the the Labor Hours assigned to the Labor Items added to the Service Order.
Assign estimated hours based on duration
This option will split the estimated hours entered on the General tab evenly amongst your assigned Resources.
In addition/alternatively you can go back to the General tab and manually set the Start/End date/times, or use the Compute End option:
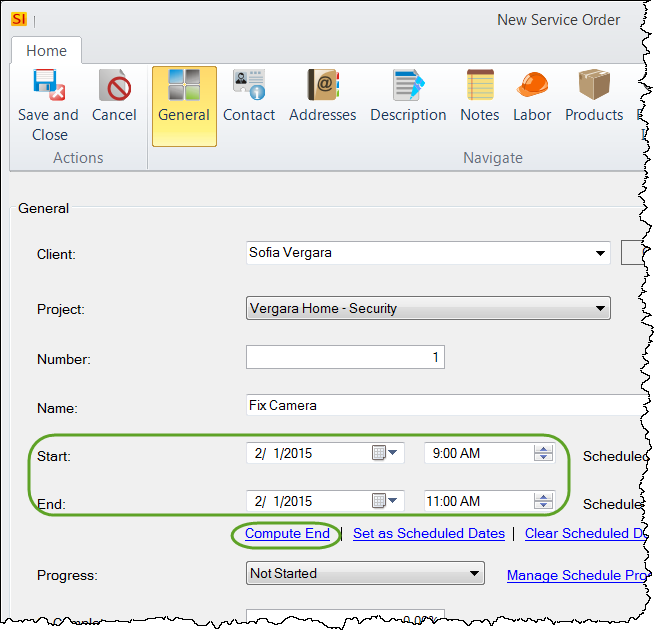
Compute End
This option will allow you to choose assign the end date based on Item Labor Hours or on the Estimated Resource Hours:
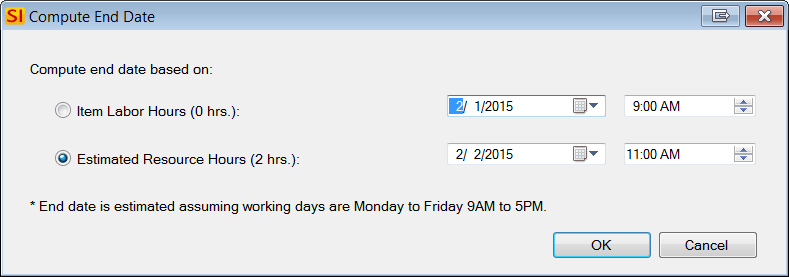
Note: You can manage Resource Hours, click here for details.
You can also then set the Scheduled Start/End date/times with the Set as Scheduled Dates link:
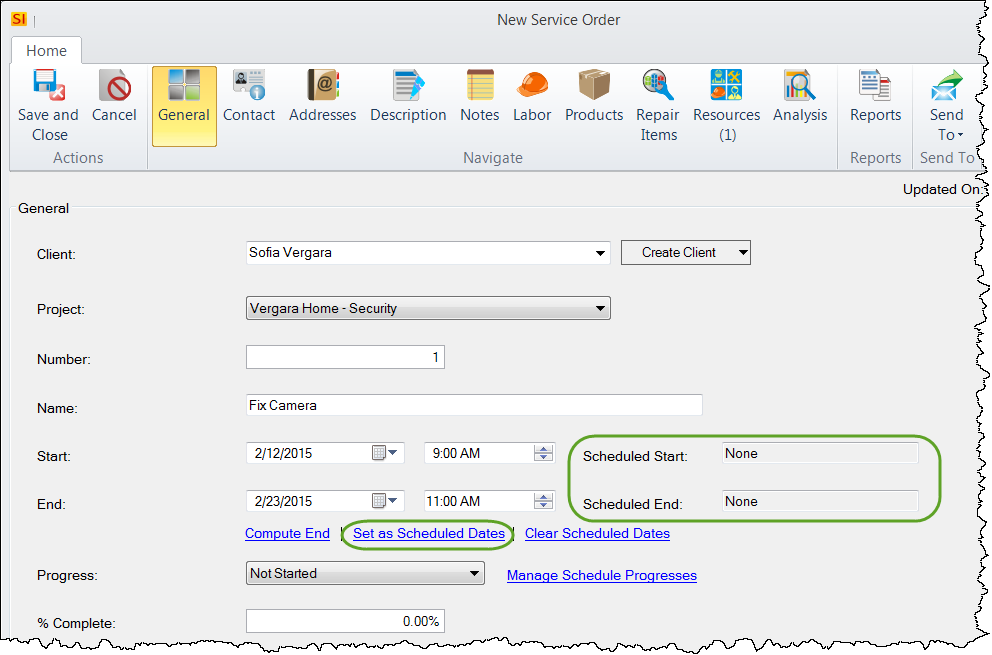
Note: If using Mobile Install, the Scheduled Start/End will automatically default to the Start/End date/time if null.
Once done, click the [Save and Close] button and the Service Order will display in the Service Order Explorer:
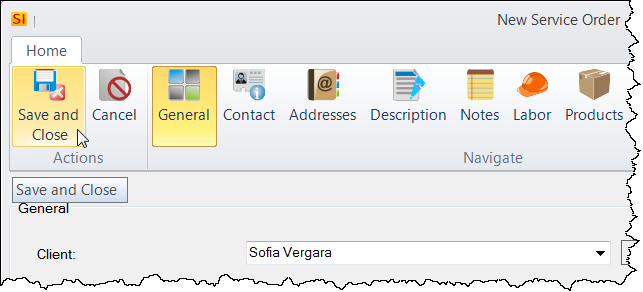
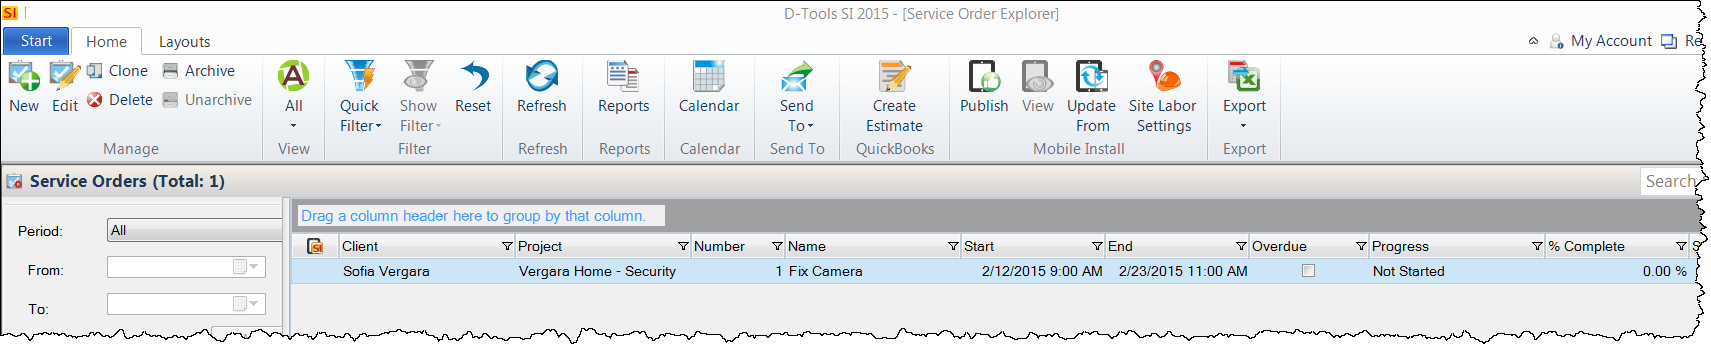
Service Orders also display on the Calendar.
Mobile Install Users
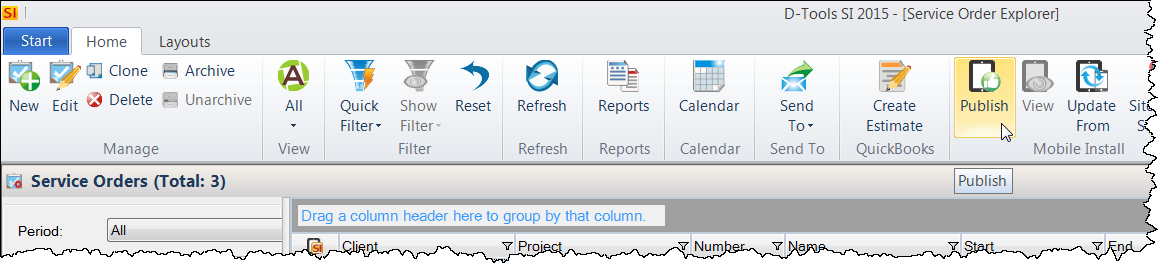
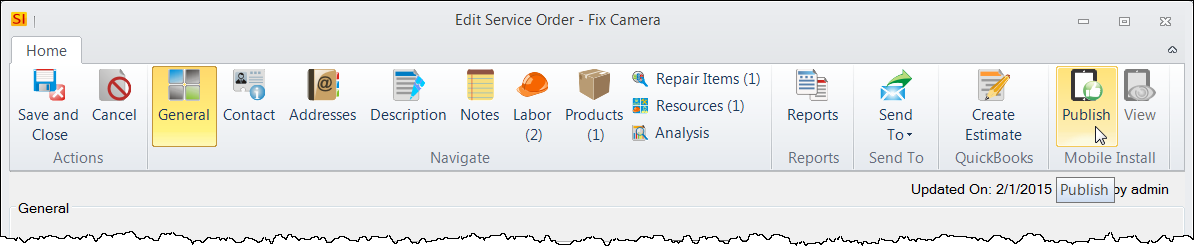
If you are using Mobile Install, you can Publish your Service Order(s) to Mobile Install via the [Publish] button in the Task Explorer or from within the Task itself:
This will open the following form where you can select which reports you want to be exported with the task to Mobile Install, as well as a section where you can upload any other files that you wish (other SI 2015 reports, drawings, etc.):
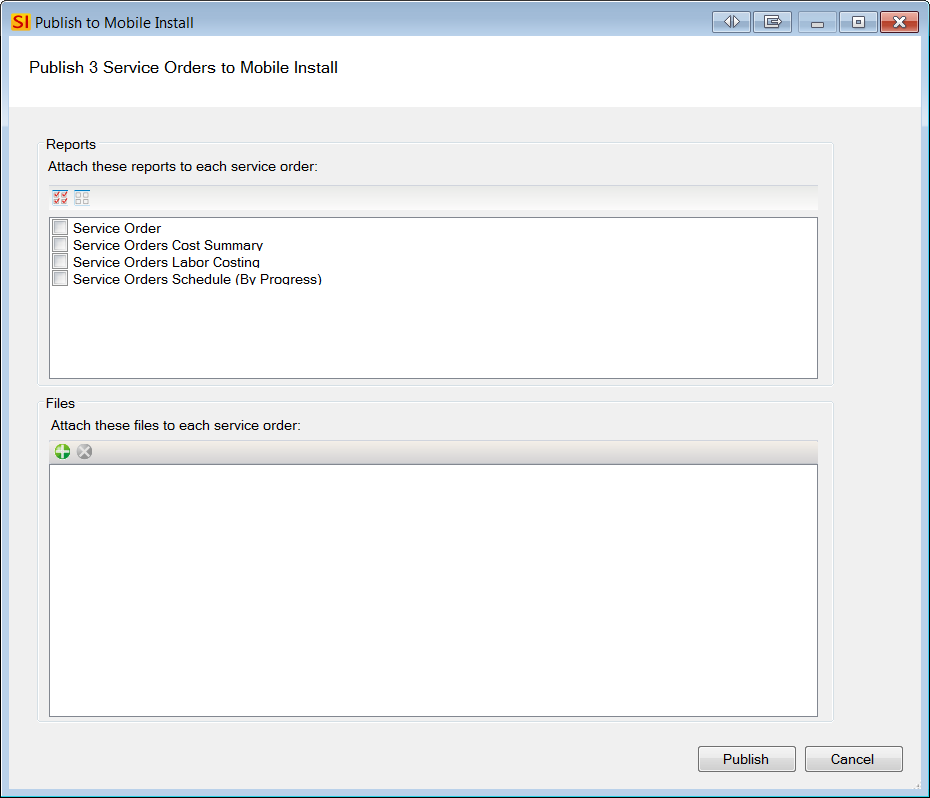
Click the [Publish] button when done. Once you published you will get a confirmation:
Note: If you attempt to publish Tasks or Service Orders that are assigned to Resources that are not Mobile Install Users, you will be prompted to create them. Click here for details.
Site Labor Settings
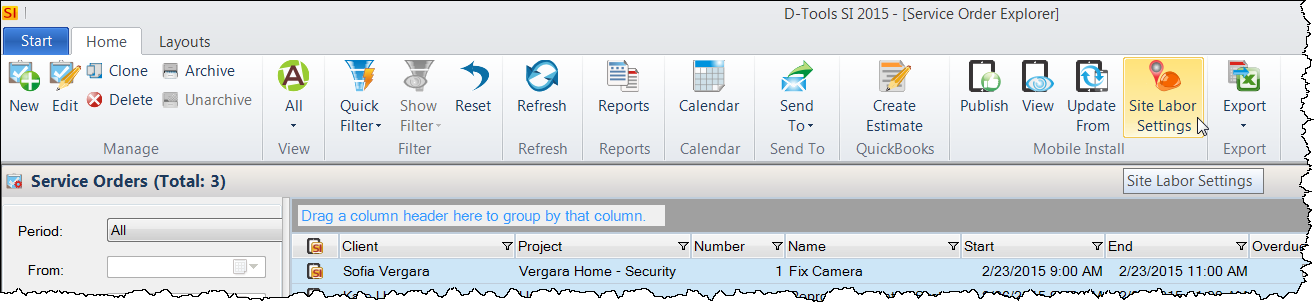
Prior to exporting Service Orders, you have the option of changing the site labor settings. Site labor settings determine how labor items can be added in the field. Click the [Site Labor Settings] button in the Service Order Explorer:
This will open the Site Labor Settings form where you can type in a value for labor per hour if you wish:
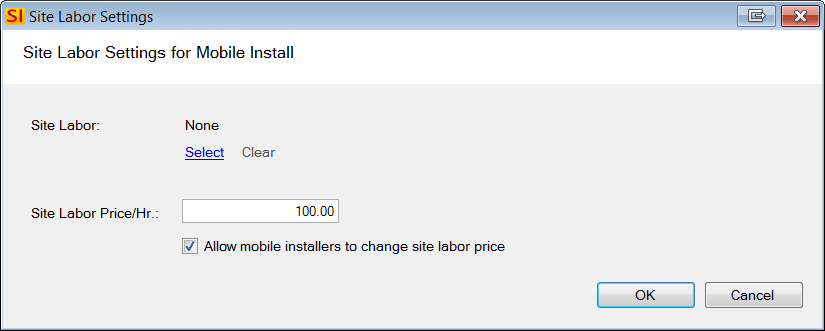
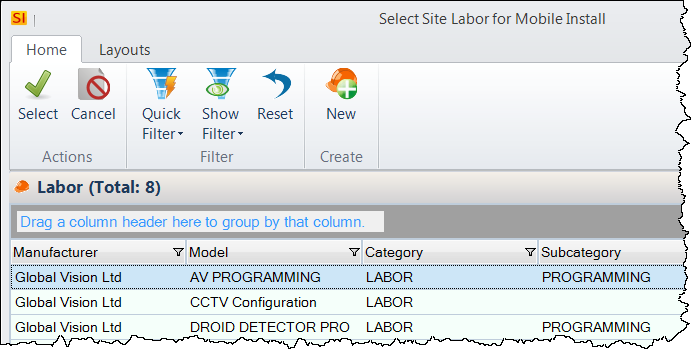
Or you can click the the Select link and then choose an existing Labor Item from your SI 2015 Catalog:
You can also choose whether or not to allow your Mobile Install User(s) assigned to the Service Order to change the price of labor as needed in the field, i.e. lock down a rate or allow there to be multiple rates assigned for labor in the field.
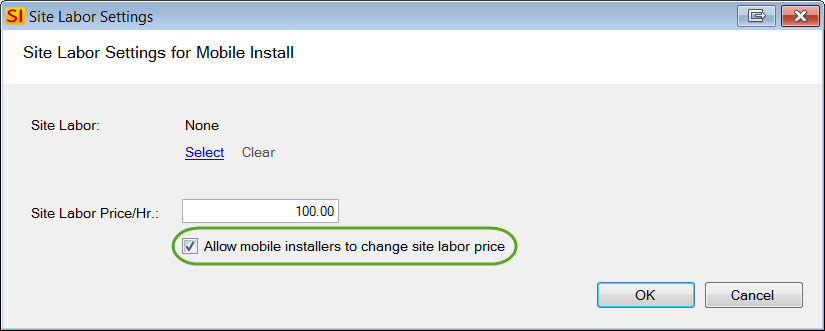
These settings determine how labor can be added to a Service Order via the Mobile Install interface, click here for details.
- © Copyright 2024 D-Tools