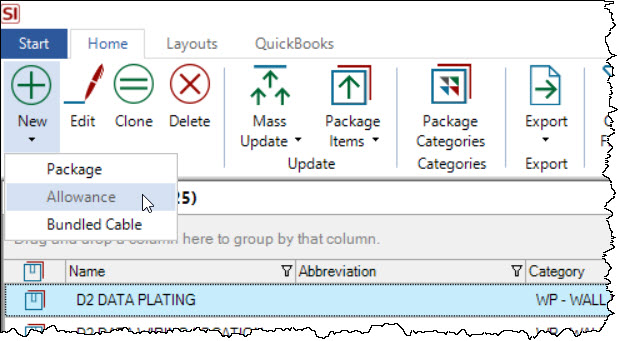
Allowances
An Allowance is one type of "package" in SI and they are managed in the Package Explorer. These behave differently than the three other types of packages in SI: Packages, Bundled Cable and Solutions.
Allowances are intended to allow you set an estimated value for "future items" to be added to the Project at a later time. For example, you might want to add TV Allowances to a Project or a Wiring Allowance. You want to use these while bidding on a job if some products are "to be determined".
Pricing for products and labor for Allowances are set directly on the Allowance. Pricing does not come from the Items added to the Allowance. The pricing of the Items that you add to the Allowance will be used to compare against the pricing set on the Allowance to show you your balance.
Allowances cannot be added to Purchase Orders, Tasks, Service Orders, or Service Plans. The individual Items within the Package can be added to these "entities".
Allowances can be transferred to QuickBooks on Estimates as Items to QuickBooks. Items within the Allowance can also be transferred to QuickBooks on Estimates and Purchase Orders. See below for details.
Allowances can be created in your Catalog or they can be created "on the fly" within a Project. The Package Explorer allows you to manage the Allowances in your Catalog. An Allowance created within a Project is not stored in the Catalog. It will only exist in the Project in which it was created, unless you use the Update to Catalog feature.
General Tab
The General tab displays basic information about the Allowance. This includes a Name, Group, Description, Image and Options.
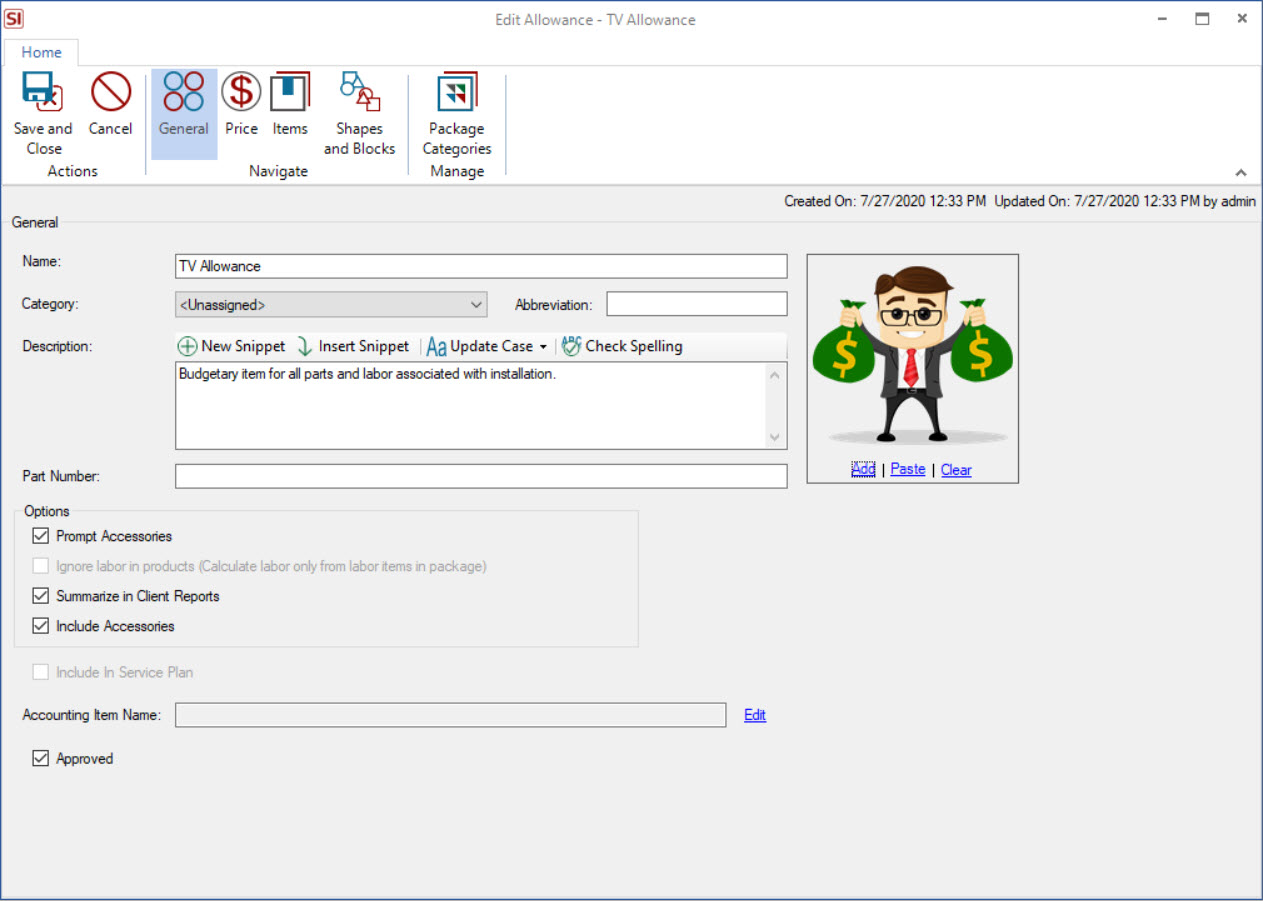
Name
Displays the name of the Allowance
Category
Displays the Package Group assigned to the Allowance. Click the Package Groups button on the ribbon to manage your groups.
Abbreviation
This allows you to set an abbreviation for the Allowance that can be used in the Component ID format for the Allowance.
Description
Displays the Description for the Allowance.
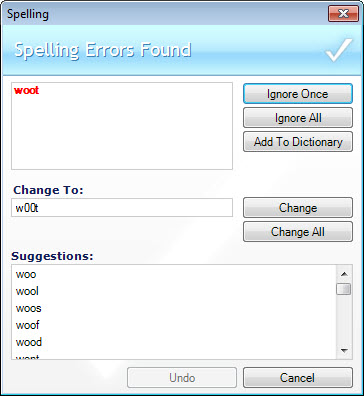
Click the Check Spelling button to check the spelling and add to the dictionary:
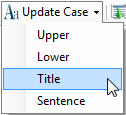
You can change the case of one or multiple words at a time. Make multiple selections by holding down Shift (to select a series) or Ctrl (to select outside of a series). Your options are: Upper, Lower, Title, Sentence.
You can also insert an existing Snippet or add a new Snippet. See Snippets.
Part Number
Here you can enter a Part Number for an Allowance if desired. This would be an internal Part Number vs.a Manufacturer's Part Number.
Image
Here you can add an image to a Allowance. You can use the Add, Paste, Clear functions or you can drag and drop images directly into the field.
The Options section allows you to specify how this Allowance will behave when added to a project.
Prompt Accessories
This setting applies when adding Allowances to a Project via the Package Explorer within a Project. This will prompt you for any accessories when adding the Allowance to the Project vs. automatically adding them.
Note: In order for this feature to work, you must also check "Include Accessories".
Summarize in client reports
This will hide all detail for the Allowance in Client reports. All that will display by default are the Name, Description, and Price for the Allowance.
Include Accessories
When checked, the accessories for any Item added to the Allowance will be included in the Allowance.
Accounting Item Name
This field will display the QuickBooks Item Number when using our QuickBooks Integration. You can also manually enter an "accounting ID" from your own accounting software
Approved
Indicates whether an Allowance has been approved for use.
Price Tab
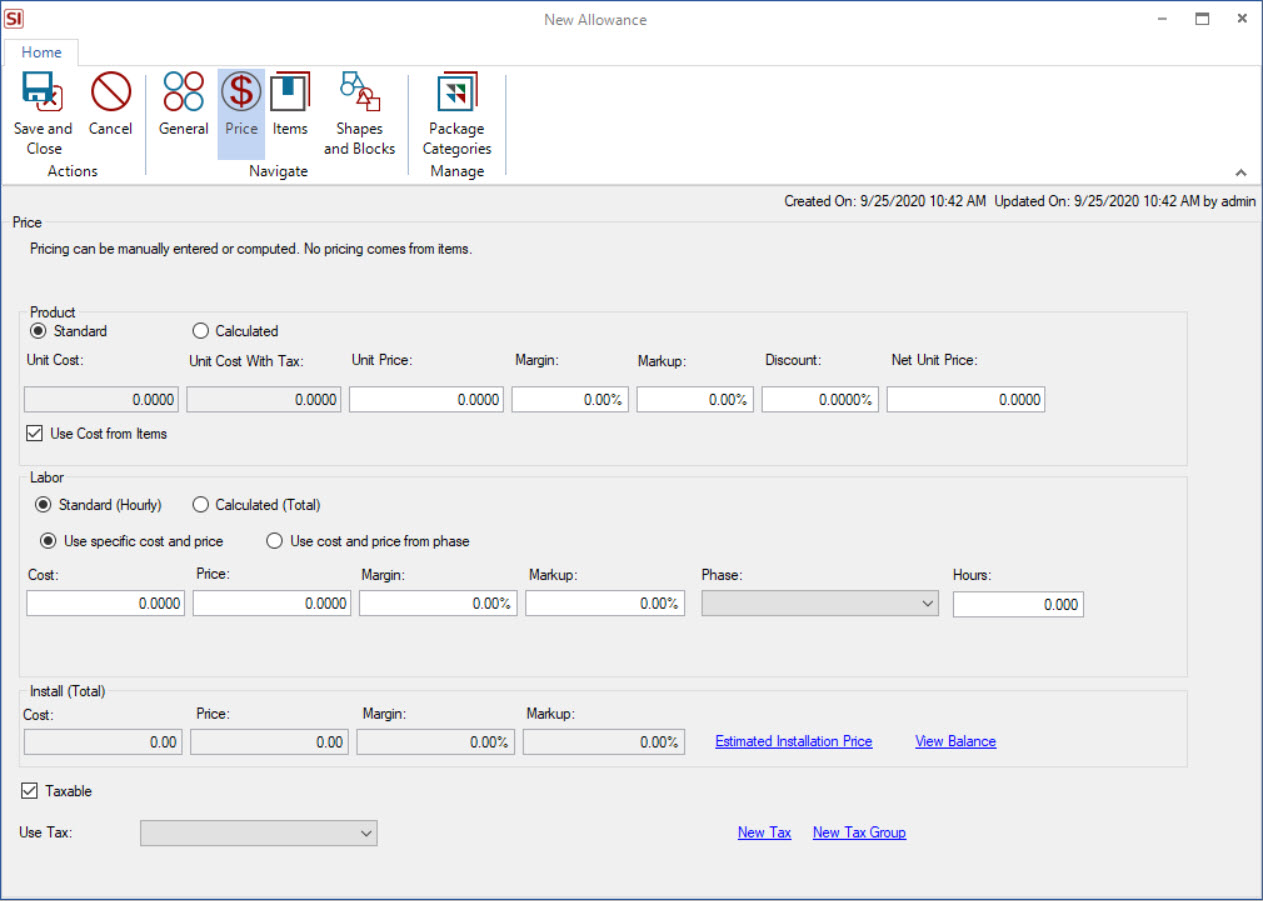
Here you can choose to use the Standard (see below) or Calculated option for setting your cost and price for both the Product and Labor for the Allowance. Once an Allowance is created, you will not be able to change the Standard or Calculated option. If you happen to choose the wrong option, just Clone the Allowance and choose the correct setting, then delete the old one.
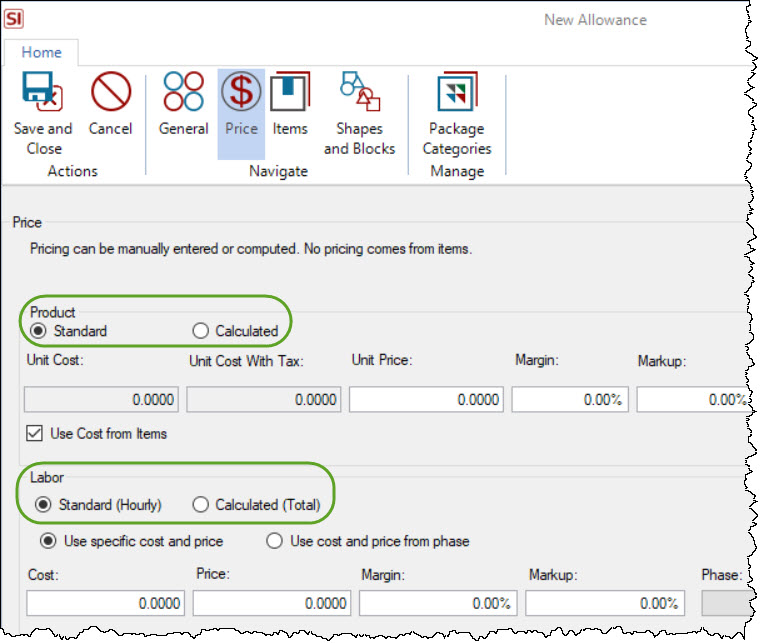
Product
Unit Cost
Here you will enter the unit cost for the Allowance. You must uncheck the "Use Cost from Items" option in order to manually enter a value, see below.
Unit Cost (With Tax)
This displays the sum cost with tax if a Use Tax is set for the Allowance.
Unit Price
Here you will enter the unit price (per foot/meter) for the Allowance.
Margin
Margin =(1 - (Unit Cost / Unit Price)) x 100. This field calculates automatically for you based off of the Unit Cost and Unit Price. This behavior varies based on your Price Settings.
Markup
Markup = (Selling Price - Product Cost) / Product Cost * 100%. This field calculates automatically for you based off of the Unit Cost and Unit Price. This behavior varies based on your Price Settings.
Discount
Here you can enter a discount percentage for the price of the Allowance.
Net Unit Price
This field will show the unit price of the Allowance after the discount is applied.
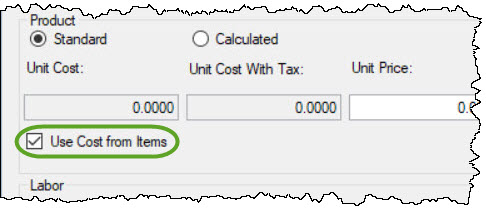
Use Cost from Items

This option is selected by default when creating a new Allowance. This option will use the cost of all the items added to the Allowance vs. you manually entering a value for the cost. Things to consider when using this option:
- Item for Allowances are often added to the Allowance after the Project has been approved so your projected margin/markup will be skewed, e.g. the Allowance will have a 0 value in the Cost so it will calculate as 100% profit
- You may want to uncheck this box and enter a "best guess" value in the Unit Cost field for an Allowance (base this guess of your usual profit margins) prior to approving the Project
- Once you've added all of the items to the Allowance within the approved Project, then select this option if you want your actual costs from the items to populate this field to more accurately view your actual margin/markup for the Project
Labor
There are two ways you can set your labor pricing for an Allowance when using the "Standard (Hourly)" option:
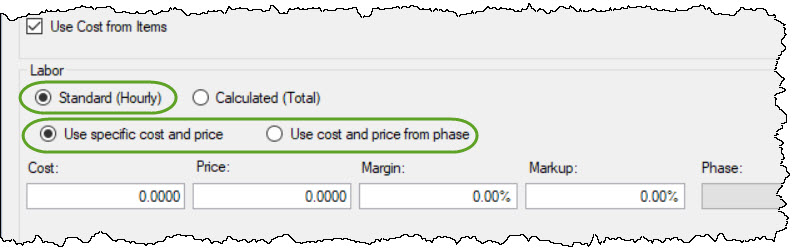
Use specific cost and price
With this option chosen you will manually enter a cost, price and/or margin or markup for the hourly rates of labor. This pricing will be multiplied by the Hours field. You can select a Phase with this option but no pricing will come from the Phase.
Use cost and price from phase
With this option chosen, the Cost, Price, Margin, and Markup fields will gray out and all pricing will come from the Phase assigned to the Bulk Cable. The Phase pricing will be multiplied by the Hours field.
Cost
When using the "Use specific cost and price" option you will enter the cost per hour for the labor. When using the "Use cost and price from phase" option, this field will be grayed out.
Price
When using the "Use specific cost and price" option you will enter the price per hour for the labor. When using the "Use cost and price from phase" option, this field will be grayed out.
Margin
Margin =(1 - (Unit Cost / Unit Price)) x 100. This field calculates automatically for you based off of the Unit Cost and Unit Price.
Markup
Markup = (Selling Price - Product Cost) / Product Cost * 100%. This field calculates automatically for you based off of the Unit Cost and Unit Price.
Phase
Here you can set a phase for the Allowance regardless of your pricing choices above.
Hours
Here you will enter the number of hours for the Allowance. All labor pricing is by the hour but is factored by the number of hours entered.
Install (Total)
Cost
Displays the sum cost of all the products and labor in the Allowance. Tax is not included in this value. Read-only.
Price
Displays the sum price of all the products and labor in the Allowance. Tax is not included in this value. Read-only.
Margin
Margin =(1 - (Unit Cost / Unit Price)) x 100. This field calculates automatically for you based off of the Unit Cost and Unit Price. Read-only.
Markup
Markup = (Selling Price - Product Cost) / Product Cost * 100%. This field calculates automatically for you based off of the Unit Cost and Unit Price. See "Pricing Settings" below. Read-only.
Taxable?
Here you can choose a tax value to apply to the Allowance.
Use Tax
Here you apply a use tax to the cost of the Allowance..
Note: You may see different fields for taxes depending on your Tax Settings.
To see full details of pricing, including taxes, click the Estimated Installation Price link:

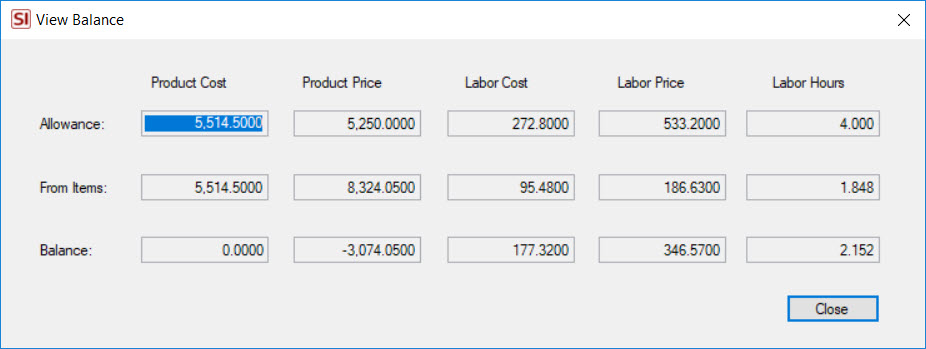
On the Price Tab is also a View Balance link:
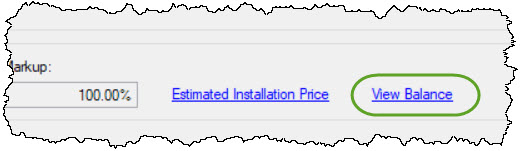
This will compare the pricing you've set for the Allowance with the Items that have been added to the Items Tab (see below).
Items Tab
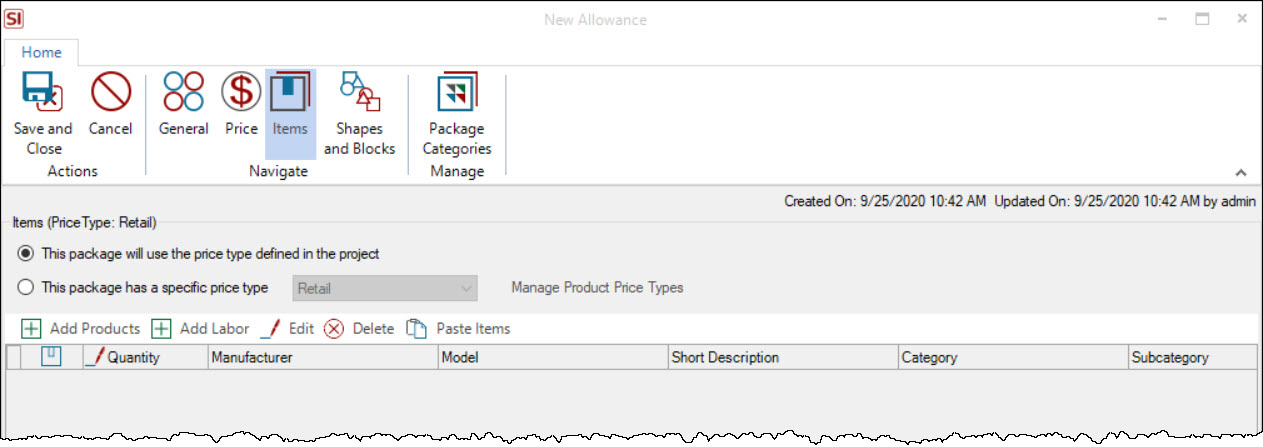
Price Type
The radio buttons will allow you to choose a different Price Type for the Allowance than that set for the Project.
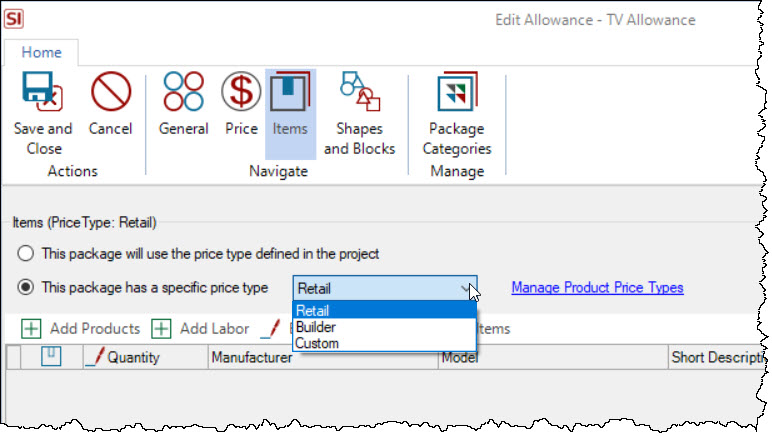
See Price Types for details.
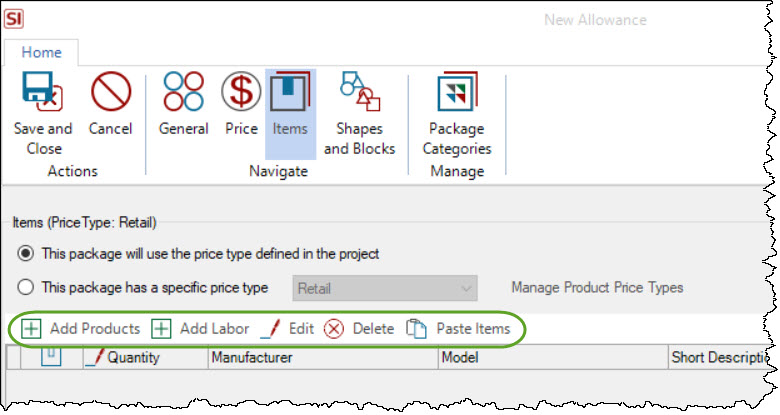
Add Items
The items added to an Allowance do not change the price of the Allowance set on the Price Tab. The pricing from the items is only compared against the pricing set on the Price Tab to give you a balance of how much money you've added in items vs. what you've set on the Allowance.
Also, you may not be adding items to an Allowance until the Allowance is in an Approved Project.
To add Products and/or Labor Items to the Allowance use the buttons on the Items tab:
Shapes and Blocks Tab
The Shapes and Blocks tab will allow you to assign a specific shape or block to an Allowance for use on Visio and AutoCAD Line and Plan pages.
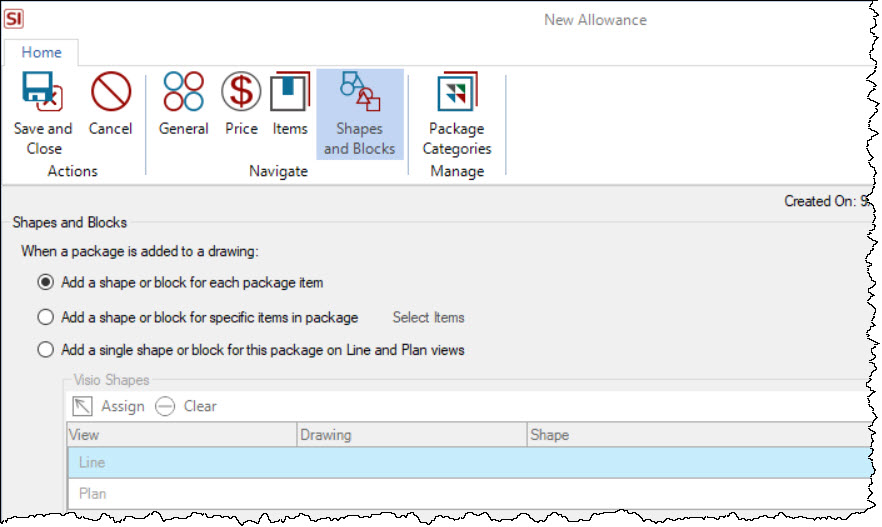
Add a shape or block for each package item
This is standard behavior for Allowances and will drop a shape for every item within the Allowance when the Allowance is dragged and dropped onto a Visio/AutoCAD page
Add a shape or block for specific items in package
This option will allow you to select which items within the Allowance will drop shapes when the Allowance is dragged and dropped onto a Visio/AutoCAD page.
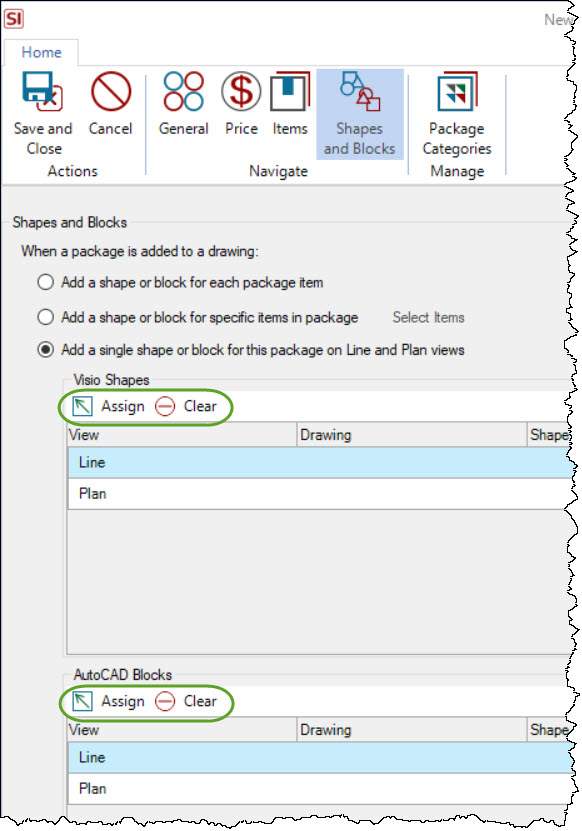
Add a single shape or block for this package on line and Plan views
This will allow you to select a shape for just the Allowance for Line or Plan pages in Visio/AutoCAD. You likely won't be dropping shapes/blocks for the Allowance itself.
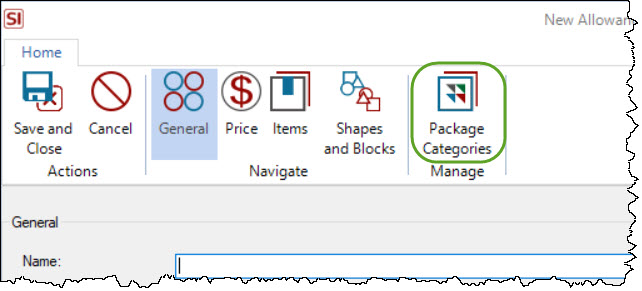
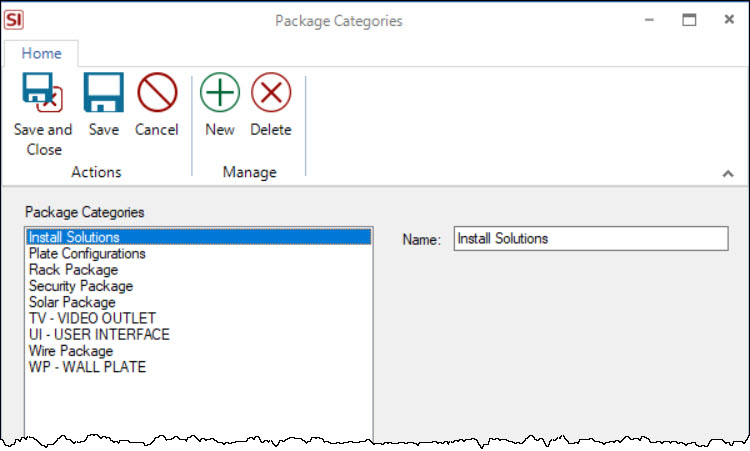
Package Categories
The Package Categories button will display your Package Categories and allow you to manage them:
Package Categories allow you to organize your Packages:
Additional Fields Within Projects
General
Allowances have the following additional options on the General tab when added to a Project:
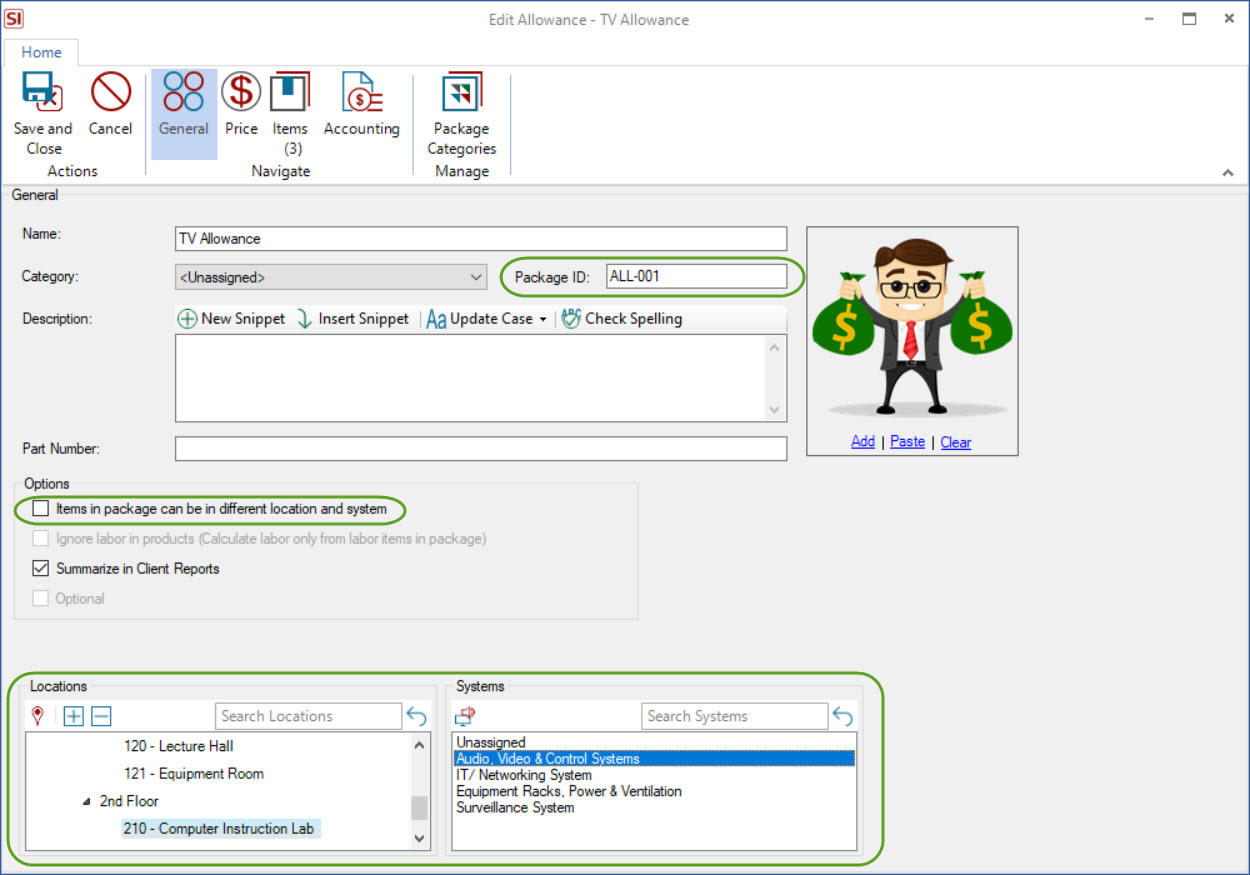
Package ID
This is the Component ID for the Allowance.
Items in package can be in different location and system
This setting will allow you to assign items within an Allowance to different Locations/Systems within a Project.
There is also the Location hierarchy and System list for the Project.
Accounting Tab
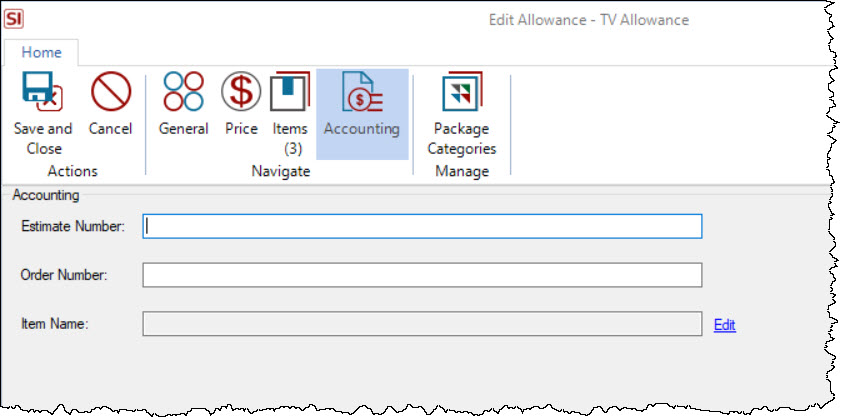
Estimate Number
This field will display the QuickBooks Estimate number when using our QuickBooks Integration. This field is editable.
Order Number
This field will display the Purchase Order number when using Purchase Orders or creating a Purchase Order through our QuickBooks Integration.
Item Name
This field will display the QuickBooks Item Number when using our QuickBooks Integration. You can also manually enter an "accounting ID" from your own accounting software.
Allowances and QuickBooks
Allowances and the Items within Allowances can be transferred to QuickBooks Estimates. The pricing that transfers is determined by the "Use Cost From Items" option:
When this option is selected:
| Unit Cost | Unit Price | |
| Allowance | Not transferred to QuickBooks Estimate | Transferred to QuickBooks Estimate |
| Items within the Allowance | Transferred to QuickBooks Estimate | Not transferred to QuickBooks Estimate |
When this option is not selected:
| Unit Cost | Unit Price | |
| Allowance | Transferred to QuickBooks Estimate | Transferred to QuickBooks Estimate |
| Items within the Allowance | Not transferred to QuickBooks Estimate | Not transferred to QuickBooks Estimate |
Note: The "Use Cost From Items" option can be checked at any time, e.g. after the Allowance has been transferred to QuickBooks, but before the Items within the Allowance are transferred. In this scenario you will likely need to adjust the Unit Cost of the Allowance manually in QuickBooks to account for the Unit Cost of the Items being transferred to the Estimate.
- © Copyright 2024 D-Tools