Home > SI 2018 Documentation > User Guide > People > Clients > Adding Clients > New Button
New Button
New Button
Table of contents

Steps
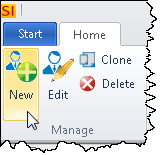
- In the Client Explorer, click the [New] button:
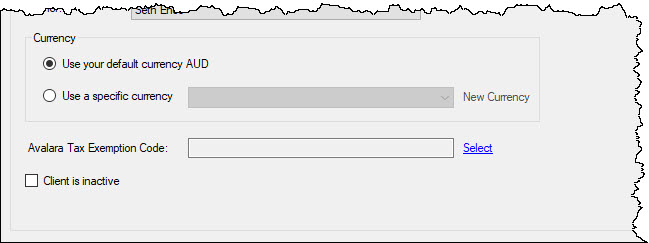
- The New Client form will open. On the General tab, type in any relevant information:

In addition to standard information like phone and email, you can also pre-assign taxes or a Price Type. You can also set a default currency for the Client if you are using Multiple Currencies and/or an Avalara Tax Exemption Code if you have enabled Avalara Tax Integration.
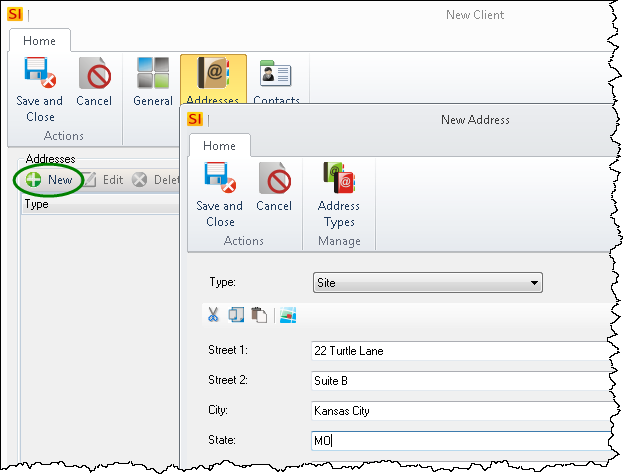
- On the Addresses tab, click the New button enter any relevant addresses for the Client:
Contacts
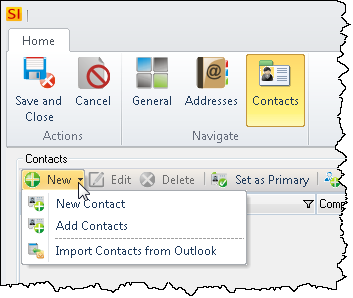
- On the Contacts tab, enter any Contacts you want to be associated with the Client.
New Options
You can choose to add a new Contact "from Scratch", add an existing Contact, or import Contacts from Outlook.
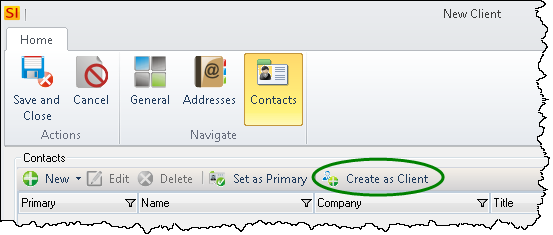
Create as Client
This option will create a Contact based off of the Client.
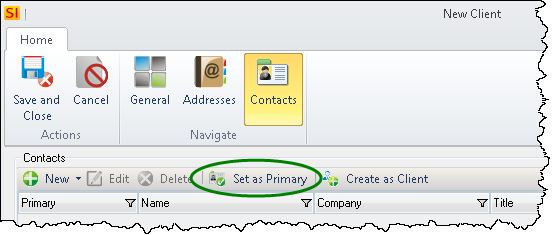
Set as Primary
Once you've added a Contact or multiple Contacts, you can set one as the Primary Contact. The Primary Contact is added to SI 2018 Projects automatically when a Client is selected for a Project.
- When finished, click the [Save and Close] button.
- © Copyright 2024 D-Tools