Home > SI 2018 Documentation > User Guide > People > Clients > Adding Clients > Import Client(s) from QuickBooks
Import Client(s) from QuickBooks
Import Client(s) from QuickBooks
Table of contents

Remarks
QuickBooks should be open prior to importing Clients. This is not required but speed will be improved.
Steps
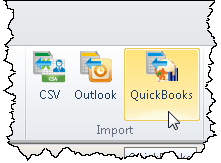
- In the Client Explorer, click the [QuickBooks] button in the Import section of the ribbon.
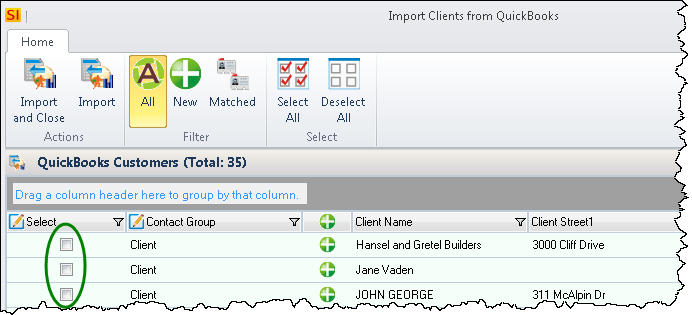
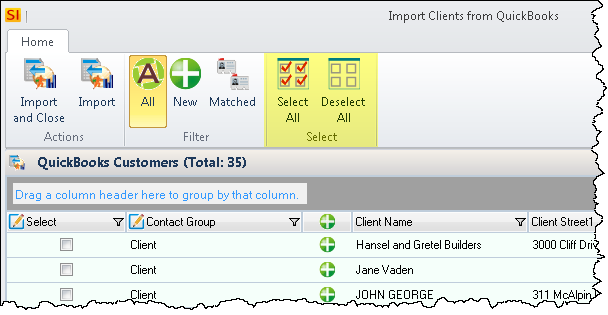
- The Import Client from QuickBooks form will open:

Select your Clients
- Select the Clients you want to import into SI 2018.
Selecting/Filtering
You can click the check box next to multiple Clients to import them into SI 2018.
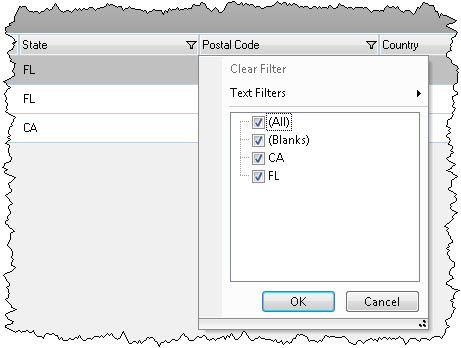
There are column filters:
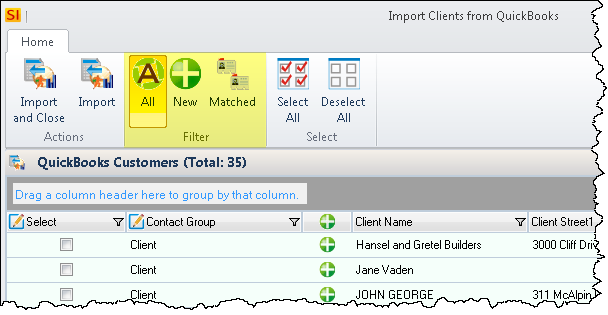
There are filters in the ribbon for showing All, New, or Matched Clients. The New filter shows only Clients who don't already exist in SI 2018. The Matched filter will shows only Clients that already exist in SI 2018, use this for updating information for existing Clients.
There's a search field:

Once finished filtering, you can use the [Select All]/[Deselect All] buttons:
Import
- Click the [Import] button:

- © Copyright 2024 D-Tools