Managing Purchase Orders
Details
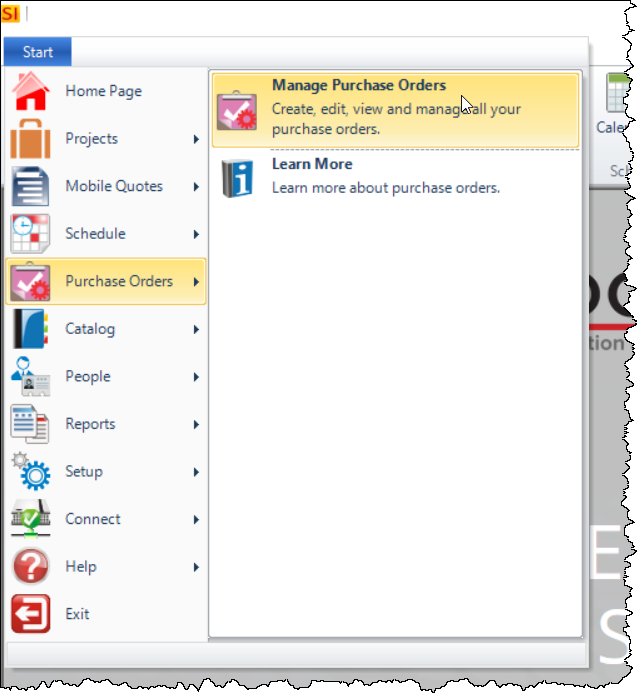
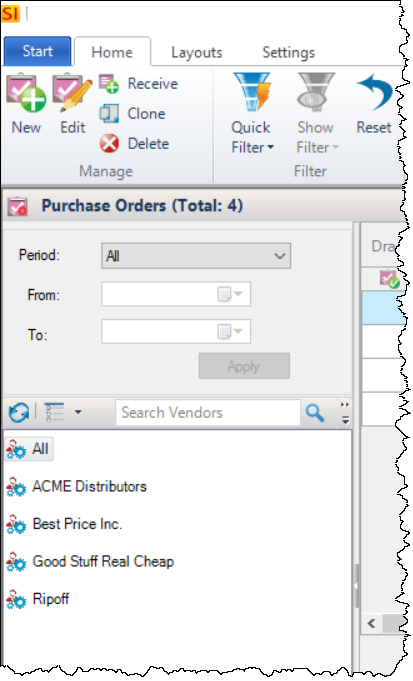
You can manage Purchase Orders via the Purchase Order Explorer:
Viewing Purchase Orders
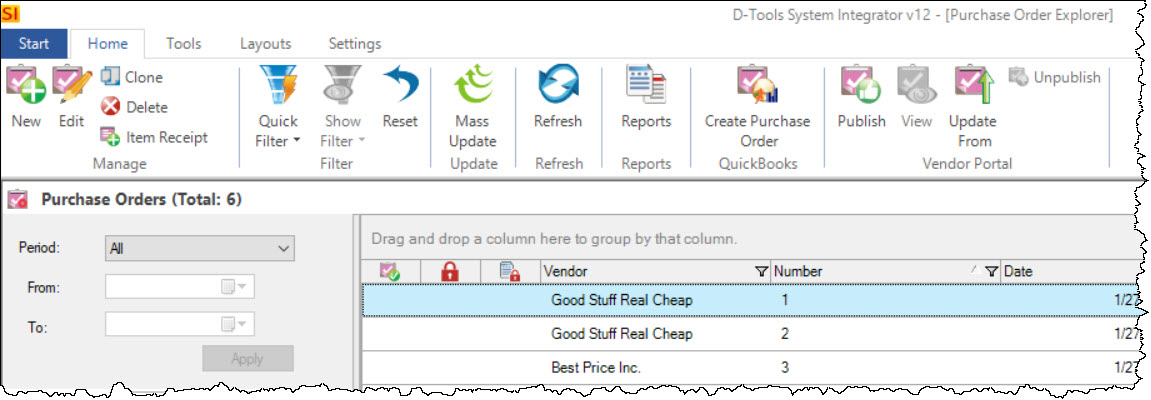
By default, all Purchase Orders will display in the Purchase Order Explorer:
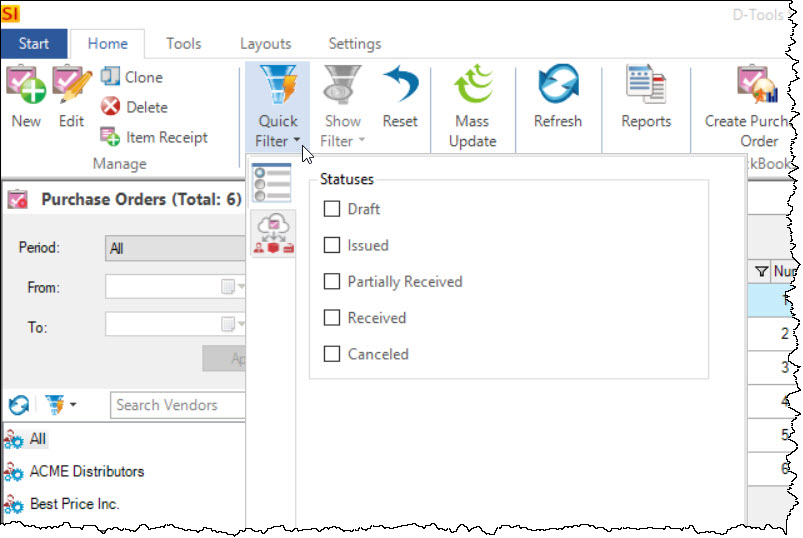
You can filter your Purchase Orders via the Quick Filter button:
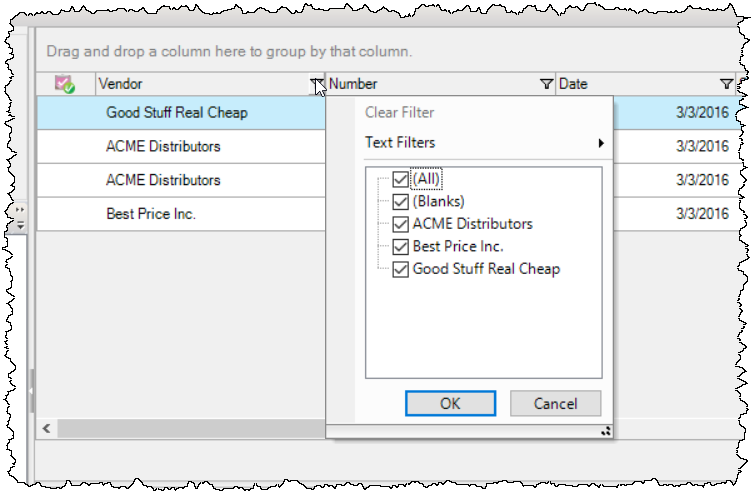
You can filter via the column filters:
You can also filter by Vendor and/or date range in the tree on the left side of the Purchase Order Explorer:
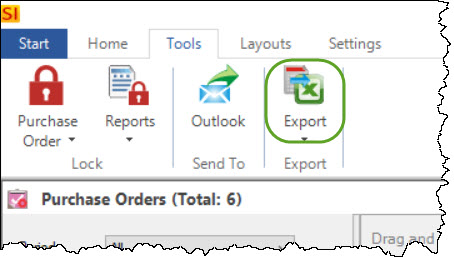
Export
You can also export your Purchase Orders list to Excel or to PDF:
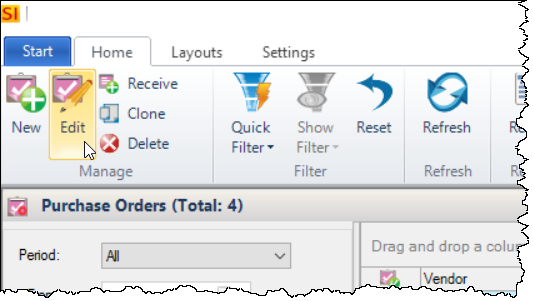
Editing Purchase Orders
To edit a Purchase Order, you can double-click in the Purchase Order Explorer grid or you can select the Purchase Order and click the [Edit] button:
You can edit whatever fields needed.
Tracking Number
If all of the items on the Purchase Order have the same tracking number you can enter it on the General tab and then click the "Assign to all products" link:
![]()
If you would like to add different tracking numbers to some/all of the items on a Purchase Order, click the Items tab, select the items, and then Update Items button:

This opens a dialog where you can add a tracking number to the selected items:
![]()
Vendor Reference Number
If you receive a reference number from the Vendor, e.g. their internal Purchase Order Number, you can enter it on the General tab:
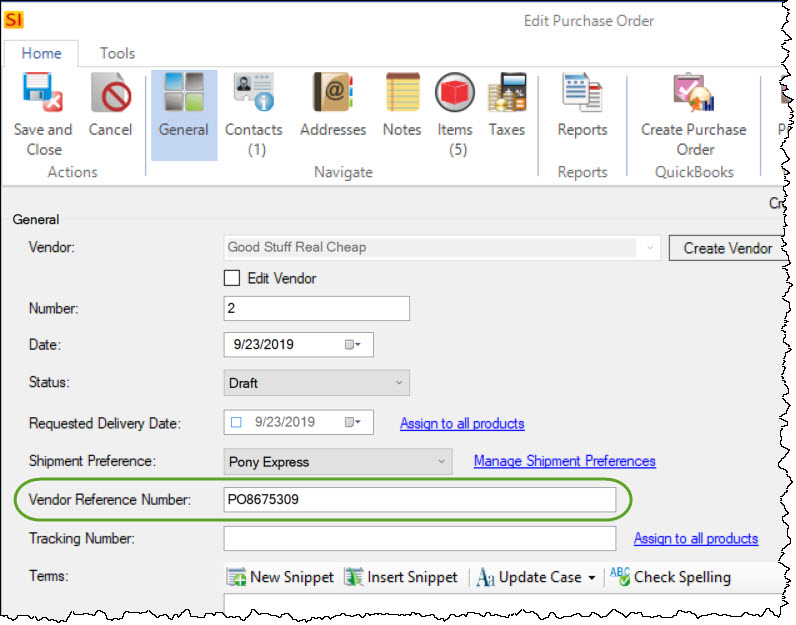
If you are using the Vendor Portal and the Vendor enters a Vendor Reference Number in the Vendor Portal, this field will synchronize down automatically.
Mass Update
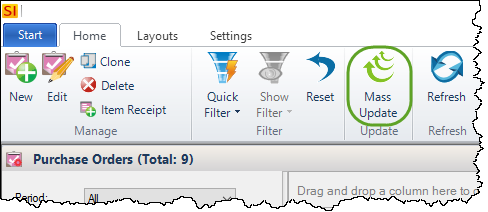
You can also select multiple Purchase Orders in the Purchase Order Explorer (use Ctrl and/or Shift on your keyboard) and use the [Mass Update] button to edit multiple Purchase Orders at one time:
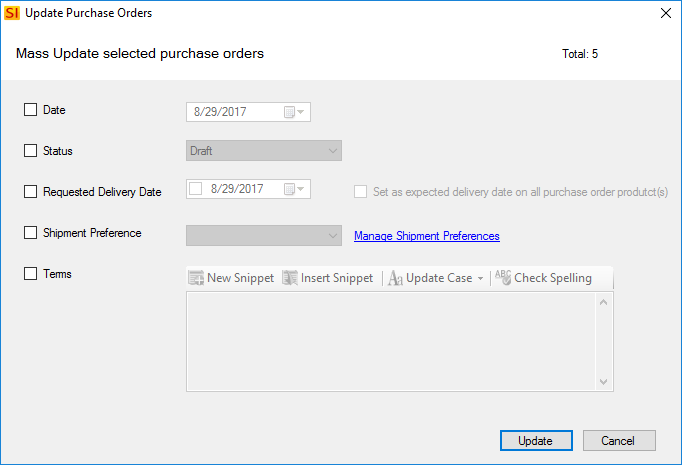
Below are the fields available for Mass Update:
Outlook
You can send a pdf of a Purchase Order report via the Tools tab, Outlook button.
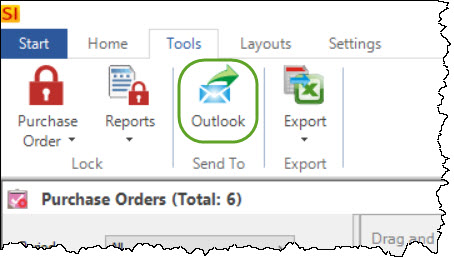
You can also right-click a Purchase Order for this feature.
This opens a dialog where you can choose which report(s) to attach to your email.

Lock/Unlock Purchase Orders
On the Tools tab you can lock/unlock Purchase Orders and Purchase Order reports:
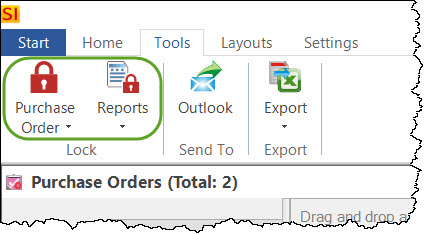
When a Purchase Order is locked it can not be edited and when a Purchase Order's reports are locked no reports can be generated for the Purchase Order. Locking can be done manually or it can be done via Workflow Rules.
When a Purchase Order or its reports are locked you will see the lock icon next to the Purchase Order in the Purchase Order Explorer:
![]()
A user must have permission to lock/unlock Purchase Orders or Purchase Order reports.
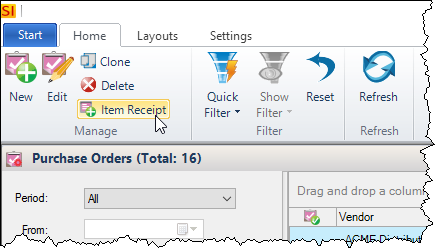
Item Receipts
You can mark items on Purchase Orders as "Received" by selecting the Purchase Order in the grid and clicking the [Item Receipt] button:
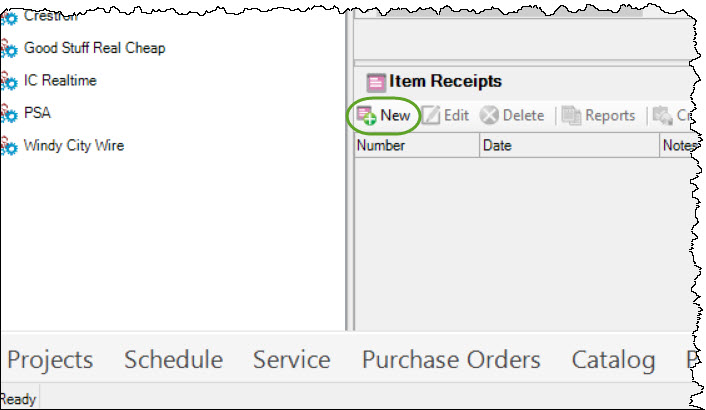
Or by selecting the Purchase Order and clicking the New button in the Item Receipts section at the bottom of the Purchase Order Explorer:
This will open the New Item Receipt dialog:
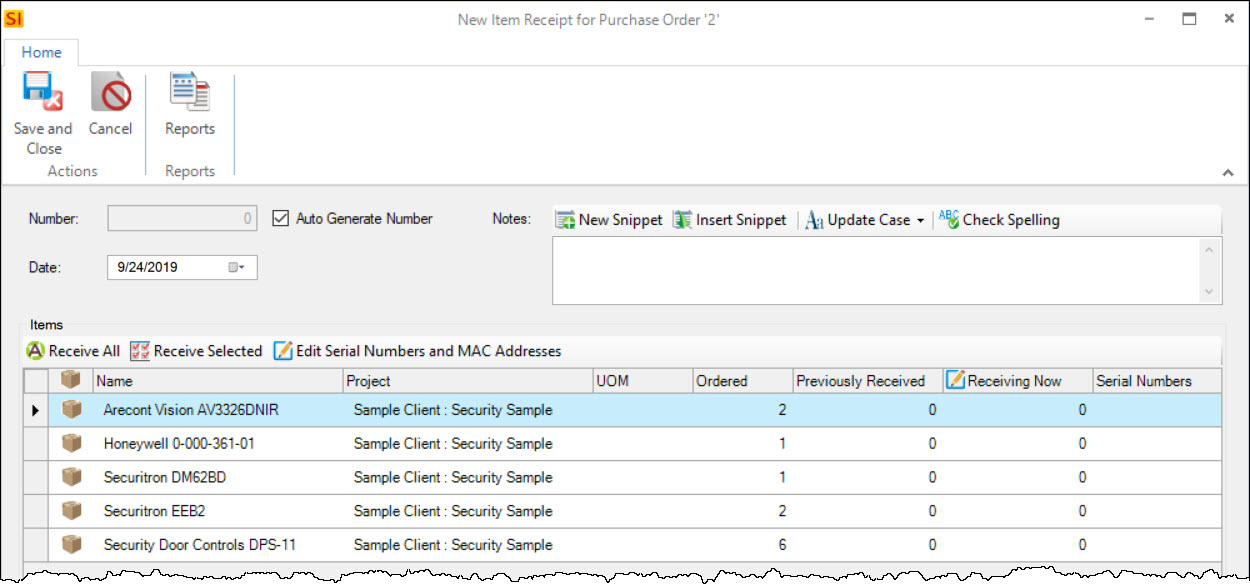
Enter the quantity for each Product that you are receiving in the "Receiving Now" field. Use your [Tab] key to quickly go down the list of items.
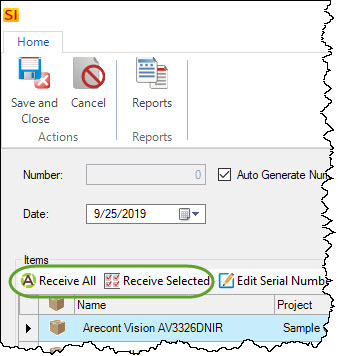
If you are receiving the full quantity for some/all of the Products you can use the Receive All/Selected buttons:
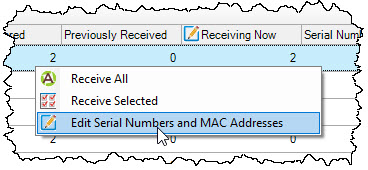
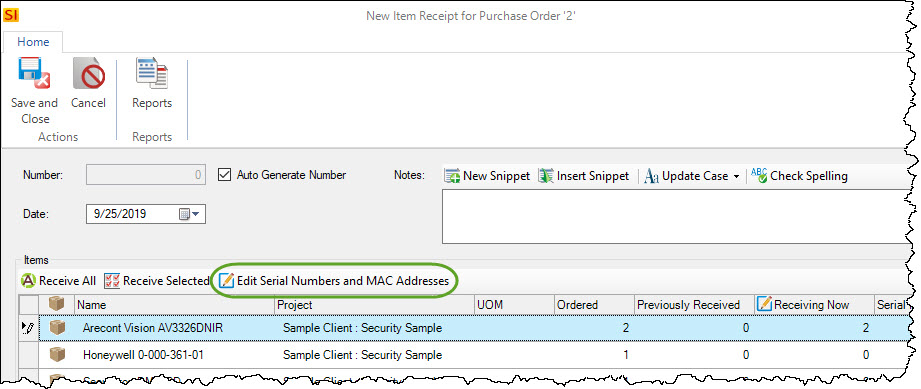
If you would like to enter/scan in Serial Numbers or MAC Addresses, select a product once you have entered a value in the "Receiving Now" field and click the "Edit Serial Numbers and MAC Addresses" button.
Or you can right-click:
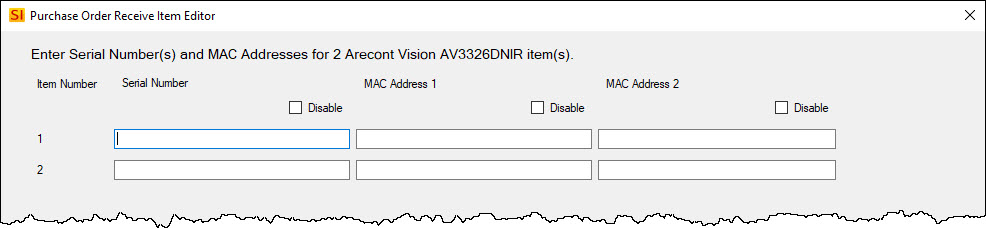
This will open the following dialog where you can scan to or manually enter values in these fields. The number of rows will correspond to the number of items you are receiving. Use your [Tab] key to move to the next cell.
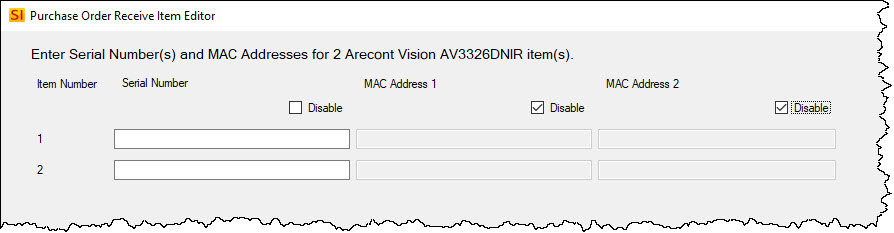
If you are not entering some of the fields you can click the "Disable" checkbox above the column:
When done editing the Item Receipt you can [Save and Close] or you can run a report for this Item Receipt:

If you did not receive all of the items, the Purchase Order's Status will automatically be set to "Partially Received":
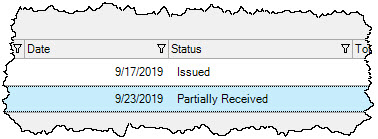
As more of the items are received, you can either edit the existing Item Receipts or you can create a new Item Receipt. Once every item on the Purchase Order is received the Purchase Order's Status will change to "Received":

Project Fields
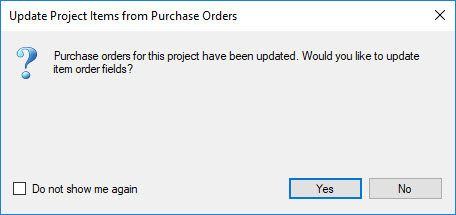
The next time you open a Project where Purchase Orders have Item Receipts associated with them you will be prompted whether or not you want to update the Order fields:
Clicking [Yes] will open the following form. Any items on an Item Receipt can be expanded to view the details.
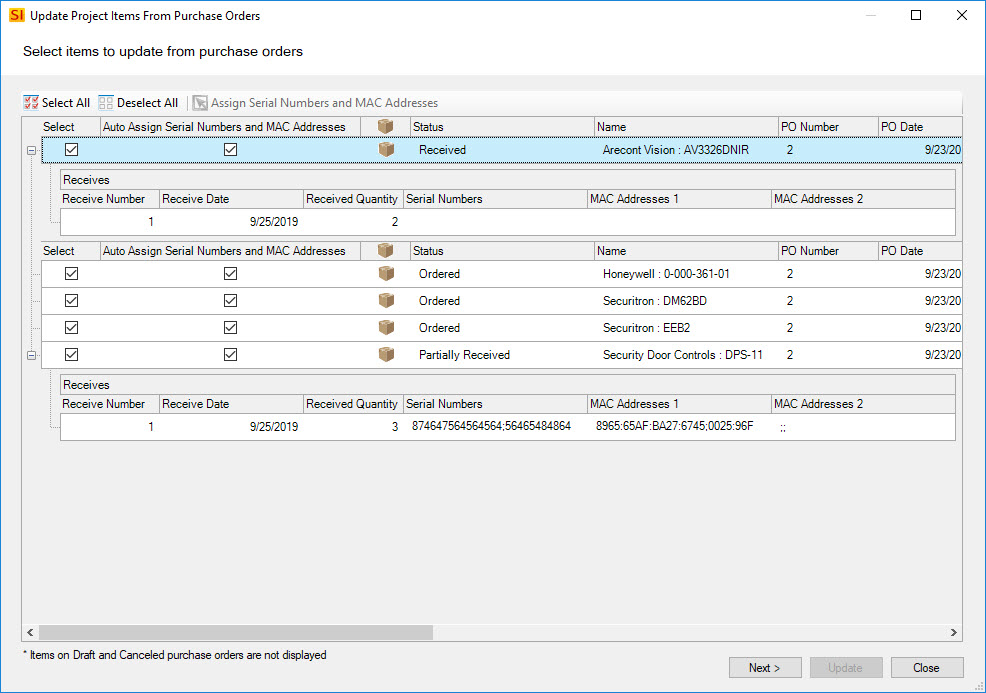
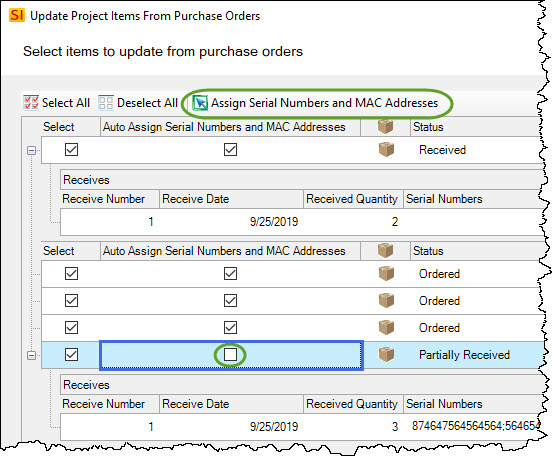
All items are selected for update by default but you can pick and choose if you only want to update some of the items. All items are marked to "Auto Assign Serial Numbers and MAC Addresses" as well. This means that SI will randomly assign the Serial Numbers and MAC Addresses to the products in the project. If you want to manually choose which items you wish to assign these fields to, uncheck this option and click the "Assign Serial Numbers and MAC Addresses" button:
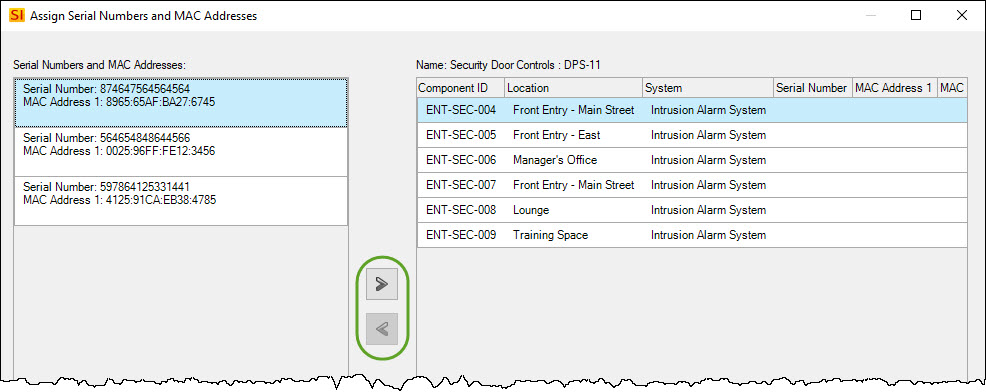
This will open the following form where you can use the arrow buttons to assign these fields to specific products:
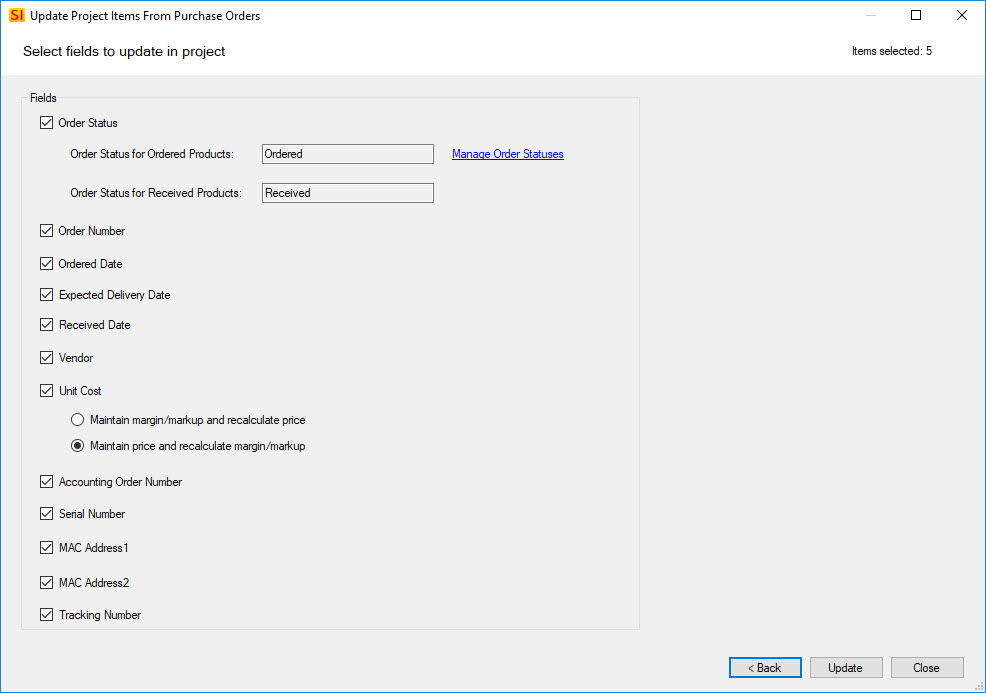
When ready, click the Next button. Here you can choose which fields you wish to update:
Create QuickBooks Item Receipt
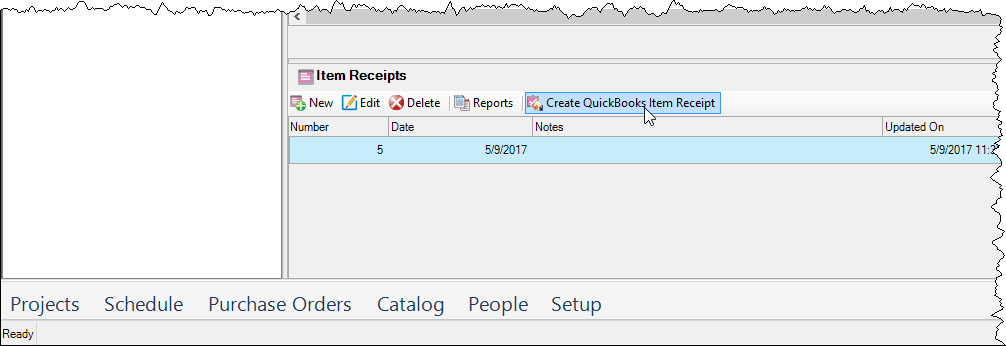
If you use the SI QuickBooks functionality for Purchase Orders, you have the option to create QuickBooks Item Receipts directly from the Receives section fo the Purchase Order Explorer:
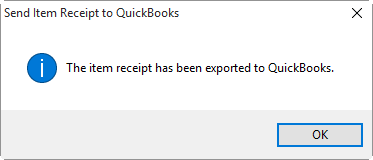
You will get a confirmation:
A checkmark will display next to the Receive:

- © Copyright 2024 D-Tools