Creating Purchase Orders
Details
Purchase Orders can be created and reports can be printed for them directly in the SI interface. Purchase Orders can be created specifically for a Project or you can order Products directly from your Catalog. You can also publish them to the Vendor Portal if you wish.
Note: If you want to apply Use Tax to your Purchase Orders, there is a Purchase Order Setting for that.
Steps
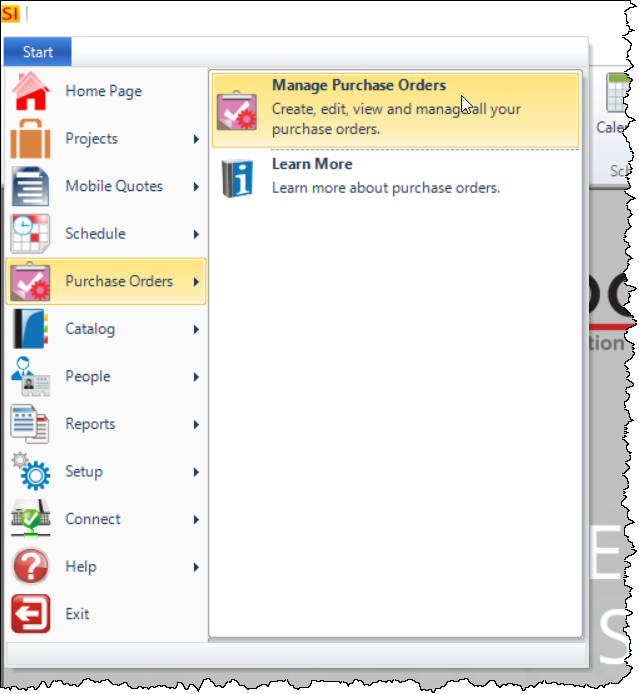
Click Start->Purchase Orders->Manage Purchase Orders:
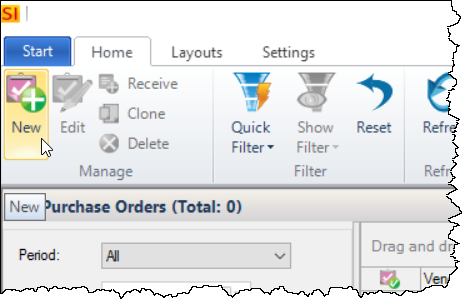
This will open the Purchase Order Explorer. Click the [New] button:
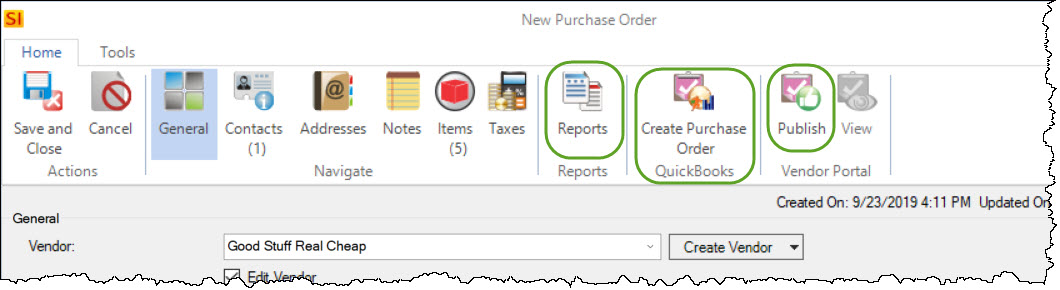
This will open the New Purchase Order form.
General
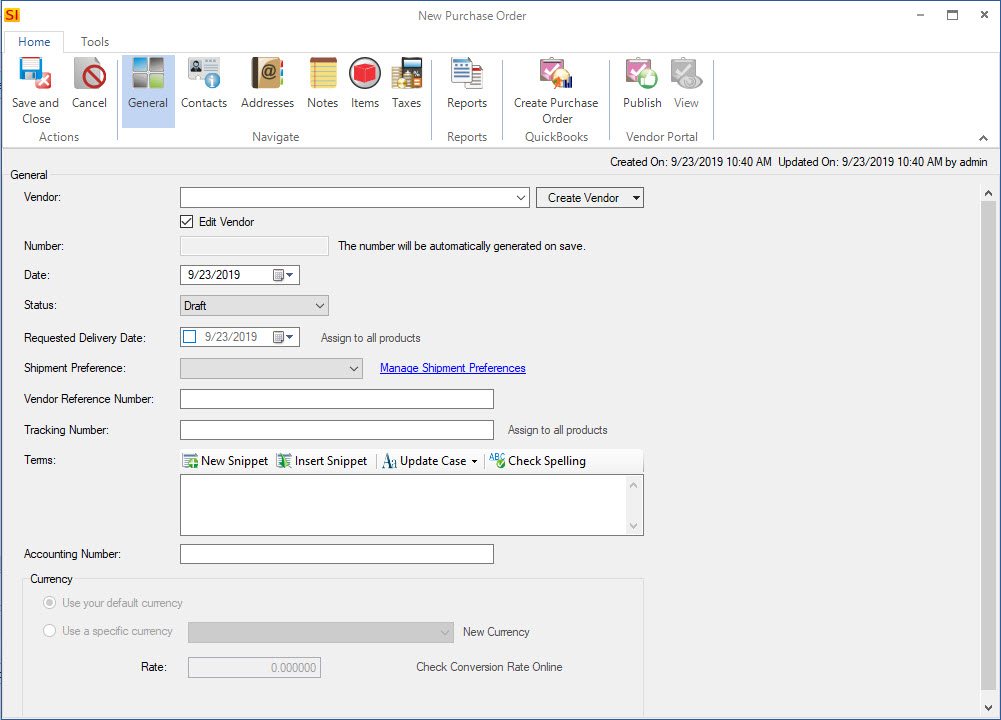
The General tab is where you will select a Vendor, Status*, Shipment Preference, Terms, etc. In this example the Number field is grayed out because under Number Settings it is set to auto-generate a number.
*The Status list for Purchase Orders is not editable and initially there are only three available Statuses: Draft, Issued, Canceled. Once you use the Item Receipts function, the Status will no longer be editable and will either display "Partially Received" or "Received".
Contacts
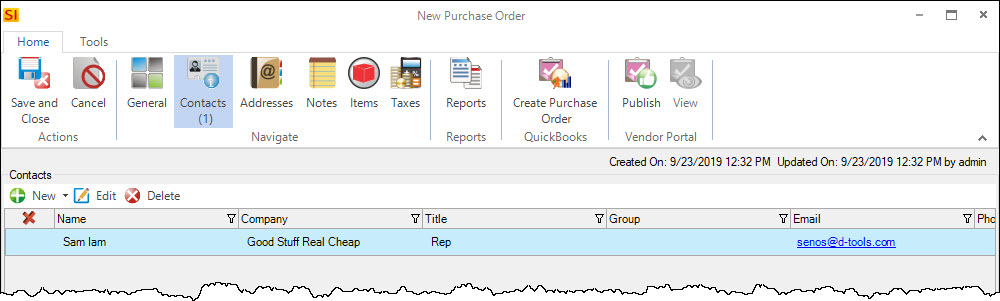
The primary Contact for the Project will display here. You can edit this if needed.
Addresses
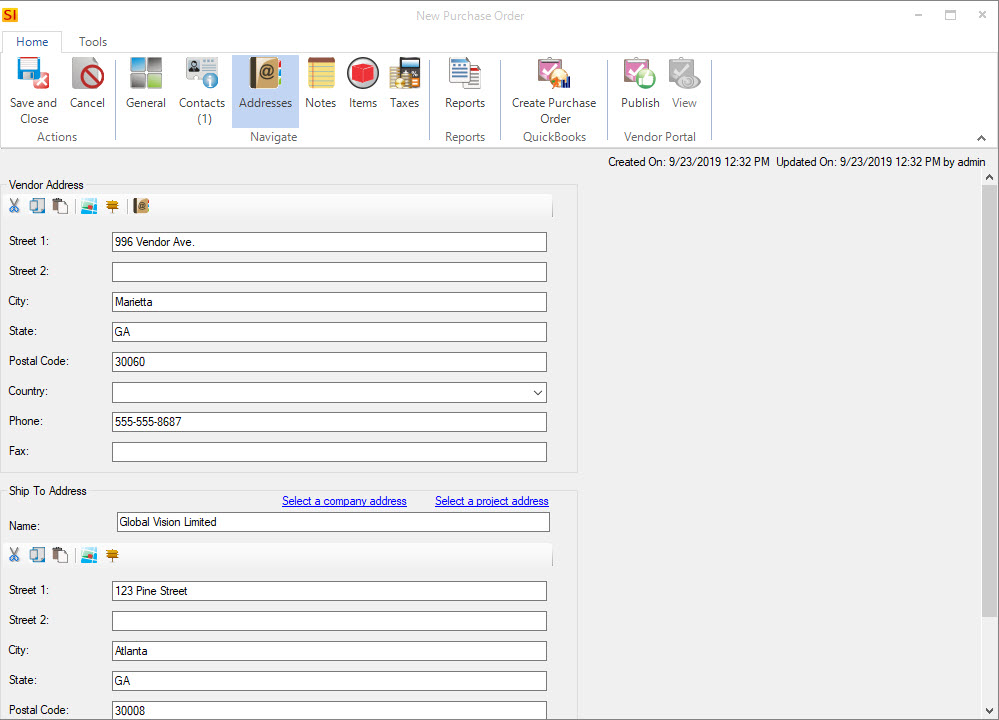
The Address fields will pre-populate with the Vendor address from and the Ship To Address will default to be your company address. You can modify these manually or you can use the links provided:
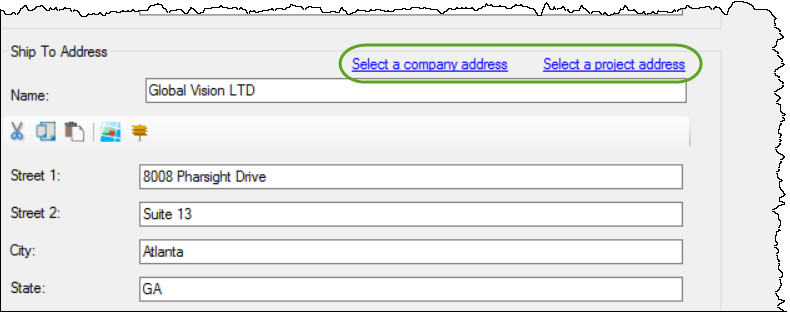
Select a company address
This will allow you to change the Ship To address to an alternate address for your company, e.g. an offsite warehouse, if you have added them under Company Information.
Select a project address
This will allow you to change the Ship To address to another address associated with the Project.
Notes
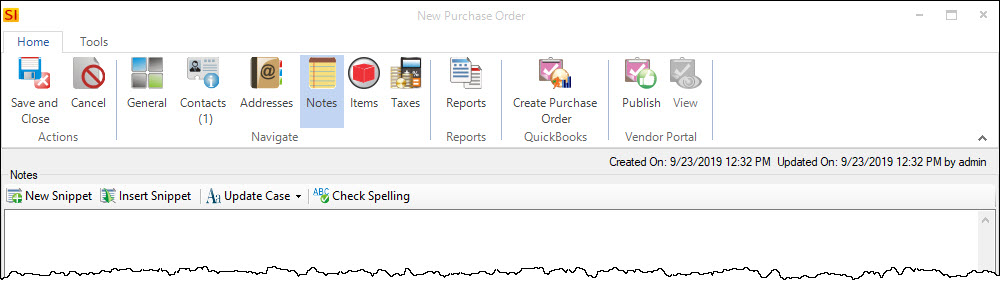
You can add Notes to the Purchase Order on the Notes tab. These do not print on the report, they are internal notes.
Items
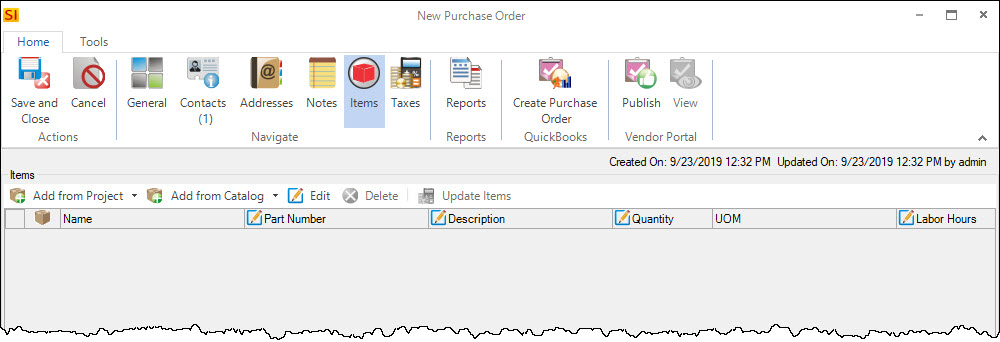
The Items tab is where you can add Products, Labor Items, or items from an Allowance either from a Project or from your Catalog.
Add from Project
Click the [Add from Project] button and choose either "Summarized" or "Units".
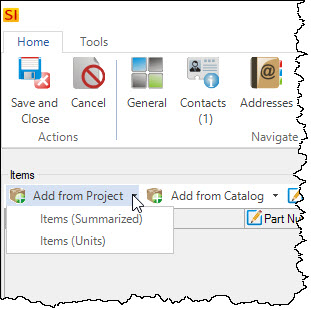
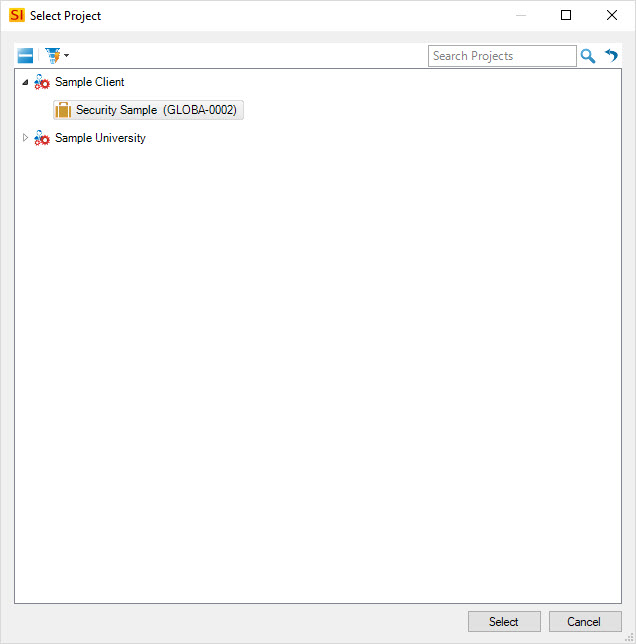
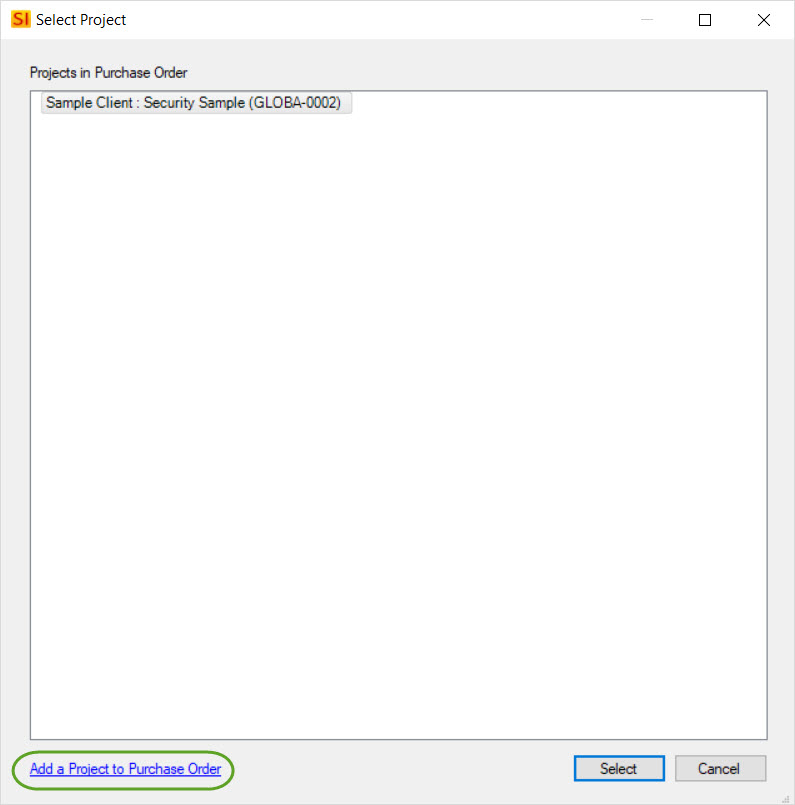
The difference here is whether or not similar items (same Manufacturer:Model) will be grouped together or listed separately. Either option will prompt you to select a Project:
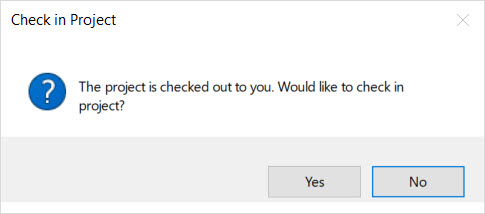
If the Project is checked out to you, you will be prompted to check in the project. You should do this as the copy that is checked in to the SI Server is what will be used for the Purchase Order.
Summarized
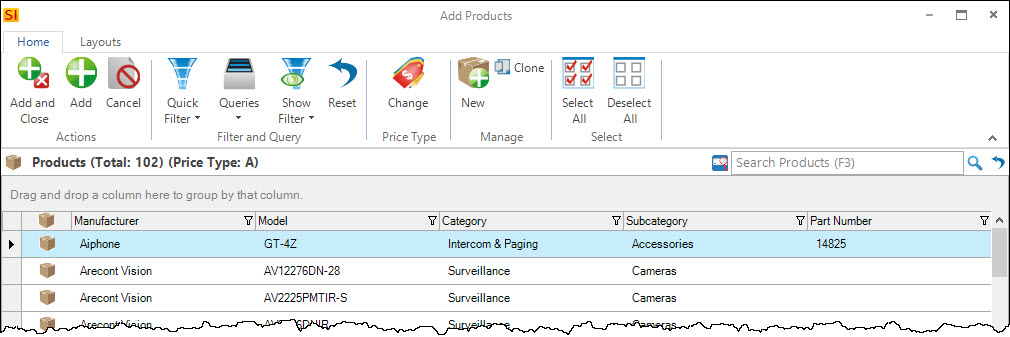
The Add Products form will open and will be pre-filtered to the Products in the Project that are assigned to the selected Vendor for the Purchase Order. You can change this filter on the left side of the interface
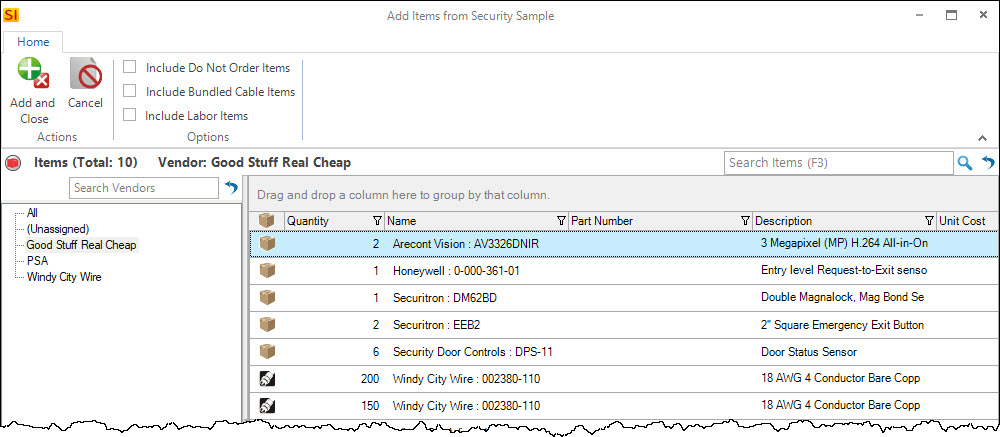
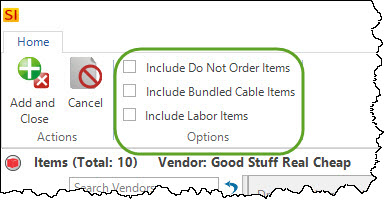
You also have the following options to display more items from the Project:
Units
This is the "Units" interface for adding items:

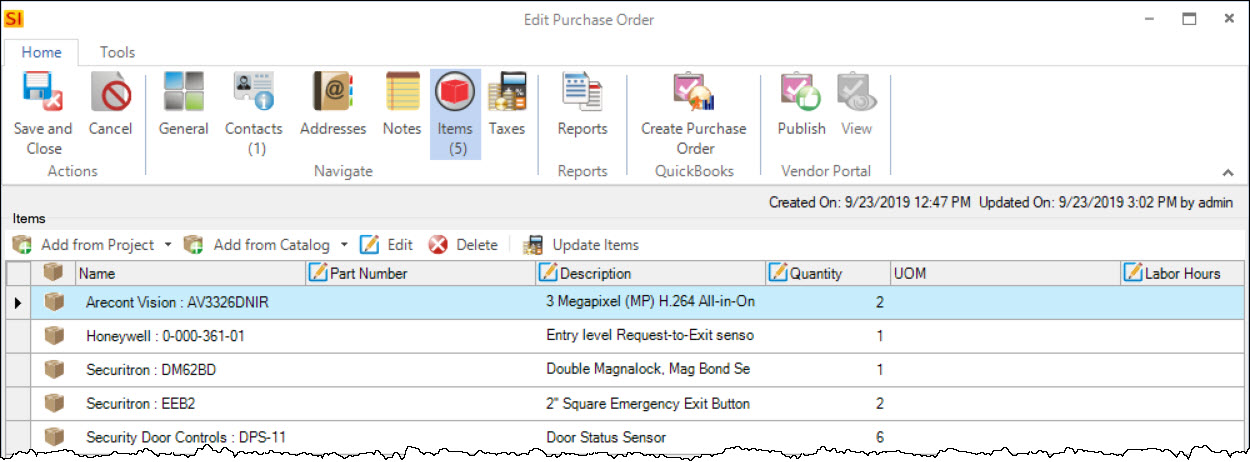
Select the items you want to add to the Purchase Order by using [Shift] or [Ctrl] on your keyboard then click the [Add and Close] button. The items will display on the Items tab:
You can repeat this process to add Products from multiple Projects to the same Purchase Order. Just click the "Add a Project to Purchase Order" link when prompted to select a Project:
Add from Catalog
Click the [Add from Catalog] button:
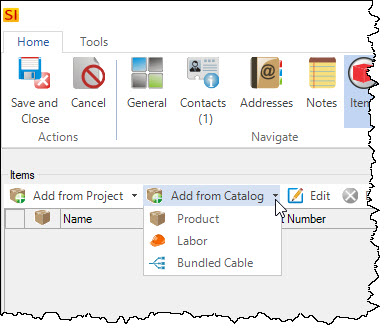
This will open a different dialog depending on which option you choose: Product, Labor, or Bundled Cable. Here you can select whatever items you wish to order from your Catalog. Once you've made your selections click the [Add and Close] button:
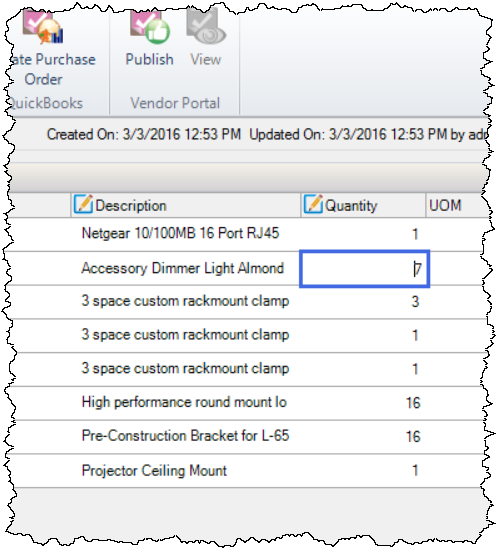
Once Products are added to the Purchase Order you can adjust the quantities if needed:
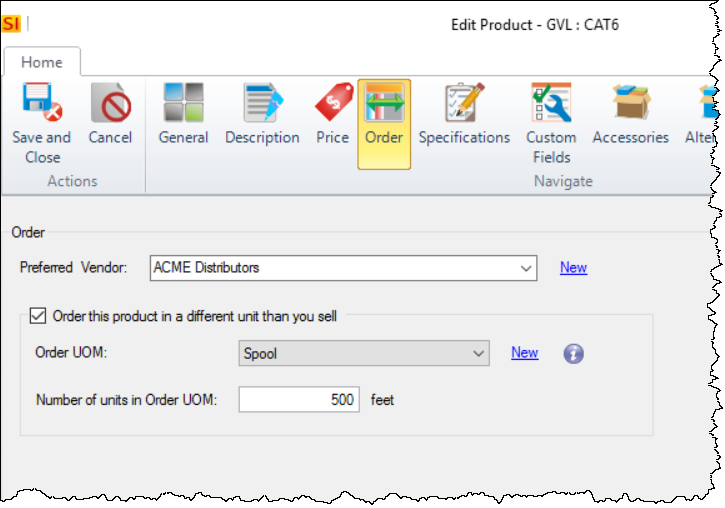
Purchase Orders utilize the Unit of Measure field for Products and will automatically adjust the quantities for Products where a unit of measure has been set.
Example: The following wire is set to be Bulk Wire so it is priced by the foot but it is bought in spools of 500 feet:
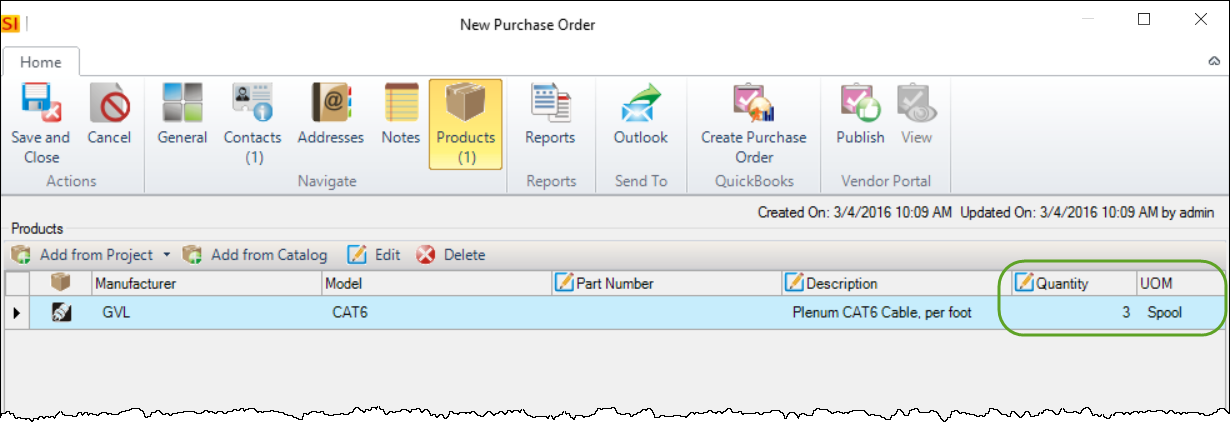
When added to a Purchase Order from a Project where there is a total of 1050 feet of wire, the quantity to order will be 3:
Taxes
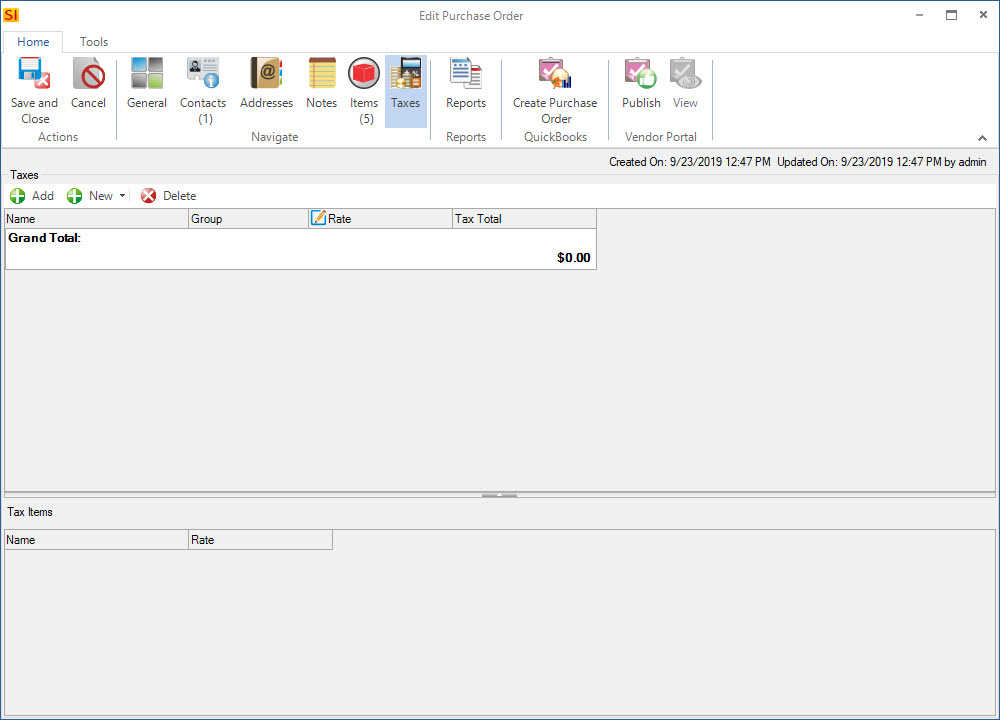
If you have chosen not to automatically add Use Tax via your Purchase Order Settings, and you want to apply tax to the Purchase Order, this is where you can use the Add button to add existing taxes already set up in SI or the New button to create new tax rates.
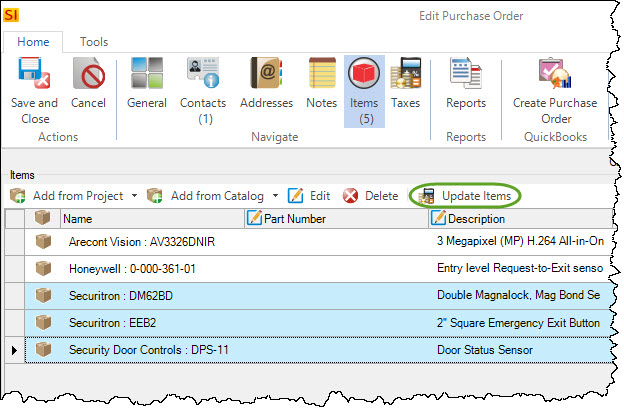
You will then need to go back to the Items tab and assign the tax(es) to the items. You can do this by selecting some/all of the items and clicking the Update Items button:
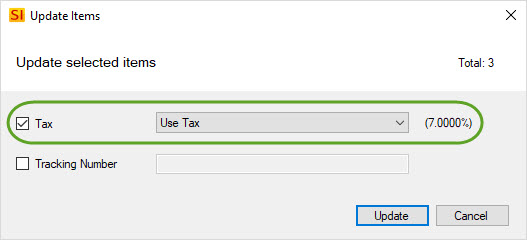
Then click the Tax option and select a tax rate from the dropdown:
You can also use the dropdown on individual items if you prefer:

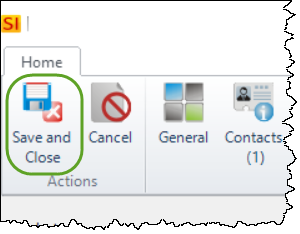
You have options on what you want to do next. You can [Save and Close] the Purchase Order if you wish:
Or you could do any of the following: generate Purchase Order Reports, Create a QuickBooks Purchase Order, or Publish the Purchase Order to the Vendor Portal.
- © Copyright 2024 D-Tools