Work Orders
Table of contents
Generating Work Orders
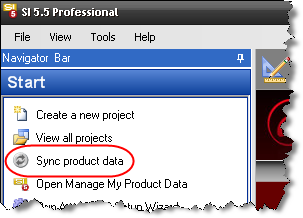
They shut down SI 5, finish their lattes and head back to the office. When they get back to the office, Dave connects his laptop to the network and opens SI 5. Since he is disconnected from the SI5.5 Server, he is not prompted to login. To put himself back “online” he selects File->Connect to SI5.5 Server:

He then synchronizes his data:
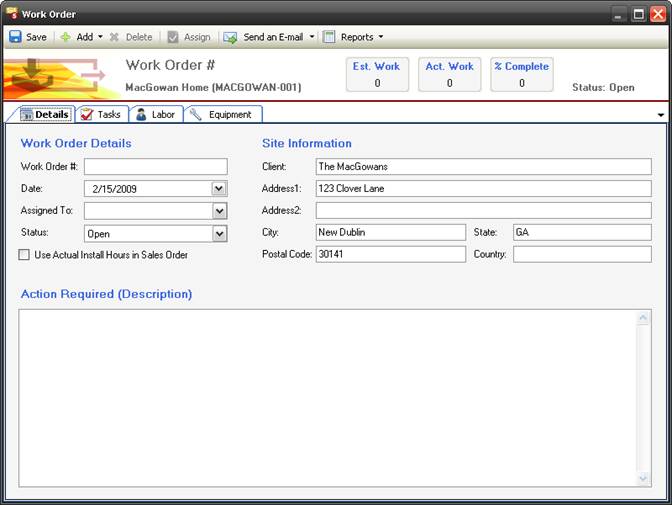
After a conversation with Marge, Dave knows that the Products for the Project are on order and will be arriving next week. Dave then changes the status of the Project to “08 - Production”. He then checks in the project so he can create Work Orders for the project. To create a Work Order, he clicks Orders and Accounting tab->Work Orders tab->New->Work Order:

The Work Order form opens:
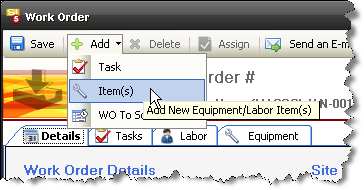
To add products to the Work Order, he selects Add->Item(s):
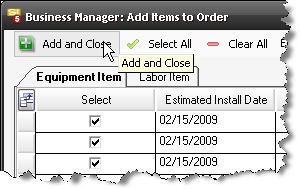
He plans on creating two Work Orders, one for the Rough-In and Trim Phase, and one for the rest of the work. When the “Add Items to Order” form opens, he uses the filter in the Phase column to filter to “Rough-In”:
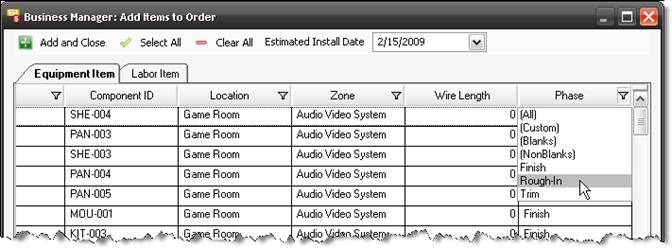
He then clicks [Select All] followed by [Add and Close]:
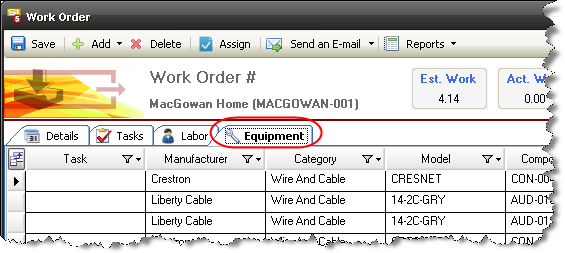
The Equipment displays on the Work Order form:
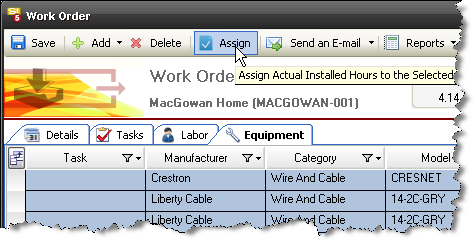
He selects all of the products and then clicks [Assign Properties]:
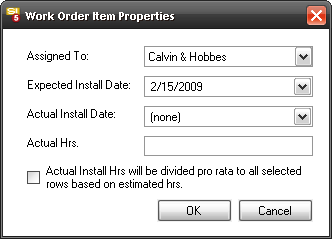
On the Work Order Item Properties form, he assigns the team and the expected install date then clicks [OK]:
When finished, he clicks [Save]:
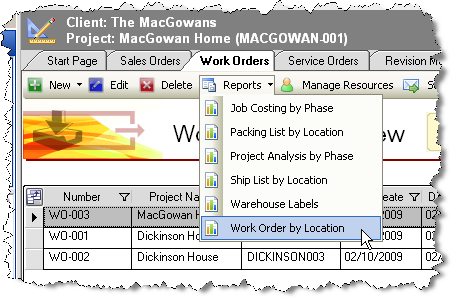
The work order then displays in the grid. He selects the Work Order he just created and clicks [Reports]->Work Order by Location:
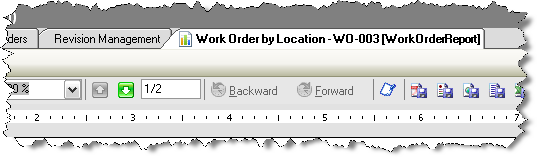
The report generates on a tab. He prints two copies of the Work Order, one for each installer:
He then repeats the above procedure to create a Work Order for the following day for the rest of the products in the project.
He wants to print additional reports for the install team so he clicks the Reports tab in the Navigator then launches the Reporting Center to run their installation reports: Pick List, Brother Wire Labels, Checklist by Location, etc… He also prints the Elevation, Plan, and Schematic pages to send with the installers.
- © Copyright 2024 D-Tools