Background Title Page
Table of contents
Background Pages
The Background Title Page is intended for use with the D-Tools created Smart Frame L-Scape shape in the DT Annotation stencil. However, you can use any way you like. You can make any page a background page and link any other page to a background page. This is particularly handy when inserting AutoCAD floor plans. You may wish to use the floor plan on multiple Visio pages. Insert the AutoCAD file on one background page and then link the Plan pages the background page. This will keep the file size down in size since you only insert the AutoCAD file once instead of multiple times.
Any shape put on this page will automatically display on the other default pages (Cover Sheet, Line Diagram, Elevation View, Plan View, and Schematic View). The reason for this is due to the Page Setup properties for this page:
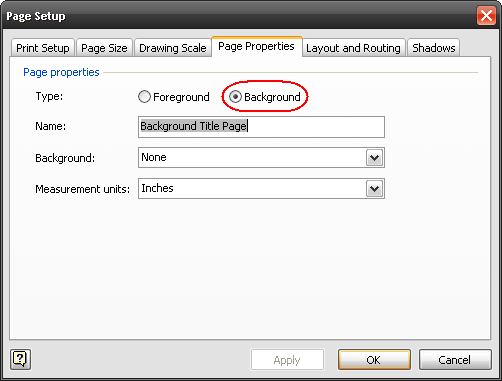
The Type selected is “Background”. Every other page in the stock SI 5 templates is linked to this page in their Page Setup properties:
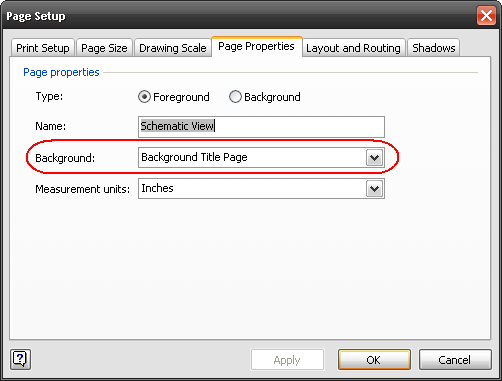
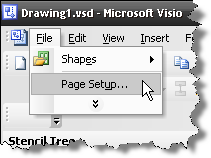
To view the Page Setup properties, select File->Page Setup:
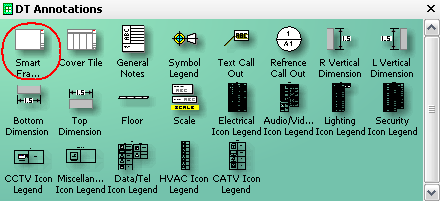
When you drag the Smart Frame L-Scape shape to this page, it will automatically display on every page linked to it.
Editing the Smart Frame L-Scape Shape
To edit the Smart Frame L-Scape shape, follow these instructions:
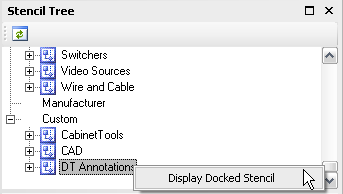
1) In the Stencil Tree, right-click the DT Annotations stencil and select “Display Docked Stencil”
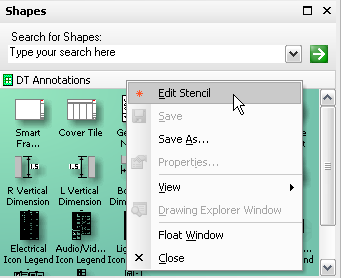
2) The stencil will display in the Shapes window. Right-click the stencil name and select “Edit stencil”
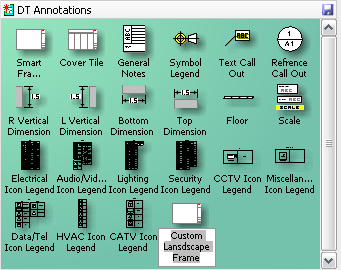
3) Make a copy of the Smart Frame L-Scape shape and paste into the docked stencil. Use any of the standard Windows commands to accomplish this copy and paste. The reason you are making a copy of the original is so you can simply delete the shape if you make a mistake. You can rename the shape anything you wish:
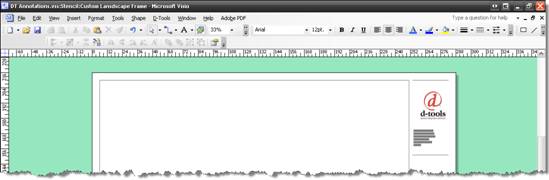
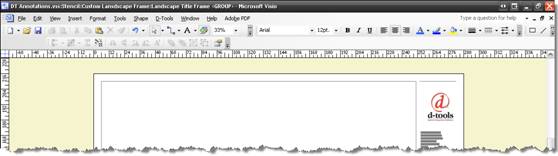
4) Double-click the new shape to open it. The green background indicates that this is a grouped shape:
5) Select the shape by left clicking any of the individual shapes in the group. You will know you can select the shape when the cursor turns into a double arrow:
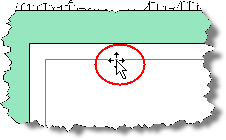
When the shape is selected, you will see a dashed green border around the shape:

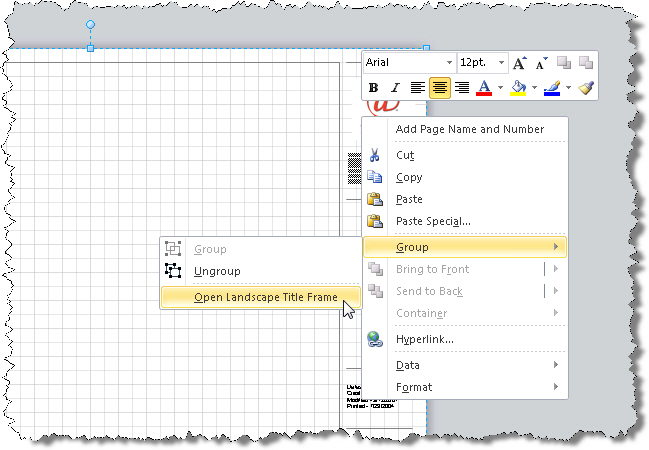
6) Select Edit->Open Landscape Title Frame from the menu options. The yellow background now indicates that the shape is not grouped and can be edited:
Note: In Visio 2010, after selecting the the shape in step 6, you will need to right-click the shape and select Group->Open Landscape Title Frame. Also, the background will not change to yellow as it does in Visio 2003/2007.
7) You can now modify the shape to your liking, e.g. remove the D-Tools logo and insert your own. When finished, close the edit window by clicking the X in the upper right-hand corner:
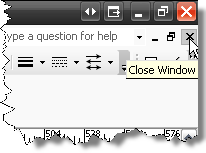
8) You will now be back on the grouped shapes screen (green background). Close the window by clicking the X in the upper right-hand corner:
9) When prompted to save changes to the shape, click [Yes]:
10) Right-click the stencil name in the Shapes window and select “Edit stencil” to take the stencil out of edit mode. Click Yes when prompted to save changes to the stencil:
11) Now if you wish to use your modified frame on any existing project, click the Background Title Frame page tab withing Visio and then delete the existing frame shape from the page and then drag your customized shape from your DT Annotations stencil to the Background Title page and it will snap into place. You can also use this modified shape to create your own Visio Templates.
Note: Modified stencils do not synchronize by default with LANSync. If you want to share your modification with others, you can manually copy your DT Annotations stencil to their machine and overwrite their existing stencil. The path is:
XP - C:\Documents and Settings\All Users\Application Data\D-Tools\SI5\Visualizations\Stencils\DT Annotations.vss
Vista/Win 7: C:\ProgramData\D-Tools\SI5\Visualizations\Stencils\DT Annotations.vss
As an alternative to the method above for replacing the D-Tools image file with your own company's image file, you could use the tool and steps outlined here.
- © Copyright 2024 D-Tools