I/O Studio
Table of contents
How to use I/O Studio
To open the I/O Studio for more than one product, select multiple products on either the Product Grid tab or in the PDM within a project and then click the ![]() button. When you do this, more than one product will display in the I/O Browser:
button. When you do this, more than one product will display in the I/O Browser:
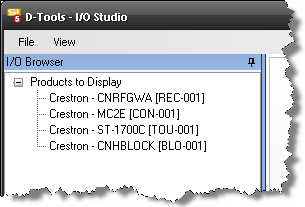
If you are within a project, the Component ID will display next to the product.
The left side of the form will either display the I/O Browser or your Saved Configurations depending on which tab along the bottom you’ve selected:
![]()
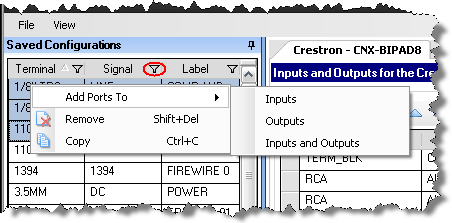
Saved Configurations are generally commonly used combinations of Terminal, Signal, and Label. When viewing saved configuration, you can select multiple products by using Shift or Ctrl on your keyboard, filter any column using the filter buttons, and right click to add ports to either/both the Inputs/Outputs, remove from the list, or copy the configuration(s):
The bottom of the list has these right-click options, plus the ability to change quantity and a very handy “Auto increment label if quantity is greater than 1” option:
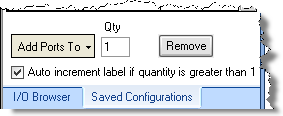
The “Auto increment…” function will automatically add a “1” to your first label and count up from there when adding more than one of the same I/O configuration to a product.
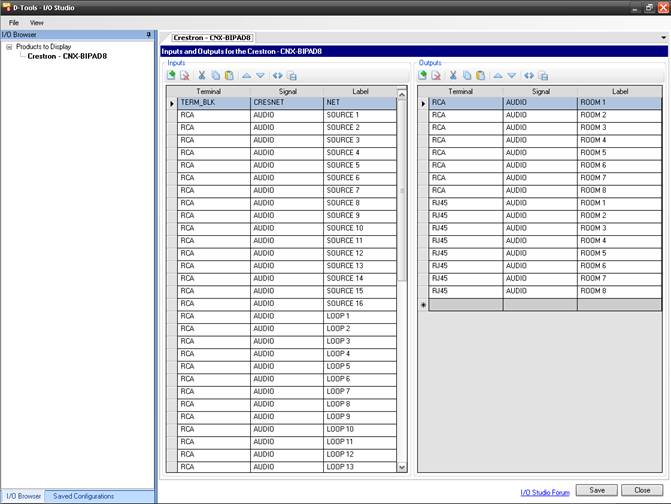
The right-side of the I/O Studio form (and the majority of the interface) displays the Inputs and the Outputs for the selected product each of which have their own separate command buttons:
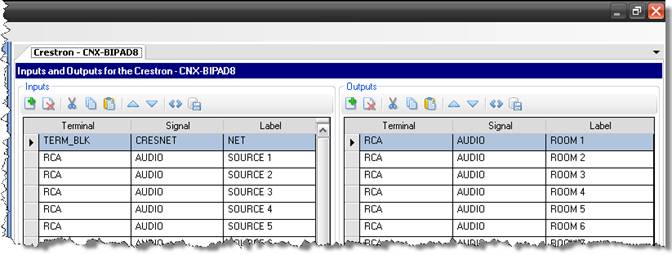
You can select multiple I/Os by using the Ctrl or Shift buttons on your keyboard.
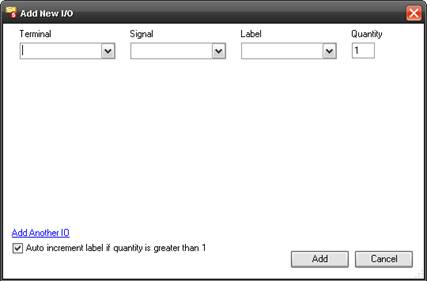
![]() ...... Opens the Add New I/O form
...... Opens the Add New I/O form
![]() ...... Deletes the selected I/Os
...... Deletes the selected I/Os
![]() ...... Cuts the selected I/Os
...... Cuts the selected I/Os
![]() ...... Copies the selected I/Os
...... Copies the selected I/Os
![]() ...... Pastes copied or cut I/Os
...... Pastes copied or cut I/Os
![]() . Move Up/Move Down buttons allow you to choose the order of display for I/Os
. Move Up/Move Down buttons allow you to choose the order of display for I/Os
![]() ...... Duplicates the selected I/Os
...... Duplicates the selected I/Os
![]() ..... Saves the selected I/Os to your Saved Configurations list
..... Saves the selected I/Os to your Saved Configurations list
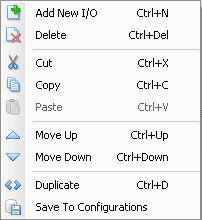
You can also access these functions by right-clicking on the form. This form also displays the keyboard shortcuts for these commands:
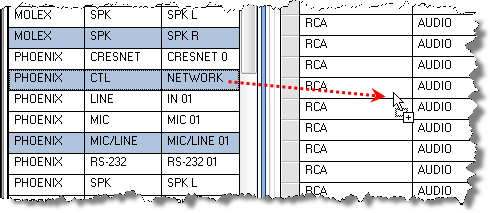
Another way to Add I/Os to a product is to select one or more I/Os from the Saved Configuration list and then drag and drop over to the Inputs or Outputs section on the form:
And yet another way to add an I/O is to scroll to the bottom of the list and use the dropdowns to create a new record:
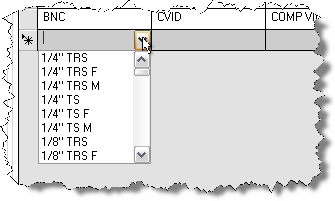
These dropdown lists can be edited in the MMPD Interface.
- © Copyright 2024 D-Tools