Home > SI 2017 Documentation > User Guide > People > Vendors > Adding Vendors > New Button
New Button
New Button
Table of contents
![]()
Steps
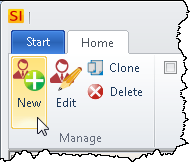
- In the Vendor Explorer, click the [New] button:
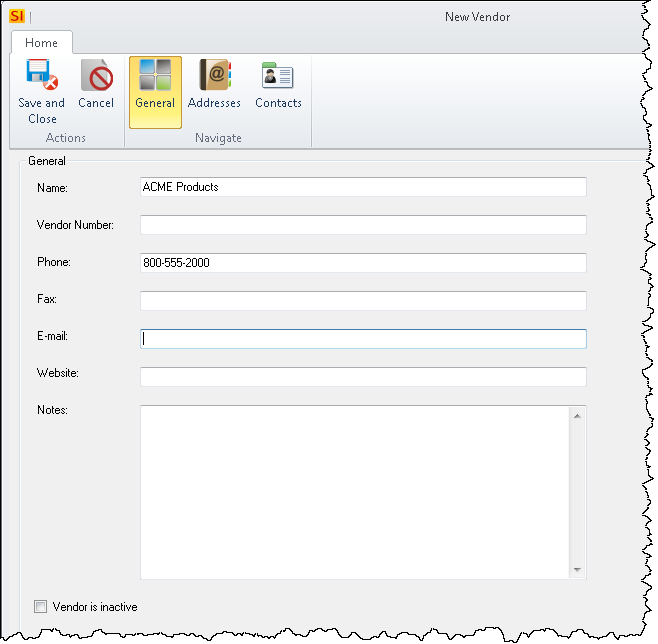
- The New Vendor form will open. On the General tab, type in any relevant information:
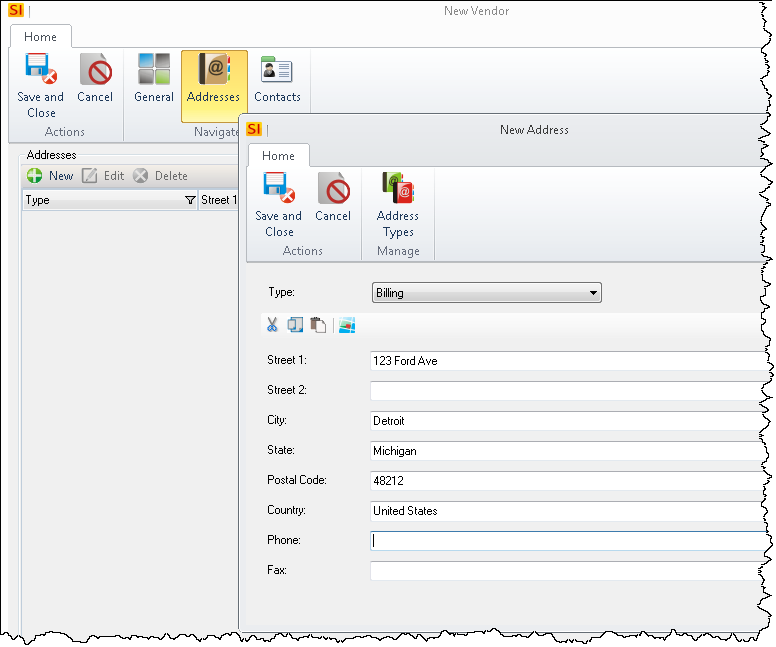
- On the Addresses tab, click the New button enter any relevant addresses for the Vendor:
Contacts
- On the Contacts tab, enter any Contacts you want to be associated with the Vendor.
New Options
You can choose to new Contact "from Scratch", add an existing Contact, or import Contacts from Outlook.
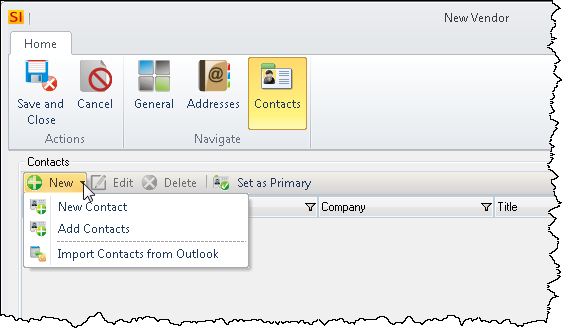
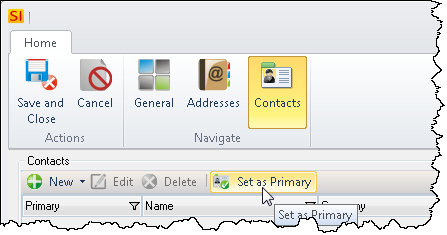
Set as Primary
Once you've added a Contact or multiple Contacts, you can set one as the Primary Contact.
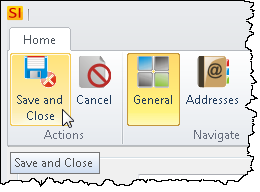
- When finished, click the [Save and Close] button.
- © Copyright 2024 D-Tools