New Project Wizard
![]()
Details
The only two required fields to be able to save a Project are the Client and Project Name, however, you will likely want to add more information than that.
All of the fields below can be later added/edited for a Project via the Project Information interface or via the Settings tab within a Project.
Steps
Open the Project Explorer:
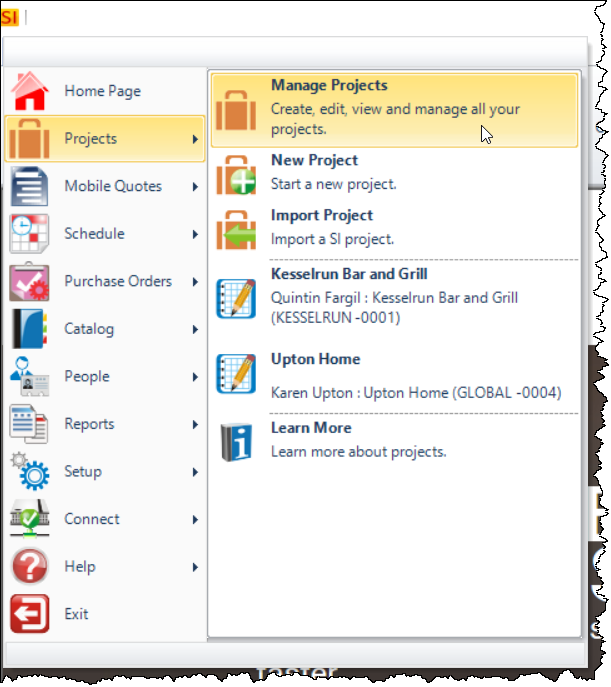
Click New->Project:
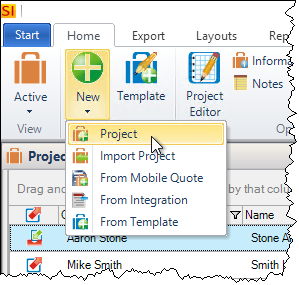
This will open the New Project Wizard:
Step 1
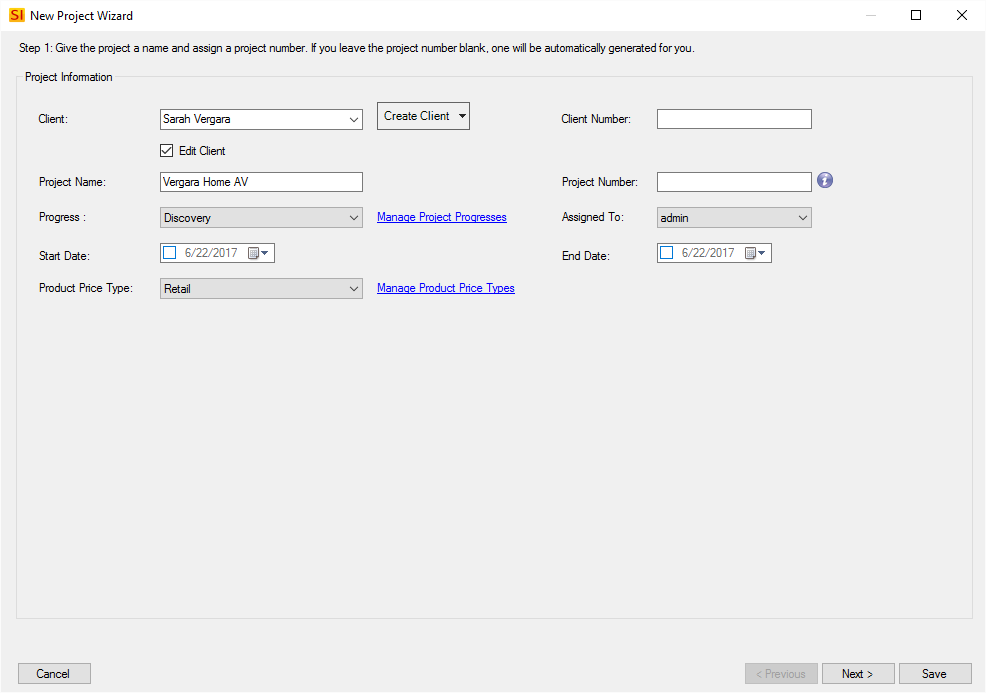
Client
Here you can select an existing client from the list or you can click the [Create Client] button to create a New Client from scratch, import from Outlook, or import from QuickBooks. If you type in a new Client name, you will be prompted to create a Client. This is a required field.
Client Number
This field can be filled in if you want to add a client number, e.g. - an identifier for the client from your accounting software.
Project Name
The Project name will print on most reports in SI 2017. This is a required field.
Project Number
This will auto-populate once the Project has been saved based on your Project Number Format settings. You can also manually type any number you wish in this field.
Progress
Set a Progress if desired. See Progresses.
Product Price Type
This defaults to Price Type "A", or to whatever you have renamed this to under Product Price Types. Change if desired.
Assigned To
The user you are logged in as will automatically populate this field. This field is used to limit access to a Project based on other User's Permissions.
Start/End Date
Enter the Start Date if you know it at this point in time.
Step 2

If a Primary Contact is associated with the Client, their information will be pre-filled in here. Enter any additional Contacts to the Project, e.g. Spouse, Contractor, Builder, Architect, etc.. Use the [+] button to add a New or Existing Contact, or you can import from Outlook. This list can be printed via the Project Contact Information report.
Step 3
Enter/edit the Site Address and Billing Address (if needed). The Site Address is used on reporting.
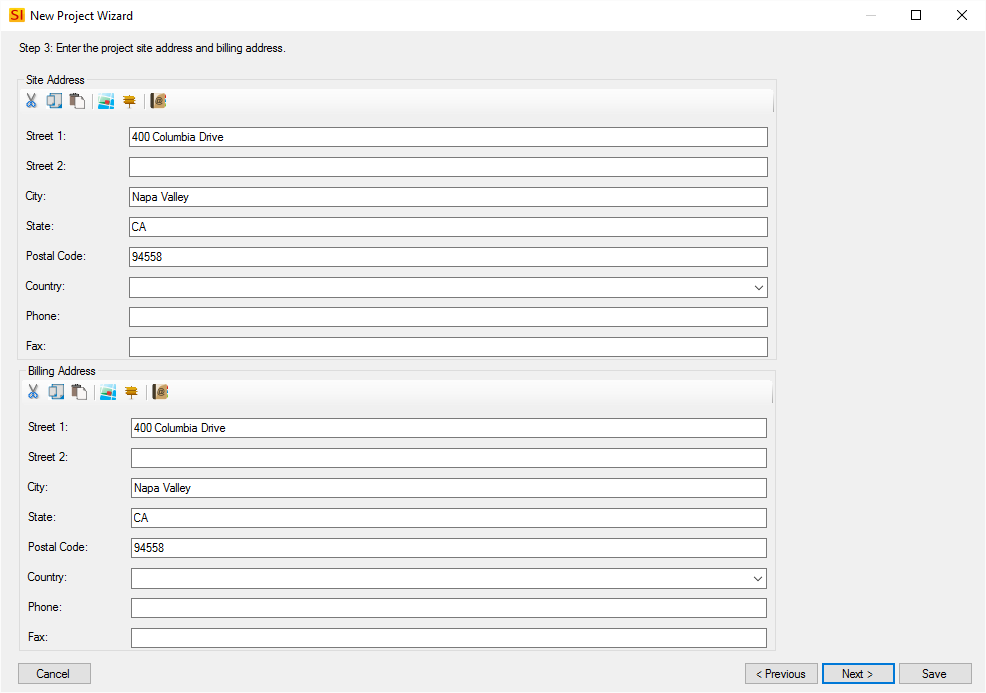
You can use the [Copy Billing Address] button or the [Change Address] button to select any other address you have associated with the Client.

Step 5
Assign any Resources to the Project. See Users/Resources.
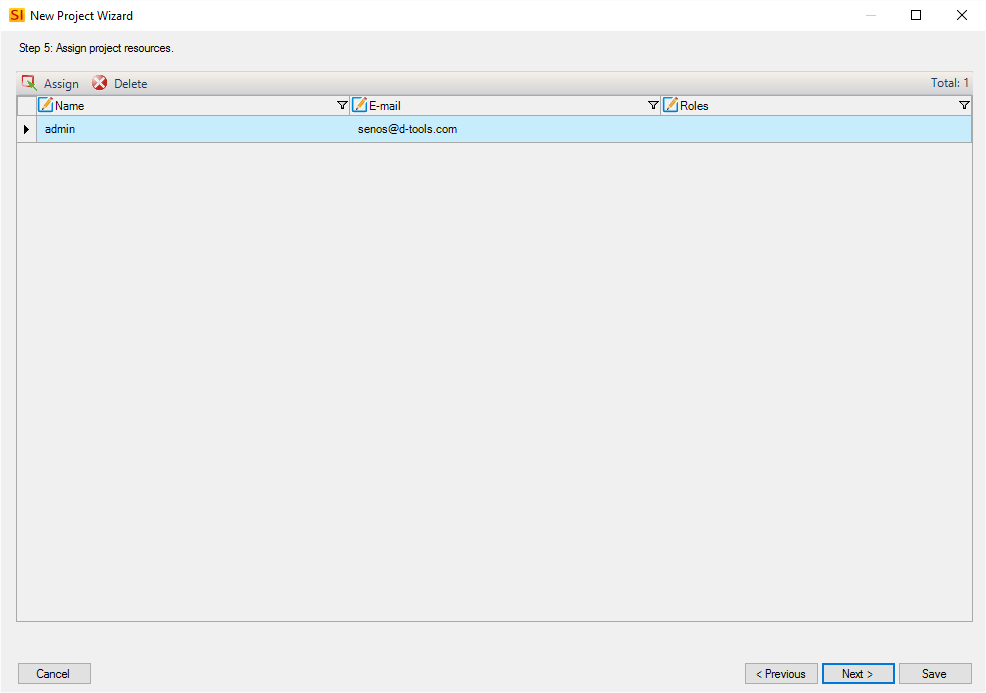
Your User/Resource information will automatically be populated and you can use the [Assign] button to add additional Resources. Resources are not required and can be added later, say when creating a Schedule for installation.
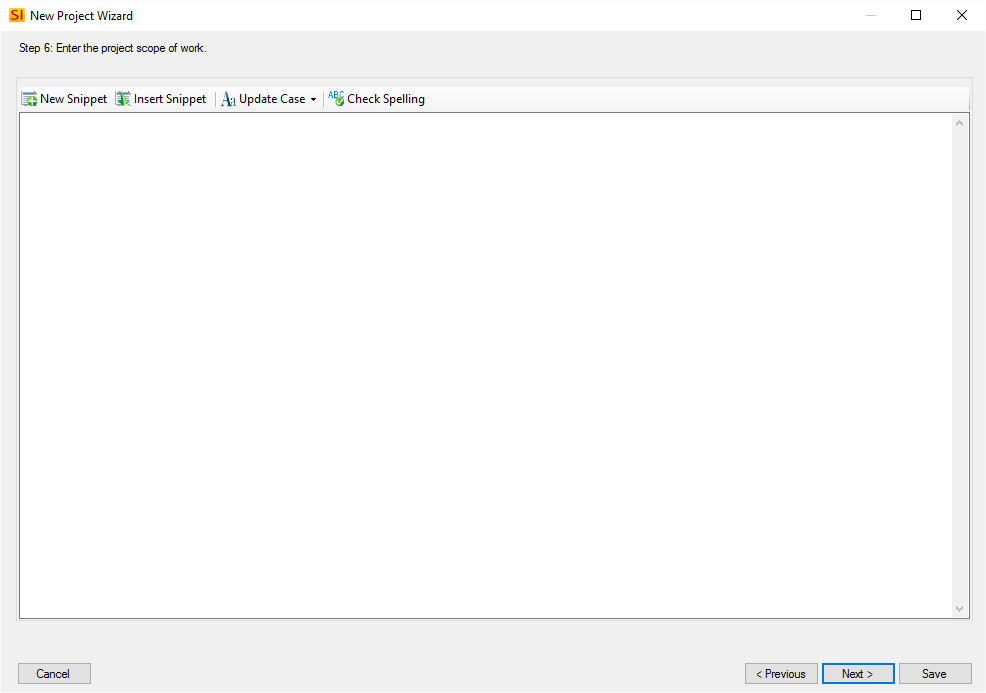
Step 6
Enter a scope of work for the Project if needed. You can manually type in this field, paste text into this field, or use Snippets that you have created, see Snippets. All text entered into this field will be unformatted as this is a database field. If you wish to have a Rich Text Format (RTF) formatted Scope of Work, you will need to do this from within the Project once the Project has been saved. See Scope of Work. This can printed via the Scope of Work Document report.
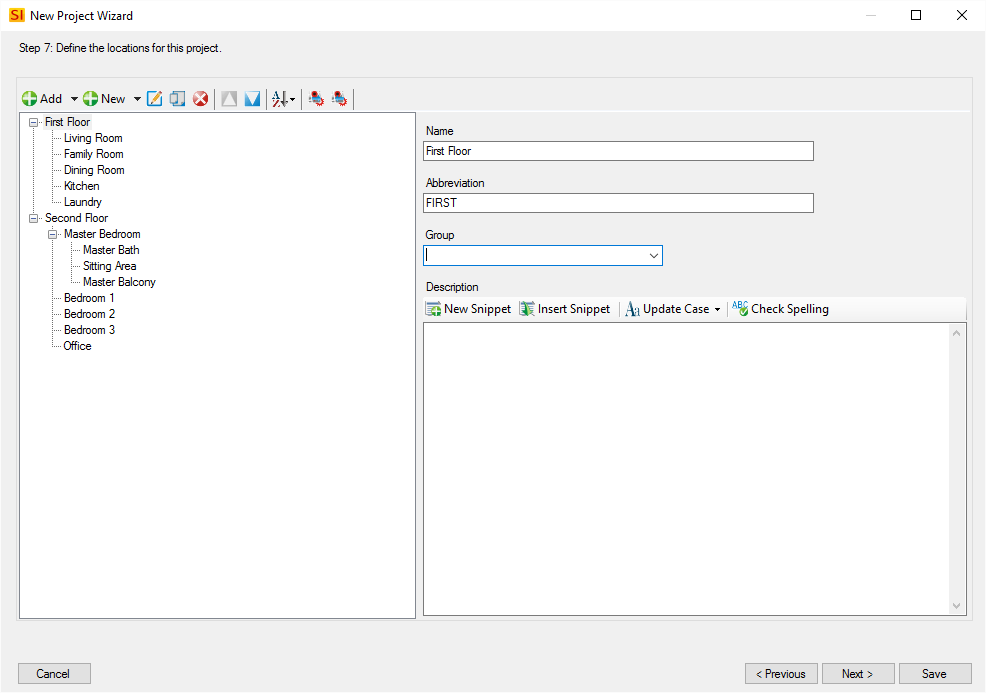
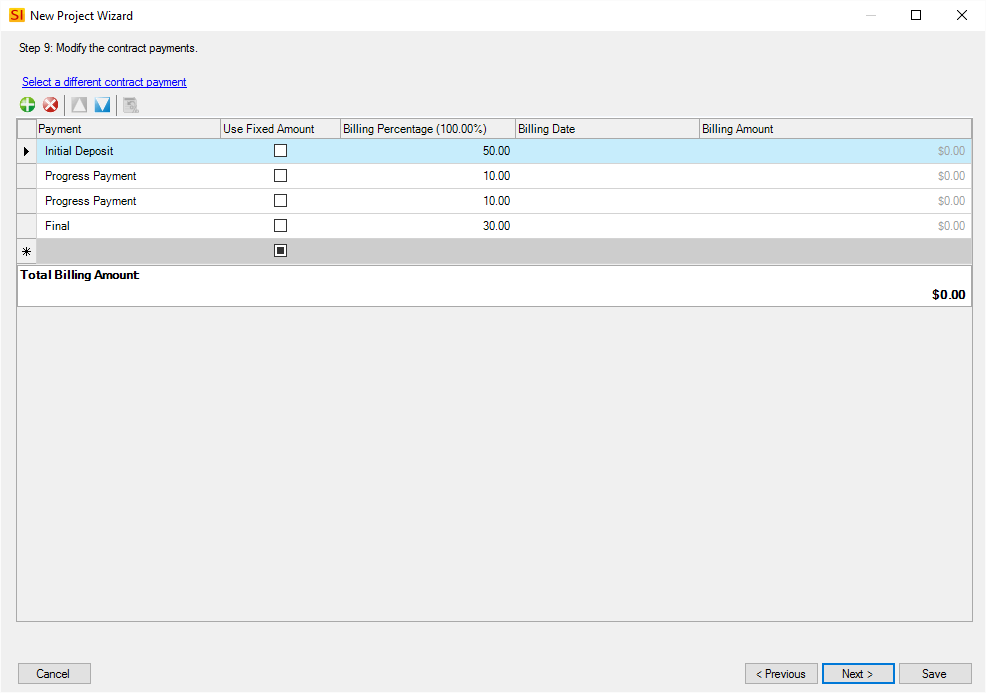
Step 7
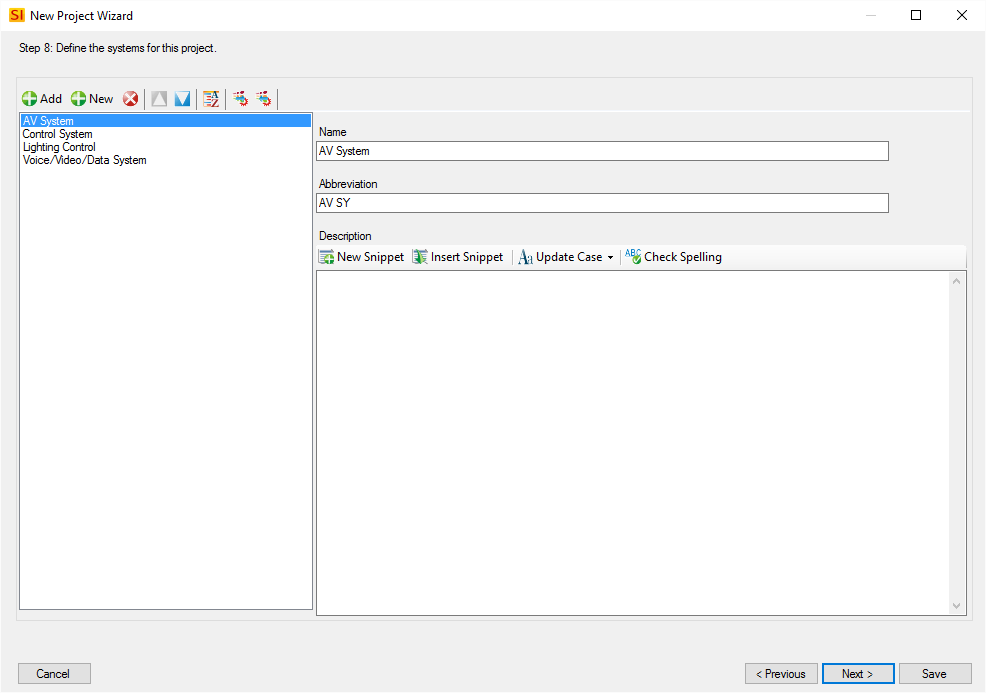
Step 8
Enter any Systems for the Project. You can add Systems via the [Add] button if you want to choose from the list of Systems from your Control Panel or you can click the [New] button if you want to manually type the names.
Step 10
If needed, enter any other information in the Custom Fields that you have defined. See Custom Fields.
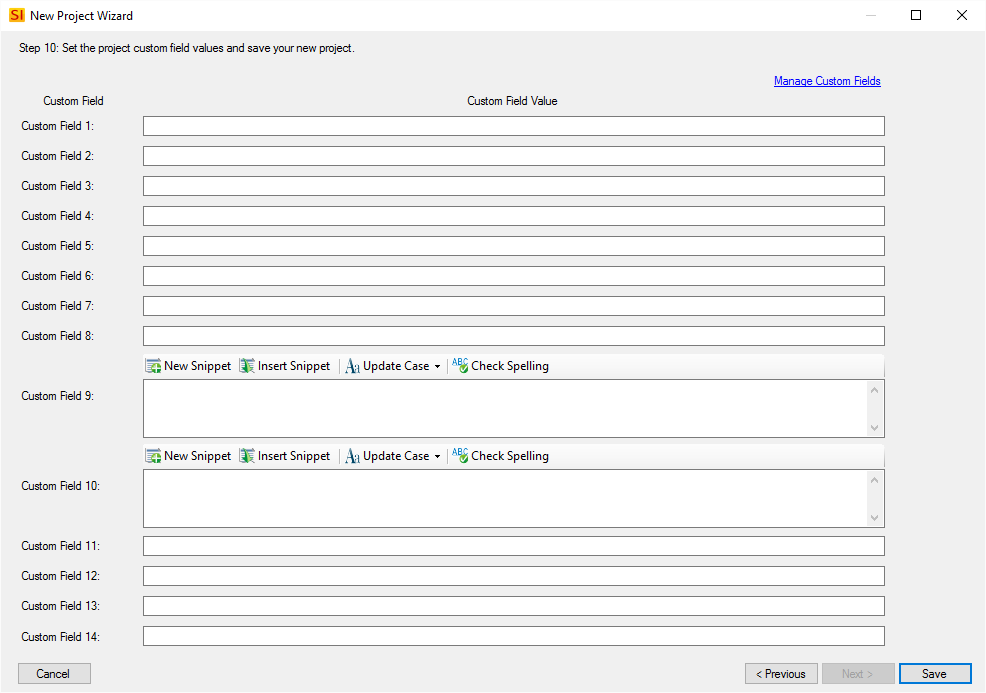
When finished entering your Project information, click the [Save] button. The Project file will automatically open in the Project Editor interface.
- © Copyright 2024 D-Tools